How to Create a New User on your Mac Easily

Whether you wish to share your Macintosh with your kids, friends, or colleagues, it’s better to create a new user account to maintain your privacy. With separate Mac accounts, every person can have their own settings like application preferences, iCloud account details, and password-protect their personal data.
Most importantly, the process of adding users to Mac is not at all difficult. Just follow this post and quickly learn how to create a new user on Mac devices.
First know different types of Mac User Accounts
Before we head over to add a new user on Mac, let’s first check out different user accounts that you can set up on macOS:
- Administrator account is the first account that every new Mac user has to set up. This is the main account that you are required to add other accounts on your Mac, install apps, change settings and perform all other functions. Though, you can add multiple administrator accounts on your Mac.
- Administrator accounts create standard Mac user accounts. These account holders can install apps and change system settings, but they can’t add a new user or change other users’ settings. You can create this kind of account for your employees.
- Managed with a parental controls account is exactly what its name tells. It is a perfect account for kids who can only access content approved by their parents/administrator on the Mac. You can restrict website access, time limits to use a computer,, and so much more in this account.
- Sharing only accounts are useful if you have a remote working team. These accounts let users access shared files remotely, but they can’t log in to your computer or change any settings. If you have to share files back and forth with your remote team, this option is a lot easier than purchasing cloud-sharing software membership.
- Group accounts offer the same privileges to multiple users. For instance, if you want your entire department to access client files stored on your Mac, you can create a group account and allow all your employees to receive the same permission to access your Mac. For large teams, it is a great sharing account option.
Once you know what type of user account you wish to create on your Mac computer, the next step is to understand how to add new users. Keep on scrolling down.
How to Create a New User on your Mac
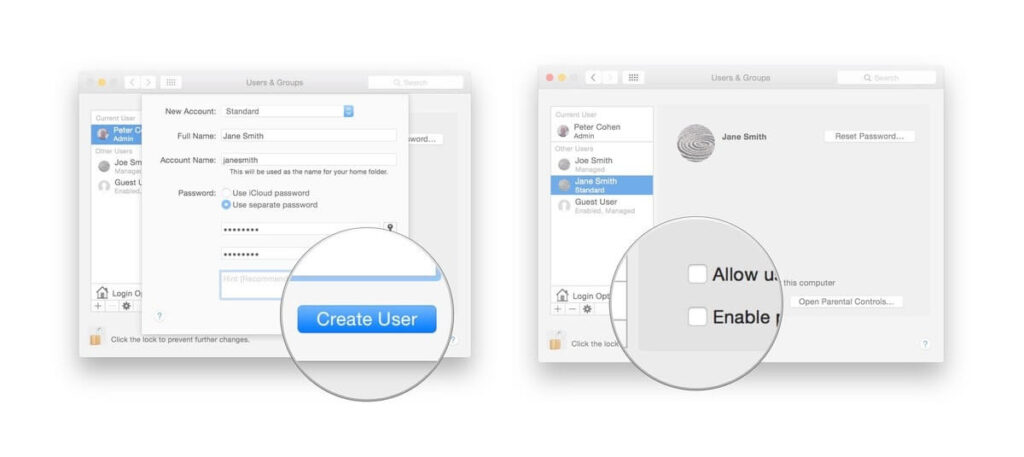
- Start your Mac computer, click on the Apple icon on the top left corner of your screen, and open System Preferences.
- Then, click open the Users & Groups to view a list of all the current users to the left.
- Press the lock icon to make changes and then enter the administrator name and password.
- Next, select the ‘+’ button located below the list of users.
- Here you have to select the type of account you would like to create (mentioned above).
- Next, you have to enter the user’s Full Name in the same window, which will be the default name for the user automatically. Next, enter a password, verify it and add a password hint.
- Tap on the Create User button.
- That’s it! Your new user’s name is added.
Before customizing the new user account, log out of your admin account and allow the new users to log in. From there, they can customize their apps, background, browsers, or anything else.
How to Create a New User on Mac Using Terminal Mac OS X Screen Sharing
Adding a new user through the built-in graphical interface is indeed the easiest option. But if you prefer to use a Terminal window, perhaps because you are troubleshooting a computer over a Sharing screen, the Terminal is the best option. To add a new user with Terminal, follow this method:
- Open a Terminal window, click on the ‘Go’ from the dropdown menu, and select Utilities.
- Next, double-click to open the ‘Terminal’ icon.
- Type “sudo dscl . -create /Users/username” and hit Enter. Replace the username with the name of a new user.
- Next, enter your administrator account’s password and press Enter.
- In the next line prompt, type “sudo dscl . -create /Users/username UserShell /bin/bash” and click “Enter.”
- Next, type “sudo dscl . -create /Users/username RealName “TechCommuters”” and hit Enter. You can replace the real name with any other name as per your wish.
- Up next, use “sudo dscl . -create /Users/username UniqueID 1001” command line and again press Enter. Remember one thing, the number after “UniqueID” has to be something that you haven’t assigned to another user.
- Next, type sudo dscl . -create /Users/username PrimaryGroupID 1000″ and press Enter.
- Now, you have to create a home folder for the new user with this command “sudo dscl . -create /Users/username NFSHomeDirectory /Local/Users/username”.
- To allow a new user to access Mac with a password, type “sudo dscl . -passwd /Users/username password”. Then, replace ‘password’ with the desired password that you want a new user to type to log in to the Mac.
- Finally, type “sudo dscl . -append /Groups/admin GroupMembership username” to provide privileges to the new user.
How to Delete a User Account on Mac
If a person no longer works with you or simply doesn’t want to share your system with a certain user, you can delete a user account on Mac. To do so, just follow these steps:
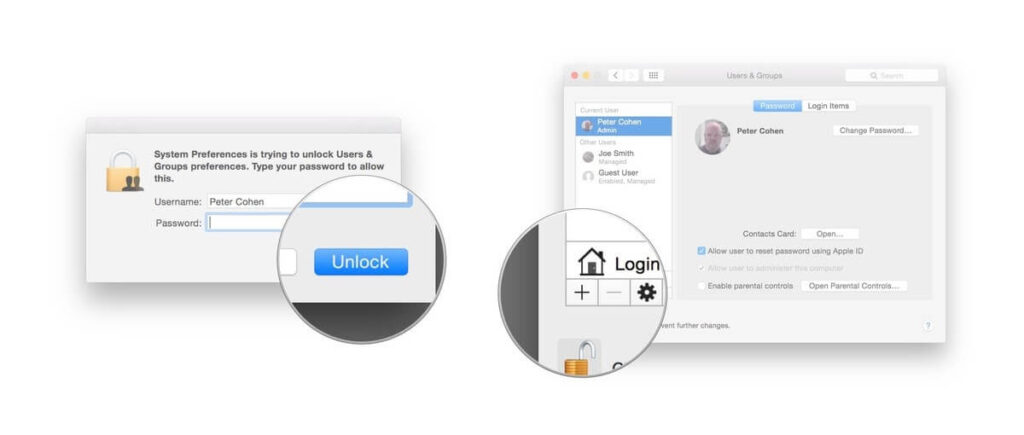
- Launch your Mac, click on the Apple icon > System Preferences > Users & Groups.
- Click on the lock from the lower-left corner to make changes.
- Enter your administrator password and then, on the Unlock.
- Just click on the Remove user account button, and the user account will be deleted from your Mac system.
Here you go, peeps! Now, you know how to add users to your Mac with a graphic and terminal interface, along with an extra tip on how to delete a user account. So, you are all set to create a new Mac user account, but let us know in the comments if you require any further information.
And don’t forget to like and share this post with your friends.
Author Bio:
Dinesh Lakhwani 

Dinesh Lakhwani, the entrepreneurial brain behind “TechCommuters,” achieved big things in the tech world. He started the company to make smart and user-friendly tech solutions. Thanks to his sharp thinking, focus on quality and the motto of never giving up, TechCommuters became a top player in the industry. His commitment to excellence has propelled the company to a leading position in the industry.
Popular Post


Recent Post
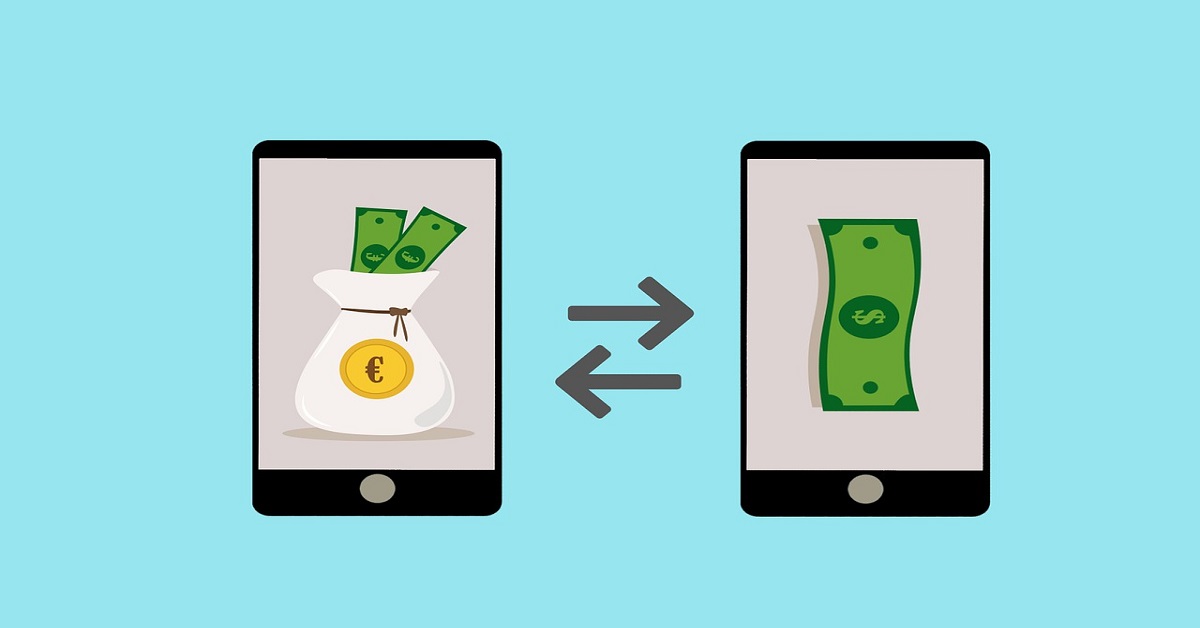
Top 5 Borderless Payments Apps In 2024
Discover the leading top borderless payment apps reshaping global transactions in 2024. Explore seamless cross-border transfers and innovative features through these apps.
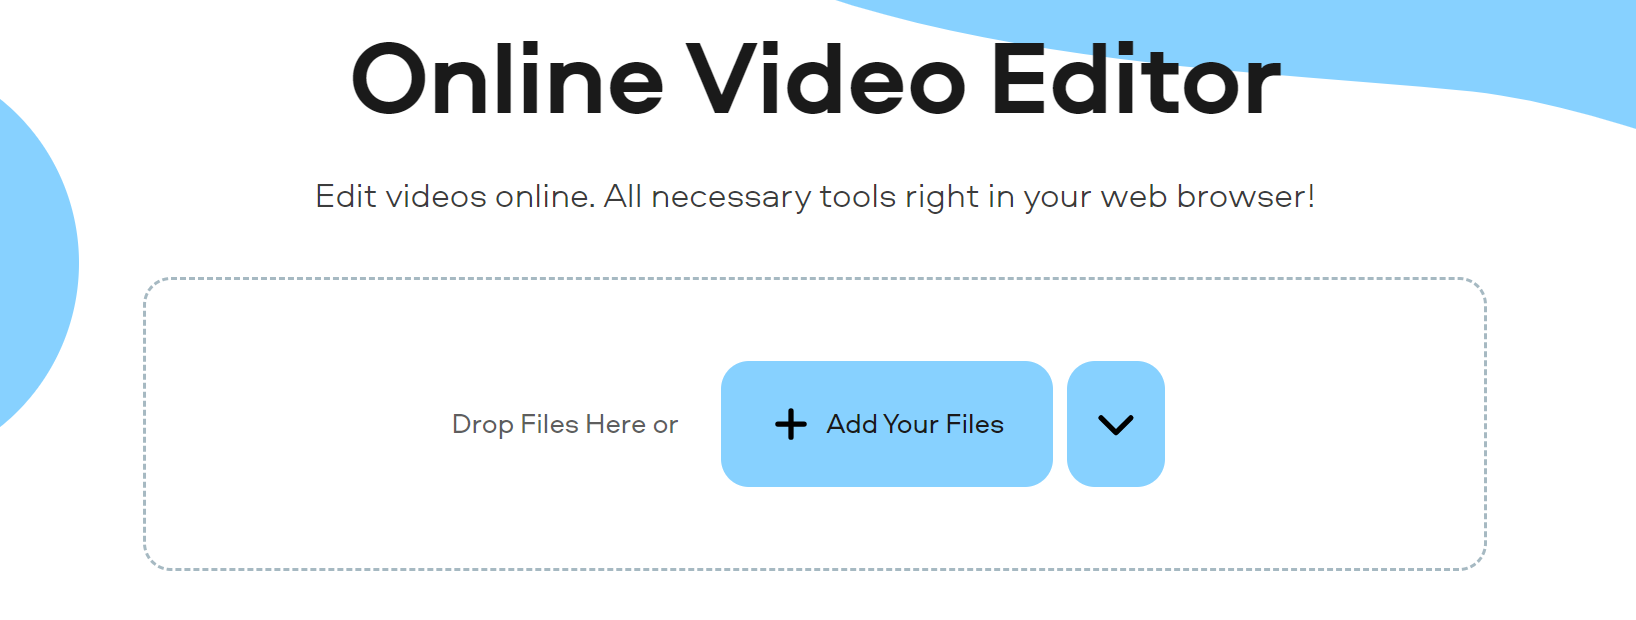
Movavi Video Splitter Online: A Comprehensive Review
Explore Movavi online Video Splitter for free with our detailed review. Learn how to easily split and customize your videos. Discover its features and usability for all your editing needs.

How to Stop PS5 from Turning on With TV [2024]
The PlayStation 5 (PS5) is a powerful gaming console that offers an immersive gaming experience. However, one common issue that many users face is the console turning on automatically when they turn on their TV. This can be frustrating, especially if you’re not planning to use your PS5 at that moment. Here, we will explore […]
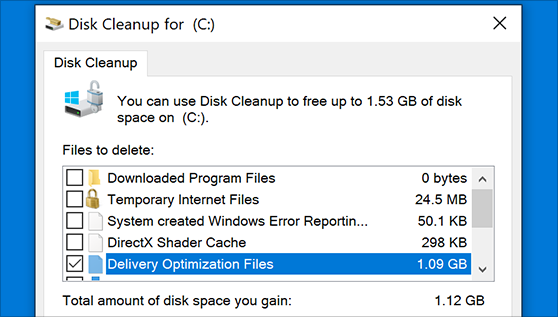
How to Clear the Delivery Optimization Cache in Windows
Delivery Optimization in Windows is a feature that helps users save bandwidth and improve download speeds by downloading updates and apps from other Windows devices on the same network or even from the internet. While this feature is beneficial, it can accumulate a significant amount of cache over time, impacting system performance. Here, we will […]

How to Add Multiple Monitors To Your Windows 10/11 Laptop [2024]
Multitasking and productivity are key factors for many individuals. Adding multiple monitors to your Windows 10 or Windows 11 laptop can greatly enhance your workflow, improving your overall efficiency. If you are wondering how to connect 2 or more monitors to your Windows 10 laptop, you are in the right place. Here, we will discuss different […]

How to Get Help in Windows 11: Complete Guide
Learn the best ways to get help in Windows 11 PC. Using these ways you can find help to solve issues in Windows 11.

How to Check SSD or HDD in Laptop [Windows 11/10]
Solid State Drives (SSD) and Hard Disk Drives (HDD) are the two main hard drive types that rule the laptop storage industry. Although they both store data, they are very different in terms of durability, speed, and performance. Knowing whether the SSD or HDD in your laptop is important since it may help you better […]

How to Stop Your Phone from Turning Off By Itself
Having your phone unexpectedly turned off can be frustrating and inconvenient, especially when it happens frequently. Whether you’re in the middle of an important call, playing a game, or simply browsing the internet, an unexpected shutdown can disrupt your productivity and disrupt your day. Here, we will explore some effective methods to help you if […]
Reboot and Select Proper Boot Device Windows 11: 7 Ways to Fix
Are you facing the “reboot and select proper boot device” on your Windows 11 PC? if yes, then find the best ways to fix this error.

Top 10 LiveLeak Alternatives In 2024
Since LiveLeak’s shutdown, many users have been searching for alternatives to the platform. There are plenty of LiveLeak alternatives in 2024. Therefore, if you are looking for a LiveLeak alternative, you are in the right place. Here, we will discuss some of the best LiveLeak alternatives in 2024. LiveLeak and its Evolution LiveLeak, established in 2006, […]

