


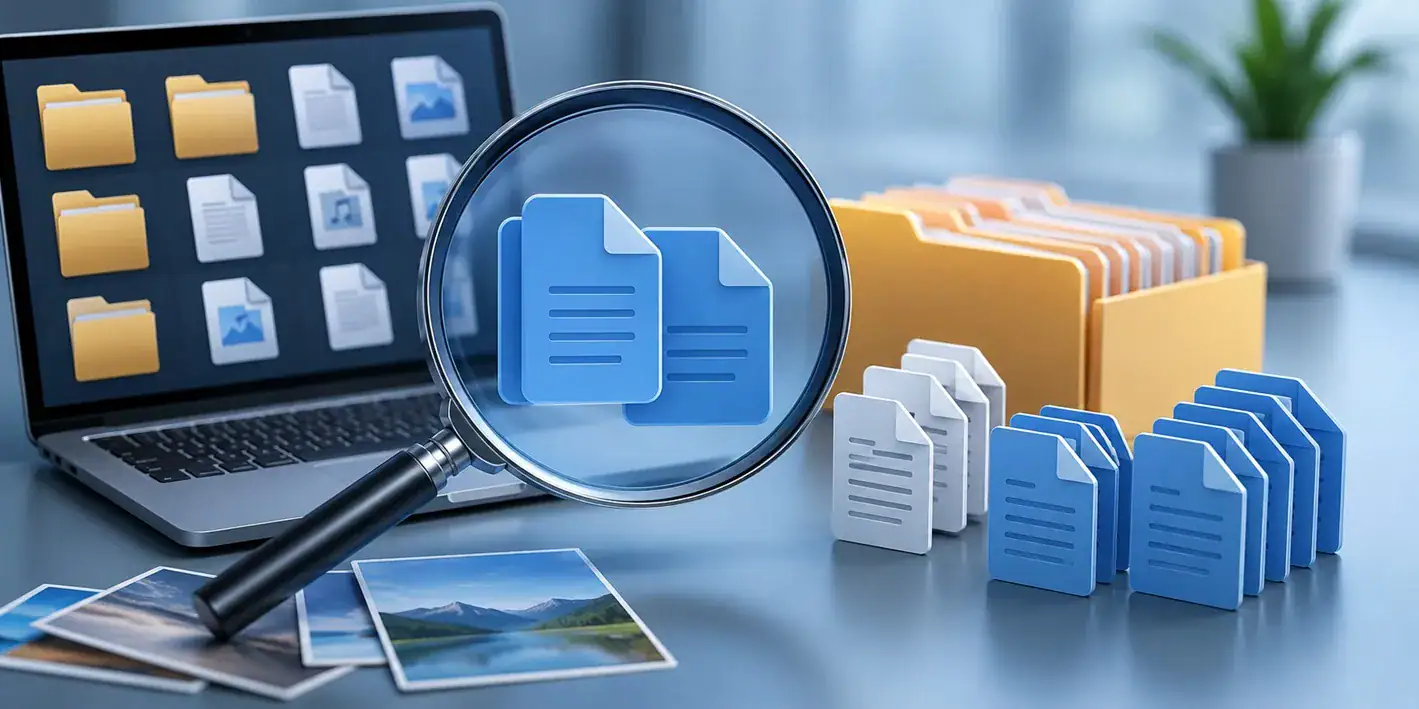
Computers collect thousands of files over time. Well, yes! Many of them end up being duplicates created by backups, downloads, or accidental copies. These extra files take up valuable storage space and make it harder to keep everything organized. Finding and removing them manually can take hours. Right? Duplicate File Finder Pro is a tool […]
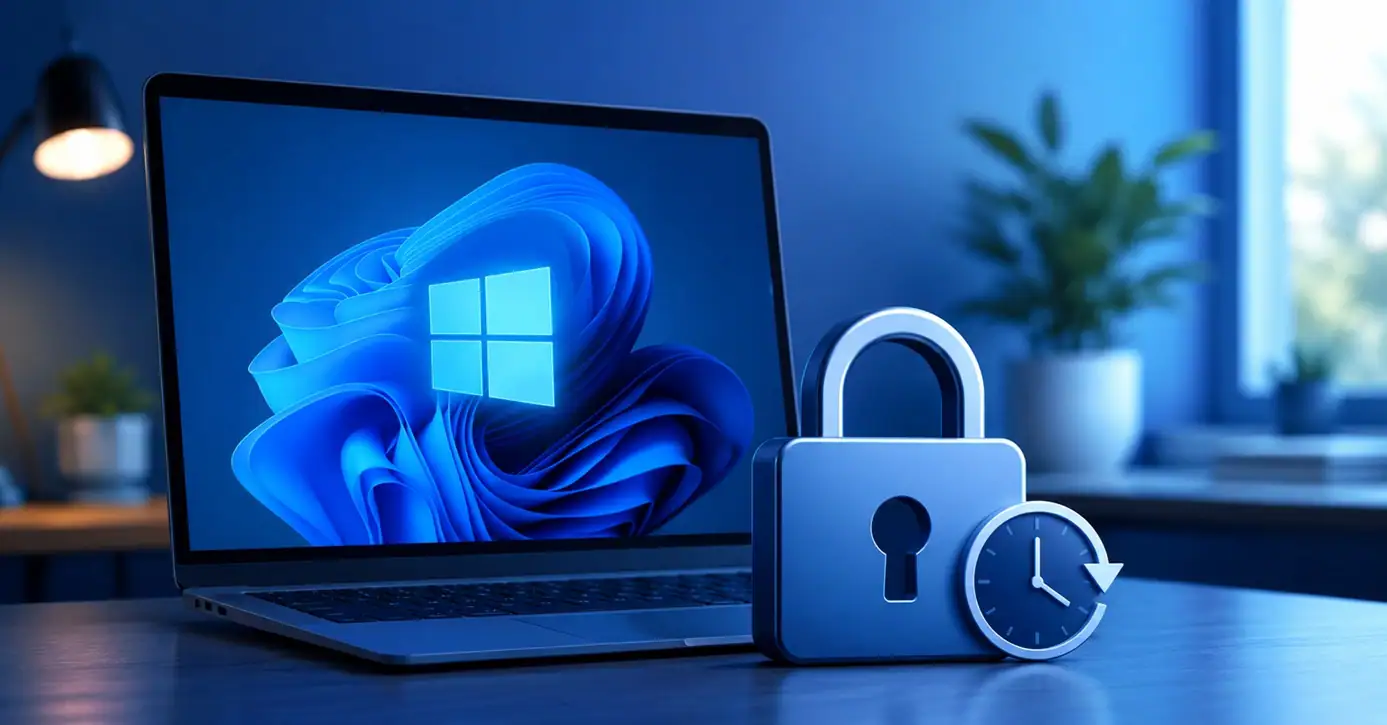
Bitlocker For Windows 11: Enable/ Disable/ Configure
Concerned about your data’s safety? In our digital world, securing your files is essential. Bitlocker is a robust tool designed to protect your information. Built into Windows 11, this encryption feature ensures that only you can access your data.
Bitlocker encrypts your entire drive. Encryption means converting data into a code that is difficult to decipher. If someone tries to access your data without your permission, they won’t be able to read it. This provides an extra layer of security, making your computer safer.
With Bitlocker, you can stop unauthorized access to your files. Be it important work documents or personal photos, Bitlocker ensures your data remains protected. Now, let’s explore what Bitlocker is, its pros and cons, safety precautions, and the steps to enable, configure, and disable it.
Part 1: What is Bitlocker?

Before diving into how to use Bitlocker, it’s crucial to understand its purpose. Bitlocker is a security feature that encrypts your data, transforming your files into a code only you can decipher. Let’s delve deeper into Bitlocker and how it operates.
Bitlocker is a full-disk encryption feature that comes with Windows. It employs advanced encryption standards to secure your data. When Bitlocker is activated, it encrypts all the files on your drive, ensuring that only those with the correct key can access the information.
Bitlocker for Windows 11 is specifically designed to protect your data in case your device is lost or stolen. If your laptop goes missing, your data remains secure thanks to encryption. Even if someone tries to access the hard drive separately, they won’t be able to read the information without the encryption key.
Windows 11 users can use Bitlocker to enhance their data security. It’s an integral part of the operating system, so you don’t need to install any additional software. It provides a seamless way to protect your data without compromising performance.
Part 2: Advantages/Disadvantages: Bitlocker For Windows 11
Before you decide to use Bitlocker, it’s important to understand both its benefits and drawbacks. This will help you make an informed decision about whether Bitlocker is the right tool for securing your data on Windows 11.
Advantages:
- Protects Data: Bitlocker encrypts your files, making it difficult for unauthorized users to access your data.
- Integration with Windows 11: Bitlocker is built into Windows 11, providing a seamless experience without the need for additional software.
- Ease of Use: Setting up and using Bitlocker is straightforward, thanks to its user-friendly interface.
- Peace of Mind: Having your data encrypted can provide peace of mind, particularly if you store sensitive information on your computer.
Disadvantages:
- Performance Impact: Bitlocker encryption may slightly slow down your computer’s performance, especially if you’re using older hardware.
- Limited Availability: Bitlocker is not available on all editions of Windows 11, so you may need to upgrade to use it.
- Potential Data Loss: Incorrect use of Bitlocker can lead to data loss, so it’s essential to follow instructions carefully and take necessary precautions.
Understanding these pros and cons will help you decide if Bitlocker is the right choice for protecting your data on Windows 11. If the benefits outweigh the drawbacks for your specific needs, Bitlocker can be a powerful tool in your data security arsenal.
Part 3: Precautions to Take While Using Bitlocker For Windows 11
Using Bitlocker can greatly enhance your data security, but it’s essential to take certain precautions. These steps will help ensure that your experience with Bitlocker is smooth and safe. Let’s look at the precautions to take.
- Backup your data before enabling Bitlocker.
- Ensure your computer is stable during encryption.
- Use Bitlocker on supported devices only.
- Check software compatibility with Bitlocker.
- Monitor system performance.
- Avoid sudden shutdowns during encryption.
- Regularly update your Windows 11.
Part 4: How To Turn on/ Enable Bitlocker for Windows 11?
Activating Bitlocker on your Windows 11 device is a straightforward task that enhances your data security. This built-in encryption tool allows you to protect your sensitive information effortlessly. By following a few simple steps, you can enable Bitlocker and start safeguarding your files against unauthorized access.
Let’s dive into the detailed steps for enabling Bitlocker on your Windows 11 device.
Step 1: Click on the Search Bar. Type Control Panel. Press Enter to open it. In the Control Panel window, click on “System and Security“. Under the “System and Security” section, find and click on “Bitlocker Drive Encryption.”
Step 2: A list of available drives will appear. Choose the drive you wish to encrypt using Bitlocker. Then, click the “Turn on Bitlocker” button located next to the selected drive.

Step 3: Follow the on-screen instructions to create a robust password. This password will be necessary to unlock your encrypted drive. Next, select a method to save your recovery key; you can store it in a file, print it out, or save it in your Microsoft account. Ensure you keep it in a secure location.
By following these steps, you will successfully enable Bitlocker on your Windows 11 device through the Control Panel. It’s crucial to keep your recovery key in a secure place to ensure you don’t lose access to your encrypted data.
Part 5: How To Configure Bitlocker on Windows 11
After enabling Bitlocker, you might want to configure it to suit your needs. Configuring Bitlocker involves setting up encryption modes and passwords. Here’s how to configure Bitlocker on your Windows 11 device.
Step 1: Open the Control Panel and go to “System and Security.” Click on “Bitlocker Drive Encryption.” Select the drive you want to configure. Click “Turn on Bitlocker.”
Step 2: Choose your encryption mode (new or compatible mode). Set a strong password for access.

Step 3: Save your recovery key securely. Follow the prompts to complete the configuration.
Part 6: How To Disable/Turn Off Bitlocker on Windows 11?
If you ever need to turn off Bitlocker, the process is simple. Disabling Bitlocker will decrypt your data, making it accessible without a key. Let’s see how to disable Bitlocker on Windows 11.
Step 1: Open Control Panel and go to “System and Security.” Click on “Bitlocker Drive Encryption.” Select the encrypted drive.
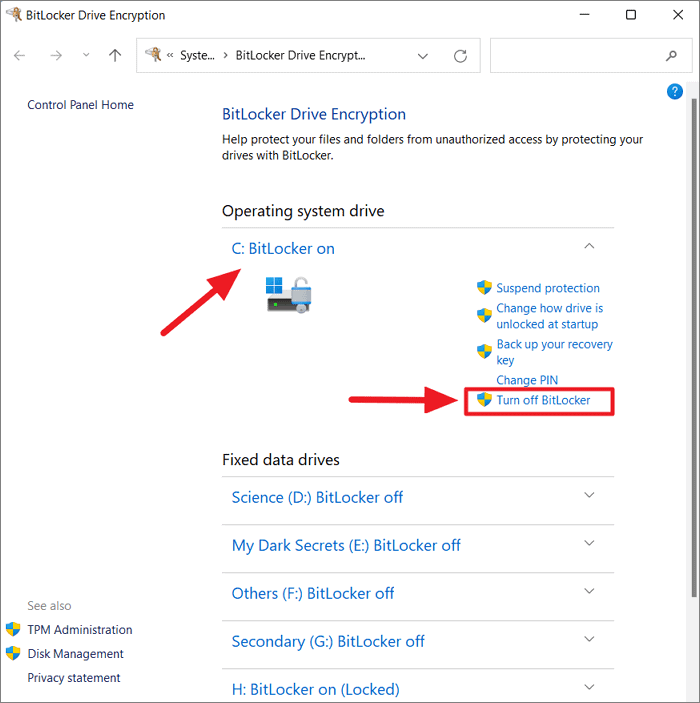
Step 2: Click “Turn off Bitlocker.” Confirm your choice to disable Bitlocker. The decryption process will begin.
Wait for decryption to complete. Bitlocker is now disabled.
Writer’s Tips
Keep your recovery key safe: Losing it can lock you out of your data, so ensure it is stored in a secure place.
- Regularly backup your important files: This ensures you don’t lose valuable information if something goes wrong during encryption.
- Use Bitlocker with caution: Follow the instructions carefully to avoid potential data loss.
- Double-check everything before proceeding: Ensuring that you have completed each step correctly can prevent issues.
- Monitor your system’s performance: Keep an eye on how Bitlocker affects your computer’s speed and functionality.
- Stay updated with Windows updates: Regular updates can enhance Bitlocker’s performance and security.
- Consider your specific needs: Make sure Bitlocker is the right tool for your data security requirements.
- Use strong passwords: Setting a robust password for Bitlocker helps ensure the highest level of security.
We hope these tips help you use Bitlocker effectively!
Conclusion
Do you want to secure your data? Bitlocker is an excellent tool for Windows 11 users. It provides robust encryption and integrates seamlessly with the operating system. By following the proper steps and precautions, you can protect your data from unauthorized access.
Bitlocker is easy to enable, configure, and disable. With just a few clicks, you can ensure your data is safe. Always keep your recovery key and backup your data. This will give you peace of mind knowing your information is secure.
In today’s world, data security is essential. Using Bitlocker can help you achieve that. So, why wait? Start protecting your files with Bitlocker on Windows 11 today.
FAQs
What is Bitlocker?
Bitlocker is a built-in encryption feature in Windows 11 that helps protect your data by converting it into unreadable code. This process, known as encryption, ensures that only authorized users with the correct key can access the information. Bitlocker is particularly useful for safeguarding sensitive data on lost or stolen devices, as it prevents unauthorized access to the encrypted files. By integrating seamlessly with Windows 11, Bitlocker provides a robust security solution without the need for additional software.
Is Bitlocker free?
Yes, Bitlocker is free to use, but it is only available on certain editions of Windows 11, such as Windows 11 Pro and Enterprise. If you are using a different edition, you may need to upgrade your Windows version to access Bitlocker’s encryption features. Once you have the appropriate edition, you can enable Bitlocker without any additional cost, providing a powerful tool to enhance your data security.
Can I use Bitlocker on any computer?
Bitlocker is available on supported editions of Windows 11 and certain hardware configurations. To use Bitlocker, your computer must have a Trusted Platform Module (TPM) version 1.2 or higher, or you can use a USB flash drive to store the encryption key if your device lacks a TPM. Additionally, Bitlocker is not available on Windows 11 Home edition, so you may need to upgrade to Windows 11 Pro or Enterprise to access this feature.
What if I lose my recovery key?
If you lose your Bitlocker recovery key, you may lose access to your encrypted data. The recovery key is essential for unlocking your drive if you forget your Bitlocker password or if your system detects a security issue. To avoid losing access to your data, it is crucial to store your recovery key in a secure place, such as a printed copy, a saved file on a different device, or in your Microsoft account. Regularly backing up your recovery key ensures that you can always regain access to your encrypted data when needed.
Author Bio:
Dinesh Lakhwani 

Dinesh Lakhwani, the entrepreneurial brain behind “TechCommuters,” achieved big things in the tech world. He started the company to make smart and user-friendly tech solutions. Thanks to his sharp thinking, focus on quality and the motto of never giving up, TechCommuters became a top player in the industry. His commitment to excellence has propelled the company to a leading position in the industry.
Popular Post
Recent Post
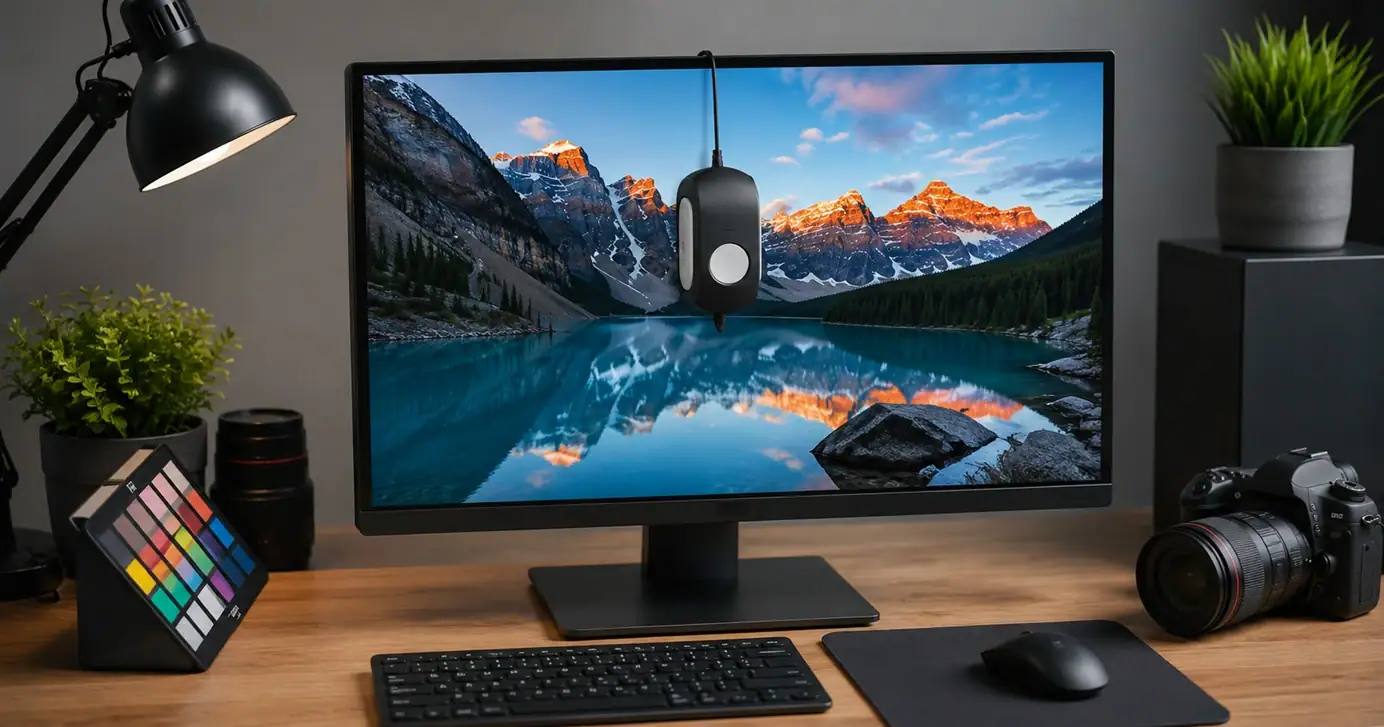
Monitor Screen Calibration Guide: Everything You Should Know
Your monitor shows colors every single day. But are those colors actually correct? Most people never stop to check this. They just use the screen as it comes out of the box. This habit can lead to wrong colors in photos, videos, and work files. Colors may look too warm or too cold without you […]
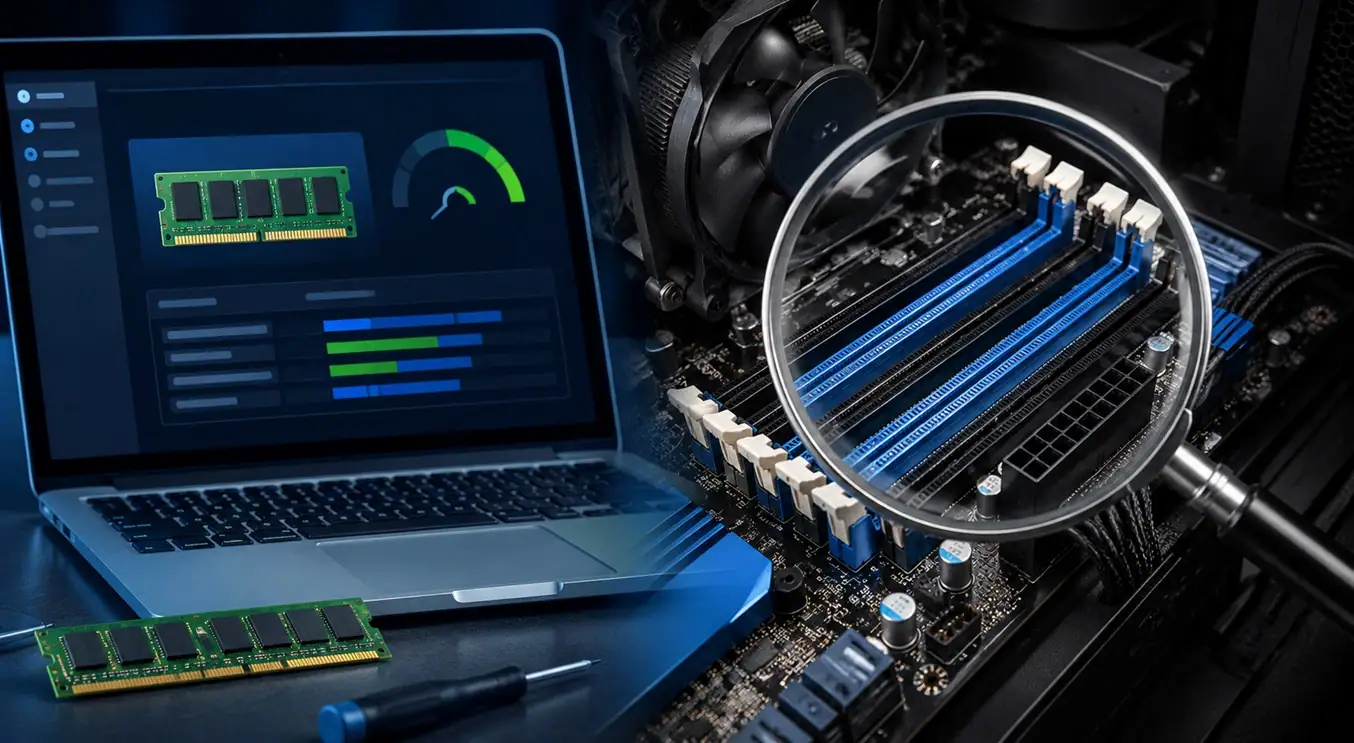
How To Check Installed RAM and RAM Slots [Complete Guide]
RAM plays an important role in how smoothly a computer runs. Short for Random Access Memory, it stores the data and instructions that Windows and active applications need at any given moment. From opening multiple browser tabs to running games and productivity software, RAM helps keep everything responsive. A system with limited memory may experience […]

What is Microsoft Autopilot Everything You Need To Know
Technology has changed the way companies manage computers. Well, yes! Employees now work from offices, homes, and remote locations. Setting up devices manually for every worker takes time and effort. It can also create mistakes that slow down productivity. This is where Microsoft Autopilot becomes useful. It helps businesses prepare and deploy Windows devices with […]
Enable Automatic Device Locking Feature Windows: Complete Guide
Introduction: Your computer stores important information such as emails, documents, passwords, and personal photos. Leaving it unlocked can put that data at risk. Thankfully, Windows includes built-in features that can automatically lock your device when you are away. Setting up automatic device locking is quick and does not require any extra software. In this guide, […]

How to Update Wireless Network Driver in Windows 11 and 10
Your Wi-Fi keeps dropping. Pages load slowly. The connection feels unstable? Well, you are not alone. Most of the time, the problem is not with your internet plan. It is with your wireless network driver. A driver is a small piece of software that helps your computer talk to its hardware. When it gets outdated, […]
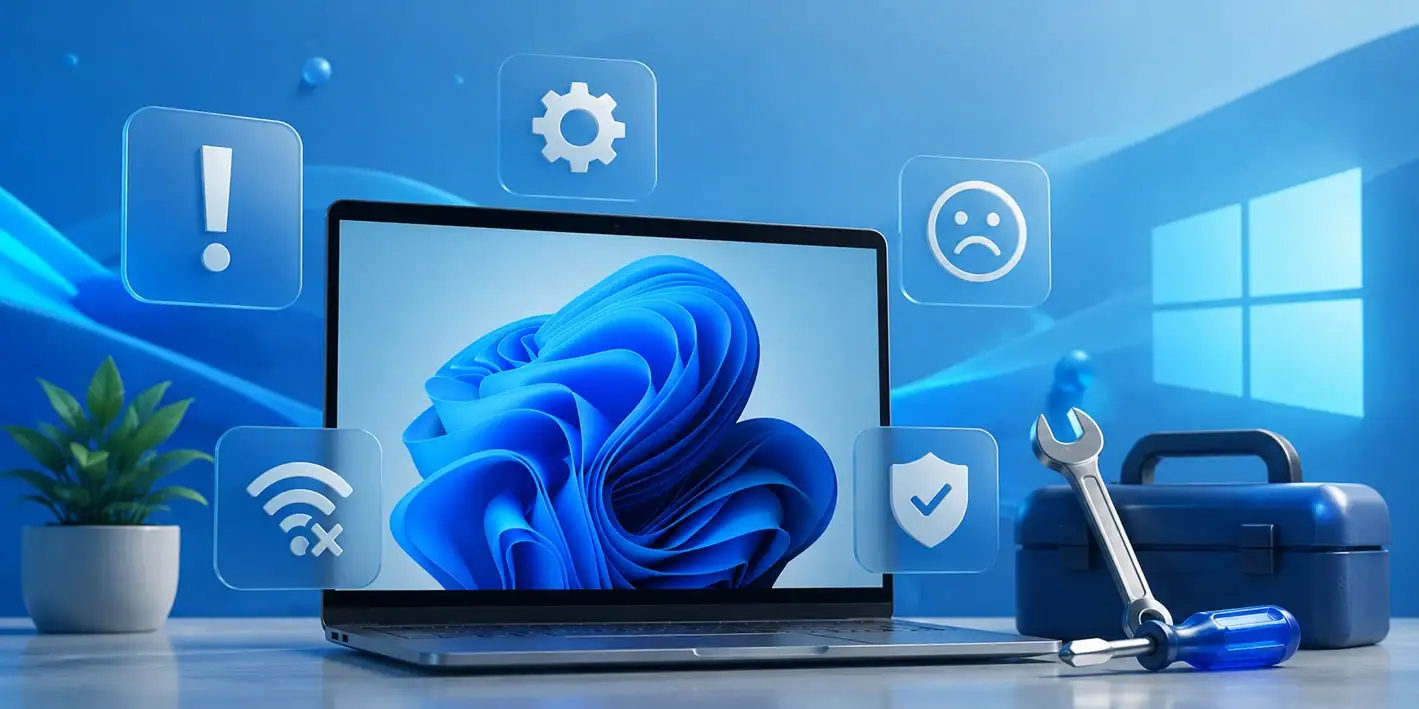
Common Windows 11 Problems and Solutions (2026 Version)
Windows 11 has become more polished over the years, but it is still not completely free from problems. Even after regular updates from Microsoft, many users continue to face issues like lagging performance, failed updates, audio troubles, random crashes, and network errors. Some problems appear after installing new features, while others develop gradually as the […]
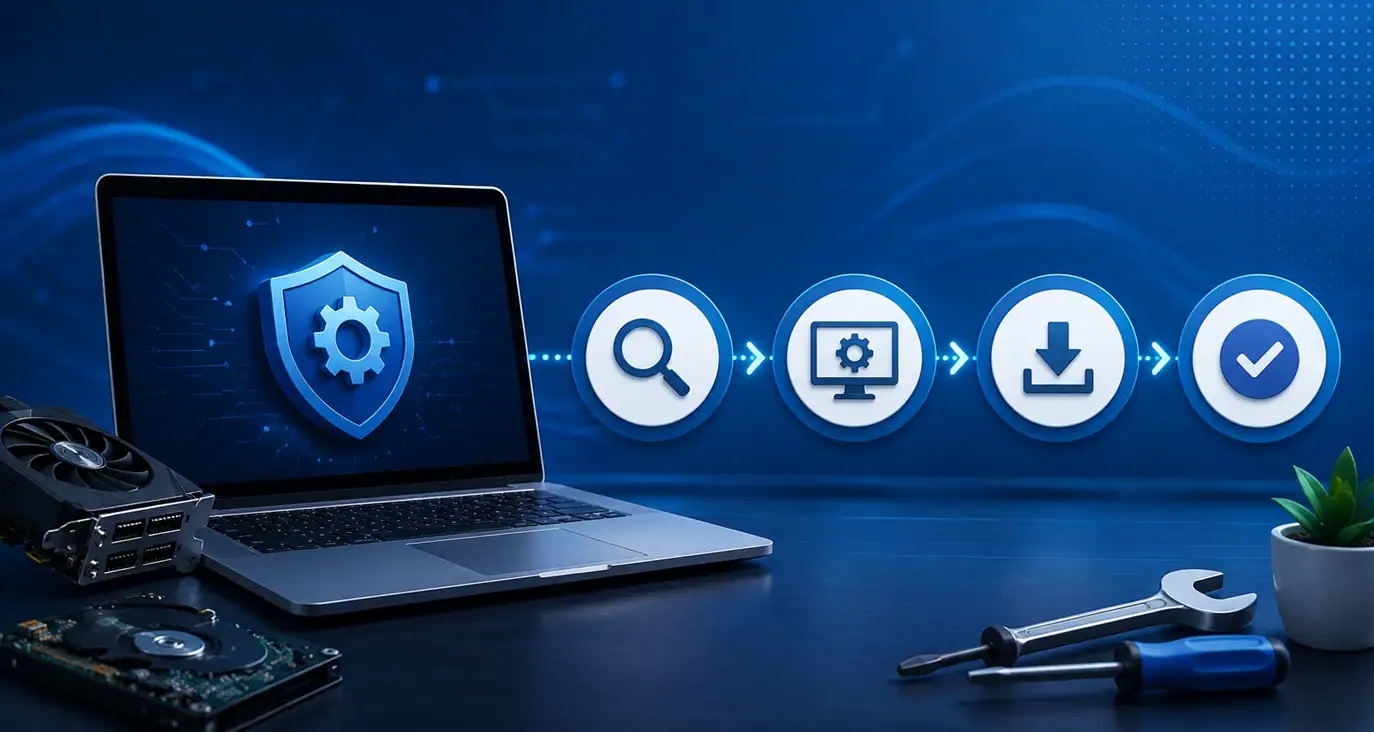
Fortect Driver Updater Review: Features, Steps, Pros, and Cons.
A new PC usually feels quick and responsive. Applications open instantly, games run smoothly, and everything works as expected. As time passes, however, you may notice slower performance, system crashes, hardware glitches, or devices that stop working properly. While many people assume malware or low storage space is to blame, outdated drivers are often the […]

New Features Coming in Windows 11 This Year [2026]
Microsoft is always working to make Windows better. This year is no exception. The company has announced and rolled out several exciting updates for its users. These updates touch almost every part of the operating system. From the Start menu to system settings, changes are arriving fast. If you use Windows daily, you will want […]

Top 14 Duplicate Photo Finder and Remover For Windows [2026]
Introduction: Photos pile up fast. Well, yes! You take ten shots of the same moment. You download the same image twice. You back up your folder and forget you already did it. Before you know it, your storage is packed with copies. A good duplicate photo finder helps you take back that space without losing […]

