Setting Up Default Audio Device: Complete Guide [2026]

Introduction:
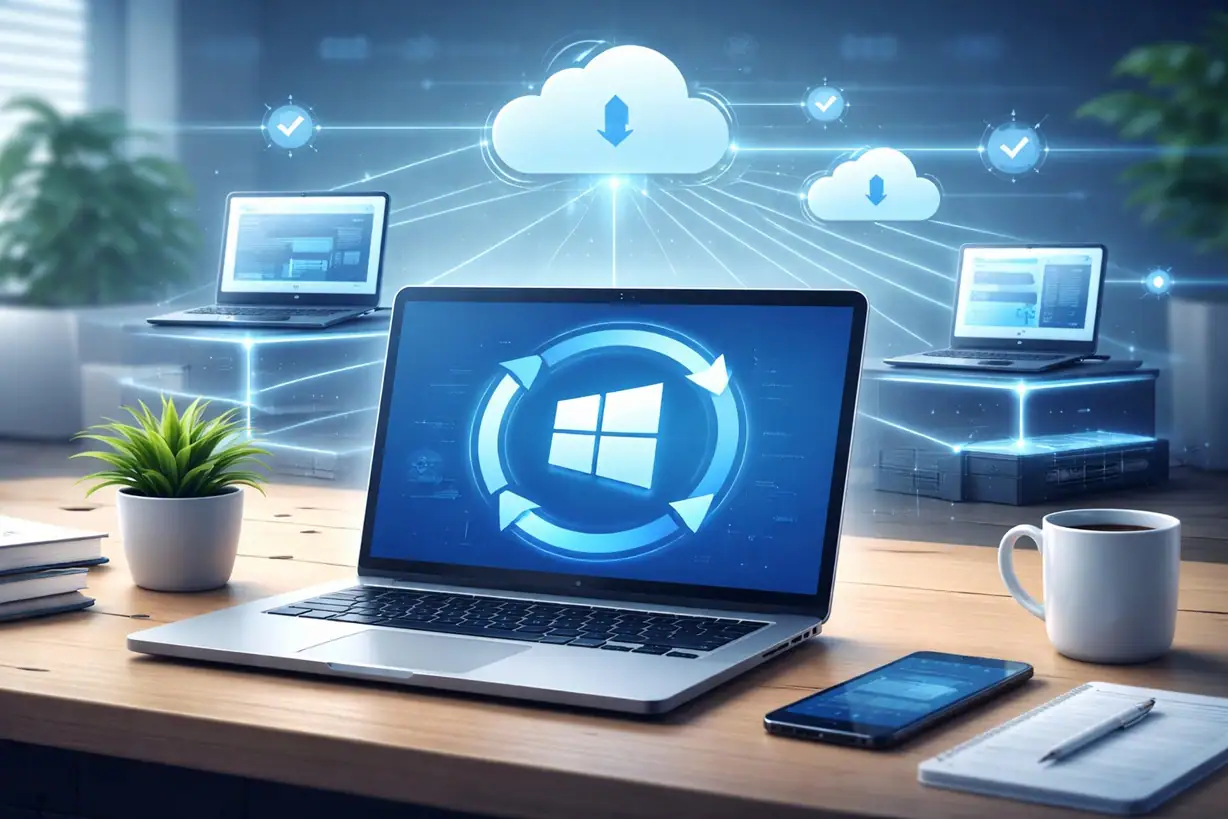
Sound is a big part of how we use computers every day. Whether you are watching a movie, joining a video call, or listening to music, your audio needs to work properly. Setting up default audio device is one of the first things you should do when you connect new speakers, headphones, or a Bluetooth device. Without the right settings, your computer may play sound from the wrong output or not play any sound at all.
Knowing how to setup default audio device saves you a lot of time and frustration. Many people plug in new audio hardware and wonder why nothing works. The answer is almost always that the default device has not been changed. This guide walks you through everything you need to know. It covers precautions, advantages, quick methods, and answers common questions.
Before You Begin: Key Precautions to Keep in Mind
Taking a few precautions before you start will protect your hardware and prevent errors. Rushing through audio settings can lead to problems like no sound, distorted audio, or even driver issues. Read these points carefully before you begin.
- Check Your Device Compatibility: Make sure the audio device you are using is compatible with your operating system. Older devices may not have updated drivers for newer Windows or macOS versions.
- Update Your Audio Drivers First: Outdated drivers are one of the top causes of audio problems. Go to Device Manager or your manufacturer’s website and update your drivers before changing any settings.
- Avoid Switching Devices Mid-Call: Changing the default audio device during an active call or video meeting can cut your sound. Always make the switch before you start a session.
- Close Running Audio Applications: Apps like Spotify, Zoom, or VLC may not recognize a new default device while they are open. Close them first, make your change, then reopen the app.
- Use One Device at a Time: If you have multiple audio devices connected, it can confuse the system. Disconnect devices you are not using before setting a new default.
- Back Up Your Sound Settings: On Windows, you can note down your current settings before making changes. This helps you restore things if something goes wrong.
- Check Volume Levels After Switching: After setting a new default, always check the volume. Some devices save their own volume levels, and the new device may be set very low or muted.
- Restart When Needed: If your device is not appearing in the list, a simple restart can fix it. This refreshes the system and helps detect newly connected hardware properly.
Weighing It Out: Advantages and Disadvantages of Setting a Default Audio Device
Understanding both sides helps you make smarter choices about your audio setup. Setting a default audio device has clear benefits, but it also comes with a few limitations worth knowing.
When you manage your audio settings well, you get a smoother experience overall. Your apps know exactly where to send sound, and you spend less time troubleshooting. But there are also some downsides, especially when you use multiple devices regularly.
Advantages
- Consistent Audio Output: Once set, all apps use the same device automatically. You do not need to change settings in each individual app every time.
- Faster Setup for New Apps: Any new application you install will immediately use your chosen default. This is very helpful for productivity and gaming tools.
- Fewer Audio Errors: A properly set default reduces the chance of “no audio” errors. Your system always knows where to send sound.
- Better Call Quality: For work-from-home users, setting up default audio device ensures your microphone and speakers are always ready for meetings without last-minute adjustments.
Disadvantages
- Inconvenient With Multiple Devices: If you switch between headphones and speakers often, you will need to change the default frequently. This can get repetitive.
- Apps May Not Update Immediately: Some older apps do not respond to default changes while they are running. You may need to restart them.
- Wrong Device Can Be Set Accidentally: If you have many devices listed, it is easy to pick the wrong one. This causes confusion and silent playback.
- Bluetooth Devices Can Drop Default Status: Bluetooth audio devices sometimes disconnect and lose their default status. You may need to reassign them after each reconnection.
Unanswered Questions You Should Not Ignore:
Why is there no sound even after setting up default audio device?
This is a common issue that has a few possible causes. Even after how to setup default audio device correctly, the app you are using may still be routing audio to the old device. Close the app, reopen it, and check its own audio settings. Also, make sure the volume on both the device and the system is turned up and not muted.
Can I set different default devices for different apps?
Yes, on Windows 10 and Windows 11, you can. Go to Settings, then Sound, and scroll down to “App volume and device preferences.” From there, you can assign a specific output and input device for each open application. This is very useful if you want music on your speakers and calls on your headphones at the same time.
Does setting up the default audio device affect the microphone too?
Yes and no. Windows separates output (playback) devices and input (recording) devices. Setting up the default audio device for playback does not automatically change your microphone default. You need to set a default input device separately in the same Sound settings panel.
How often do I need to change the default audio device?
It depends on your setup. If you use only one audio device, you will rarely need to change it. But if you regularly plug in headphones, connect via Bluetooth, or use a USB audio device, you may need to update the settings each time. Some third-party apps and tools can automate this switching for you.
3 Quick Methods to Set Up the Default Audio Device
There is more than one way to change your default audio device depending on your system and comfort level. Windows gives you multiple paths to reach the same setting. Below are three easy methods that work well for most users. Each method is straightforward and takes less than two minutes. Choose the one that feels easiest to you.
Method 1: Using the System Tray (Fastest Way)
This is the quickest route to how to setup default audio device without opening any menus. It works best on Windows 10 and Windows 11.
Step 1: Look at the bottom-right corner of your taskbar. Find the speaker or volume icon and right-click on it. A small menu will appear with a few options. Click on “Sound settings”.

Step 2: In the Sound settings window, look for the “Output” section. Click the dropdown menu under “Choose where to play sound.” A list of all connected audio devices will appear. Click on the one you want to set as the default. Windows will immediately start routing all audio through that device. That is all it takes.

Method 2: Through Windows Settings App
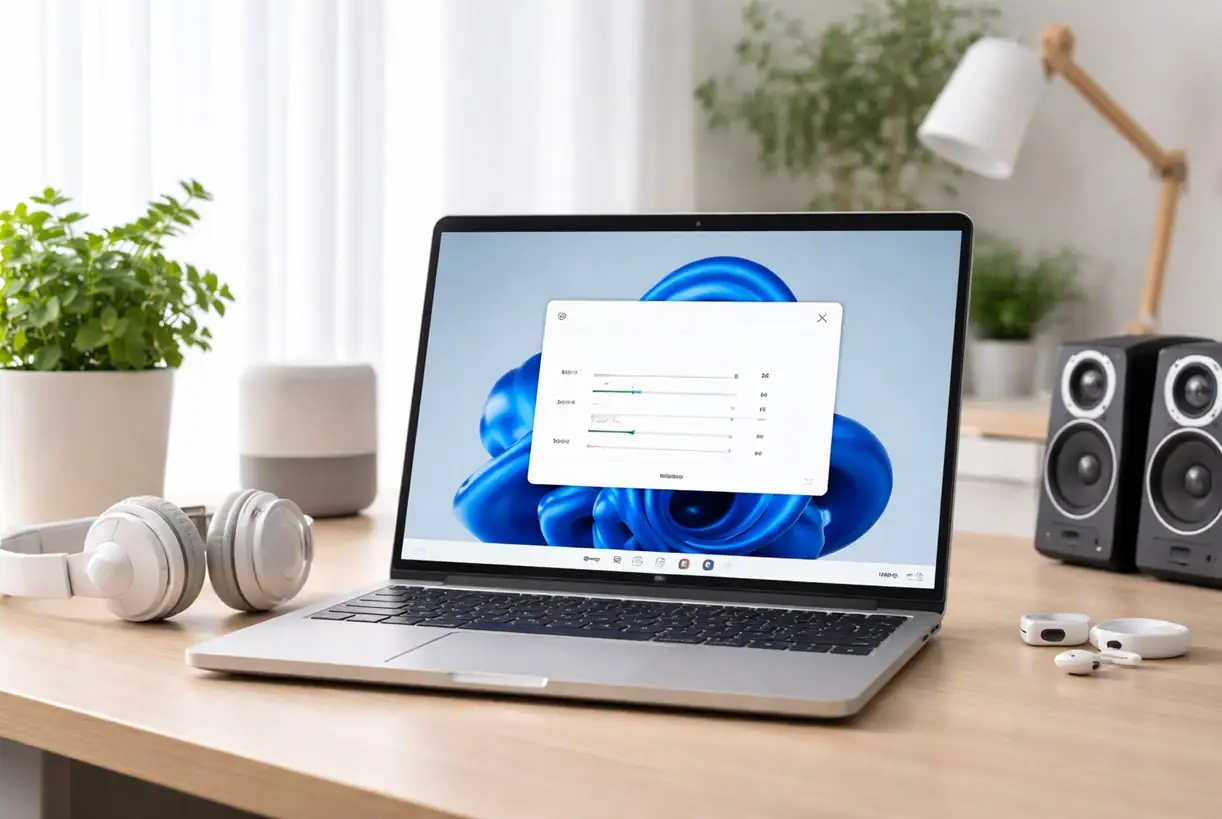
This method gives you more control and is ideal if you want to adjust both input and output together. It is a clean way of setting up default audio device using the modern Settings interface.
Step 1: Press the Windows key and the letter I at the same time to open Settings. Click on “System” and then select “Sound” from the left-hand menu. You will see all your audio options laid out clearly on this page.

Step 2: Scroll down to the “Input” section and choose your microphone or recording device in the same way. If you want app-specific settings, click on “App volume and device preferences” at the bottom of the page and customize from there.
Method 3: Using the Classic Sound Control Panel
This method is older but still very reliable. It is useful for advanced users and is especially helpful when the Settings app does not show all your devices. This is a thorough way of how to setup default audio device with full visibility.
Step 1: Right-click on the speaker icon in the taskbar and choose “Sounds.” If you do not see that option, press Windows + R, type mmsys.cpl, and hit Enter. This opens the classic Sound control panel directly.

Step 2: In the Sound window, click on the “Playback” tab. You will see a list of all playback devices. Right-click on the one you want and select “Set as Default Device.” For headsets, also go to the “Recording” tab and right-click your microphone to set it as the default. Click Apply and then OK to save all your changes.
Author’s Tip
After years of working with audio setups, the single most helpful habit is to restart your audio application after setting up default audio device. Many apps load their audio settings only at startup. Even if the system default changes, the app keeps using the old device until it is restarted.
Another great tip is to label your devices clearly in Windows. You can right-click any device in the Sound control panel and choose “Properties” to rename it. Instead of “Realtek Audio” or “USB Audio Device,” name it something simple like “Desk Speakers” or “Work Headset.” This makes how to setup default audio device much faster because you always know what you are clicking.
If you use Bluetooth headphones regularly, consider using a free tool like SoundSwitch or Audio Switcher. These tools let you switch your default audio device with a single hotkey. They are lightweight, free, and work perfectly with Windows. They make the whole process faster and remove the need to dig into settings every single time.
Conclusion
Audio settings may seem small, but they affect your entire computer experience. Setting up default audio device the right way means your music, calls, and videos all play through the right device without you having to think about it. Once it is set correctly, everything just works.
This guide covered three practical methods for how to setup default audio device, from the fast system tray method to the more detailed control panel approach. You also learned what precautions to take, what advantages and disadvantages to expect, and how to handle common questions. Having this knowledge puts you in full control of your audio.
Whether you are a student, a remote worker, or a casual user, taking five minutes to configure your audio settings properly will save you hours of confusion later. Go ahead and set your default audio device today. You will notice the difference immediately.
FAQs
Q1: Can I set a Bluetooth speaker as my default audio device?
Yes, you can set a Bluetooth speaker as your default audio device on both Windows and macOS. First, pair the Bluetooth speaker with your computer through the Bluetooth settings. Once it is connected and visible, follow any of the three methods above and select it from the list of playback devices. Keep in mind that Bluetooth devices may need to be reassigned as the default each time they reconnect, since they sometimes revert to the previous default after disconnecting.
Q2: What should I do if my desired audio device does not appear in the list?
If your device is not showing up, start by checking the physical connection. For wired devices, make sure the cable is fully inserted. For Bluetooth, confirm the device is paired and connected. Then right-click inside the Playback tab of the Sound control panel and make sure “Show Disabled Devices” and “Show Disconnected Devices” are both checked. If it still does not appear, update or reinstall your audio drivers from Device Manager or the manufacturer’s website.
Q3: Is setting up default audio device different on macOS?
Yes, the process is slightly different on macOS. On a Mac, go to the Apple menu and open System Settings or System Preferences. Click on “Sound” and then select the “Output” tab. From there, click on the device you want to use as your default. macOS does not have a separate “set as default” button like Windows. Simply selecting the device makes it the active output. The process is clean and quick, though it offers fewer advanced options compared to Windows.
Author Bio:
Dinesh Lakhwani 

Dinesh Lakhwani, the entrepreneurial brain behind “TechCommuters,” achieved big things in the tech world. He started the company to make smart and user-friendly tech solutions. Thanks to his sharp thinking, focus on quality and the motto of never giving up, TechCommuters became a top player in the industry. His commitment to excellence has propelled the company to a leading position in the industry.
Popular Post


Recent Post
Setting Up Default Audio Device: Complete Guide [2026]
Introduction: Sound is a big part of how we use computers every day. Whether you are watching a movie, joining a video call, or listening to music, your audio needs to work properly. Setting up default audio device is one of the first things you should do when you connect new speakers, headphones, or a […]

Emptying the Recycle Bin In Windows: Complete Guide
Introduction: When a file is deleted in Windows, it is not erased immediately. It is first sent to the Recycle Bin, where it stays until it is removed permanently. Clearing the Recycle Bin is a quick way to regain storage space. Many users do this often to keep their system clean and working properly. Knowing […]

How To Close Games Assist: Simple Methods to Try
Introduction Do you have a feature on your device that keeps popping up while you play games? Many users want to know how to close Games Assist because it shows up at the wrong time. It can be distracting. It can slow down your game. And sometimes, you just do not need it running in […]

Optimizing Graphics Performance: Complete Guide [2026]
Introduction: If your games stutter or your videos look choppy, your graphics might need some help. Optimizing graphics performance is one of the best things you can do for your PC. It makes everything look better and run faster without buying new hardware. Many people think better visuals require expensive upgrades. But that is not […]

Updating Printer Drivers: Complete Guide For 2026
Introduction: Your printer may stop responding without warning. You click print, but nothing comes out. In some cases, the output quality also becomes poor. There is no need to worry right away. The solution is often quite simple. Many common printer issues are linked to outdated drivers. Updating printer drivers can quickly restore normal function. […]
Managing Update Delivery Optimization: Latest Guide for Windows
Windows updates are essential. They keep your computer secure and fix bugs. But updates can be large. They can slow down your internet without warning. Videos buffer. Pages load slowly. Most people do not know why this happens. The reason is often updates running quietly in the background. That is where managing update delivery optimization […]

Change Power and Sleep Settings in Windows: Latest Guide
Introduction: Computers power our work, study, and play. Many people use them for hours without thinking about energy use. A few quick tweaks can boost performance and save power. They also help your PC stay fast and efficient. This guide shows how to adjust power and sleep settings in Windows step by step. Power and […]
Resolving App-Specific GPU Problems: Complete Guide (8 Quick Methods)
Introduction: Modern computers rely heavily on the GPU for smooth performance. Well, yes! It helps run games, design software, video editing tools, and many other apps. When the GPU works well, everything feels fast and stable. But when issues appear in a single app, it can become confusing and frustrating. Many users face cases where […]

Resolving Screen Flickering Problems On Windows 11/10: Complete Guide
Introduction Screen flickering is a common issue in both Windows 10 and Windows 11 systems. It may appear as quick flashes, blinking lines, or unstable brightness on the screen. This problem can interrupt your work and make it difficult to focus for long periods. Many users notice this issue after installing updates, changing drivers, or […]
Adjusting Volume Balance Settings On Windows 11: Complete Guide
Introduction: Sound is an important part of using a computer every day. You may watch videos, listen to music, attend online meetings, or play games. In all these tasks, clear and balanced sound makes a big difference. Sometimes, audio may not feel right. One side may sound louder than the other. This can make listening […]

