


Computers collect thousands of files over time. Well, yes! Many of them end up being duplicates created by backups, downloads, or accidental copies. These extra files take up valuable storage space and make it harder to keep everything organized. Finding and removing them manually can take hours. Right? Duplicate File Finder Pro is a tool […]
How to Fix “iMessage Not Delivered” on your iPhone
Are you experiencing the frustrating issue of “iMessage Not Delivered” on your iPhone? It’s a common problem that can hinder your ability to send messages and disrupt your communication flow. Whether you’re trying to connect with friends, family, or colleagues, resolving this issue is crucial for staying connected in the digital age.
In this troubleshooting guide, we’ll walk you through some effective solutions to fix the “iMessage Not Being Delivered” problem on your iPhone. By following these steps, you’ll be able to regain seamless communication through iMessage and ensure your messages reach their intended recipients.
How to Fix the “iMessage Not Delivered” Issue on iPhone?
Solution 1: Check Your Internet Connection

The first and foremost step in resolving the issue is to ensure that you have a stable and reliable internet connection. Poor connectivity can often be the root cause of message delivery problems.
Therefore, it is crucial to verify that you are connected to a robust Wi-Fi network or have a strong cellular data signal. A stable internet connection will pave the way for seamless communication and increase the chances of successfully delivering your iMessages.
Solution 2: Manually Enable iMessage
If you’re still encountering the “iMessage Not Delivered” problem on your iPhone, it may be worth checking if iMessage is enabled. Sometimes, a simple toggle of this feature can resolve the issue. Follow these steps to manually enable iMessage:
- Open the Settings app on your iPhone. Scroll down and tap on “Messages”.

- Ensure that the toggle switch next to “iMessage” is turned on (green).

- If iMessage is already enabled, toggle it off and wait for a few seconds before toggling it back on.
By manually enabling iMessage, you’re essentially refreshing the feature and giving it a chance to establish a stable connection. This step often helps in rectifying any temporary glitches or conflicts that may have caused the problem.
Once you’ve enabled iMessage, try sending a test message to see if the issue is resolved. If the problem persists, let’s move on to the next solution.
Solution 3: Send as a Text Message Instead
If you’re still facing the “iMessage Not Delivered” issue on your iPhone, an alternative approach is to send your message as a regular text message instead of using iMessage. Follow these steps to send a text message:
- Open the Messages app on your iPhone.
- Tap on the conversation where you’re experiencing the delivery problem.
- Type your message as you normally would.
- Instead of tapping the blue send button, press and hold it until a menu appears.

- From the menu, select “Send as Text Message.”
By opting to send your message as a text message, you bypass the iMessage feature and use the traditional SMS method instead. This can be helpful in situations where iMessage encounters temporary connectivity issues or if the recipient’s device does not support iMessage.
Solution 4: Perform a Force Restart
If you’re still facing the iMessage delivery problem on your iPhone, performing a force restart can help refresh the device’s system and potentially resolve any software-related issues causing the problem. Here’s how you can do it:
For iPhone models without a Home button (iPhone 7 and later):
- Press and hold the Power button (Sleep/Wake button) and the Volume Down button simultaneously.

- Keep holding both buttons until the Apple logo appears on the screen.
- Release the buttons and wait for your iPhone to restart.
Performing a force restart can help clear temporary system glitches that might be causing the iMessage delivery problem. After your iPhone restarts, try sending an iMessage to check if the issue is resolved.
Solution 5: Log Out and Login Your Apple ID Account
Here comes our next solution. Well, agree or not but it’s worth trying to log out and log back into your Apple ID account. This process can help refresh your account settings and resolve any authentication-related problems.
Follow these steps to log out and log back into your Apple ID:
- Open the Settings app on your iPhone.
- Tap on your Apple ID profile at the top of the screen.
- Scroll down and select “Sign Out” at the bottom of the page.

- Enter your Apple ID password when prompted and confirm the sign-out process.
- Once signed out, go back to the Settings app.
- Tap on “Sign In” or “Sign in to your iPhone” (depending on your iOS version).
- Enter your Apple ID and password, and follow the on-screen instructions to sign back in.
Logging out and logging back into your Apple ID account can reestablish the necessary connection between your device and Apple’s servers, potentially resolving any underlying issues causing the message delivery problem.
Solution 6: Try Using an Alternative SIM Card
Trying an alternative SIM card can help determine if the problem is specific to your current SIM. Using an alternative SIM card can help identify whether the issue is related to your original SIM card or the iPhone itself. If the “iMessage Not Delivered” problem is resolved with the alternative SIM card, it suggests that there may be an issue with your original SIM card. In such cases, you can contact your mobile service provider to address the SIM-related issue.
If the problem persists even with the alternative SIM card, it indicates that the issue is likely not SIM card-related, and you should proceed with other troubleshooting methods or consider seeking assistance from Apple Support.
Solution 7: Update iOS
It is quite essential to ensure that your device is running the latest version of iOS. Software updates often include bug fixes and improvements that can address known issues, including messaging-related problems.
Here’s how you can update your iOS:
- Connect your iPhone to a stable Wi-Fi network.
- Open the Settings app on your iPhone.
- Scroll down and tap on “General.”
- Select “Software Update.”
- If an update is available, tap on “Download and Install.”
- If prompted, enter your device passcode.
- Follow the on-screen instructions to complete the update process.
In addition to this, it’s recommended to have your iPhone connected to a power source during the update to ensure a smooth installation. Once the update is complete, try sending an iMessage to check if the issue is resolved.
Solution 8: Reset Your iPhone
If all the previous solutions have failed to resolve the iMessage delivery problem on your iPhone, performing a reset may be the final step to consider. Resetting your iPhone can help eliminate any persistent software issues that might be causing the problem. However, please note that resetting your device will erase all data and settings, so it’s crucial to back up your iPhone beforehand.
Here’s how you can reset your iPhone:
- Go to the Settings app on your iPhone.
- Scroll down and tap on “General.”
- Scroll to the bottom and select “Reset.”
- Choose “Erase All Content and Settings.”

- If prompted, enter your device passcode and confirm your decision.
- Follow the on-screen instructions to proceed with the reset process.
After the reset is complete, set up your iPhone as a new device or restore it from a backup. Once you’ve completed the setup, test sending an iMessage to check if the issue has been resolved.
Resetting your iPhone should only be done as a last resort if all other troubleshooting methods have failed. If the problem still persists even after resetting your device, it’s advisable to contact Apple Support or visit an Apple Store for further assistance.
Conclusion
Dealing with the frustrating “iMessage Not Delivered” error on your iPhone can be quite a headache, but thankfully there are several effective solutions to help you resolve this issue. It’s worth noting that technology is constantly evolving, and occasional glitches are not uncommon. By following the troubleshooting steps mentioned in this blog, you can regain the seamless messaging experience without any hurdles.
FAQs:
Why does my iMessage say “Not Delivered” even when I have internet?
Even with a stable internet connection, iMessage may fail to deliver due to temporary glitches in Apple’s servers, outdated iOS software, or incorrect settings, like the recipient’s number not being registered with iMessage. It’s also possible the recipient has turned off iMessage or is in an area with poor connectivity. Restarting your device, checking for iOS updates, and verifying the recipient’s contact info can often resolve the issue.
How can I tell if the issue is with my iPhone or the recipient’s?
Try sending an iMessage to another contact. If it goes through, the issue is probably with the person you originally messaged. If none of your messages are sending, the problem might be with your phone. You can also tap Send as Text Message on the failed iMessage. If that works, it means iMessage is the
Will resetting network settings fix iMessage delivery issues?
Yes, resetting network settings can help resolve persistent iMessage delivery problems, especially if they’re caused by corrupted Wi-Fi or cellular configurations. This action clears saved networks, VPNs, and Bluetooth pairings, giving your iPhone a fresh start with connectivity. Just be sure to reconnect to Wi-Fi and reconfigure any VPNs or Bluetooth devices afterward.
Author Bio:
Dinesh Lakhwani 

Dinesh Lakhwani, the entrepreneurial brain behind “TechCommuters,” achieved big things in the tech world. He started the company to make smart and user-friendly tech solutions. Thanks to his sharp thinking, focus on quality and the motto of never giving up, TechCommuters became a top player in the industry. His commitment to excellence has propelled the company to a leading position in the industry.
Popular Post
Recent Post
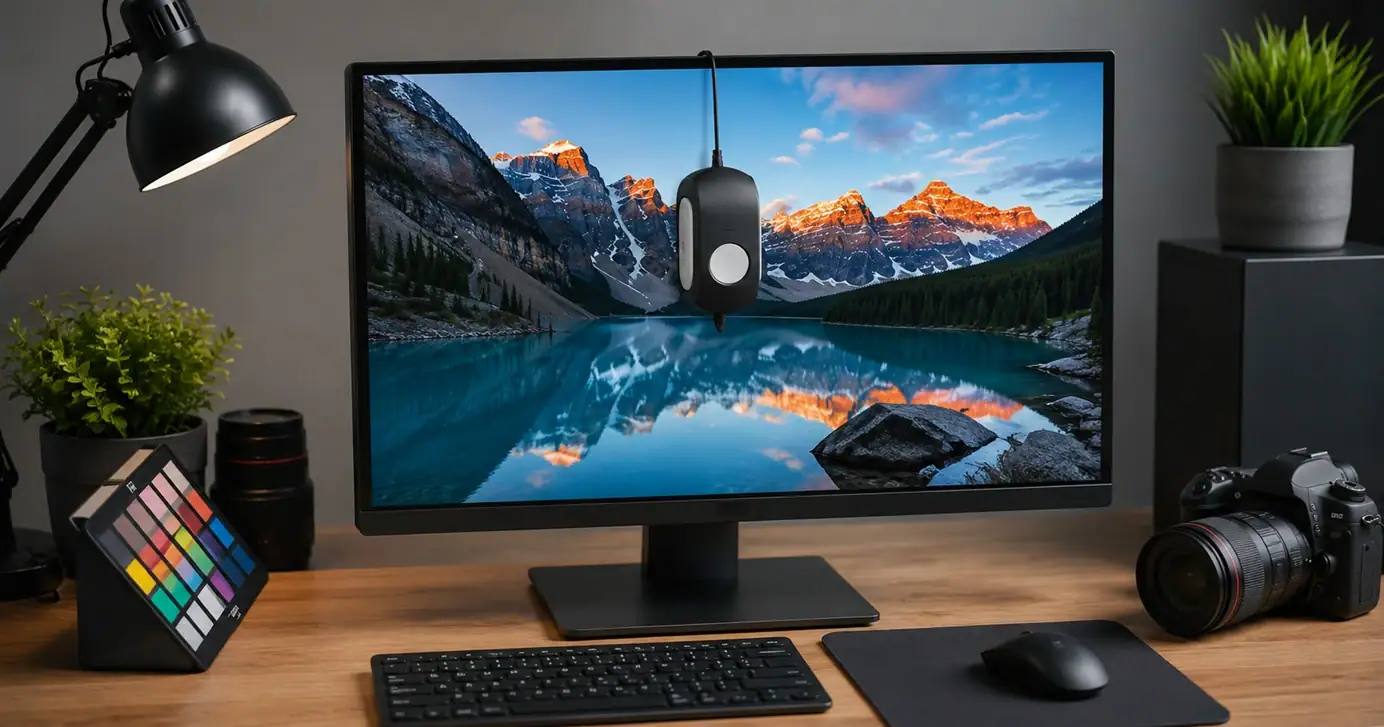
Monitor Screen Calibration Guide: Everything You Should Know
Your monitor shows colors every single day. But are those colors actually correct? Most people never stop to check this. They just use the screen as it comes out of the box. This habit can lead to wrong colors in photos, videos, and work files. Colors may look too warm or too cold without you […]
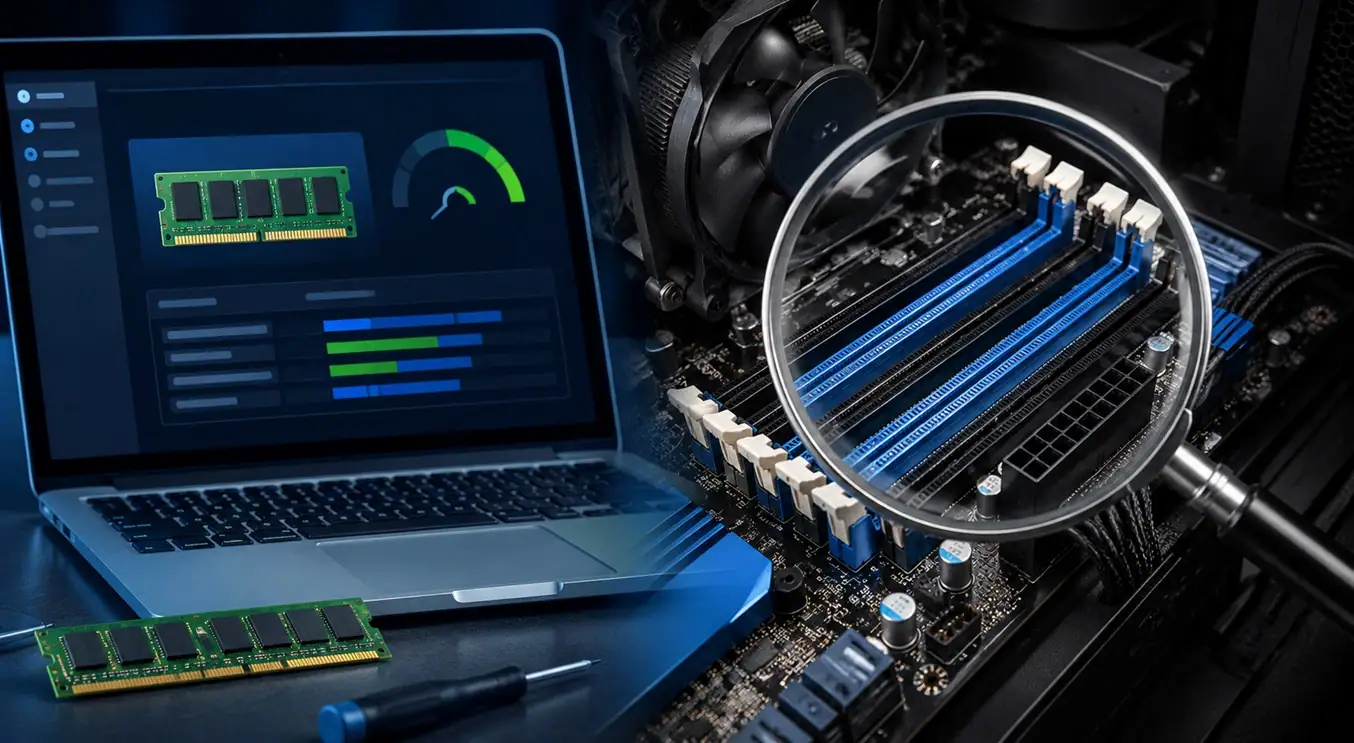
How To Check Installed RAM and RAM Slots [Complete Guide]
RAM plays an important role in how smoothly a computer runs. Short for Random Access Memory, it stores the data and instructions that Windows and active applications need at any given moment. From opening multiple browser tabs to running games and productivity software, RAM helps keep everything responsive. A system with limited memory may experience […]

What is Microsoft Autopilot Everything You Need To Know
Technology has changed the way companies manage computers. Well, yes! Employees now work from offices, homes, and remote locations. Setting up devices manually for every worker takes time and effort. It can also create mistakes that slow down productivity. This is where Microsoft Autopilot becomes useful. It helps businesses prepare and deploy Windows devices with […]
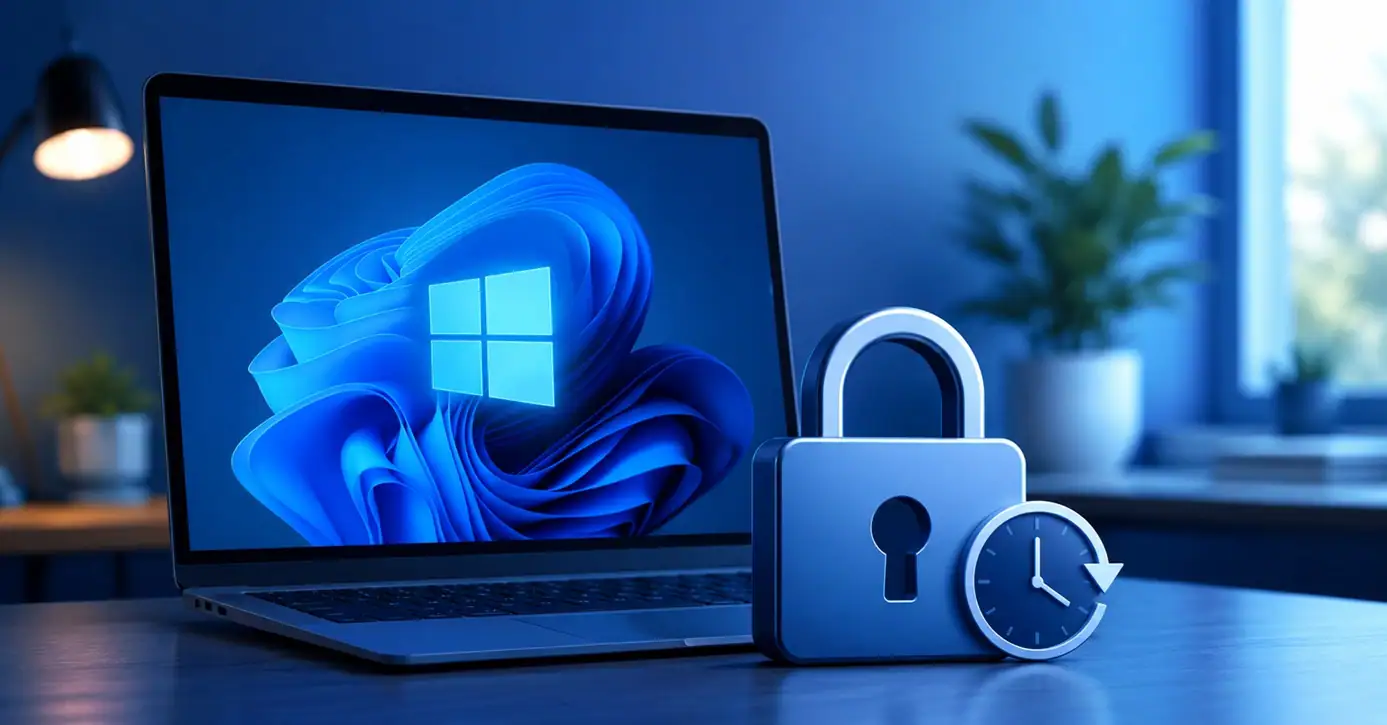
Enable Automatic Device Locking Feature Windows: Complete Guide
Introduction: Your computer stores important information such as emails, documents, passwords, and personal photos. Leaving it unlocked can put that data at risk. Thankfully, Windows includes built-in features that can automatically lock your device when you are away. Setting up automatic device locking is quick and does not require any extra software. In this guide, […]

How to Update Wireless Network Driver in Windows 11 and 10
Your Wi-Fi keeps dropping. Pages load slowly. The connection feels unstable? Well, you are not alone. Most of the time, the problem is not with your internet plan. It is with your wireless network driver. A driver is a small piece of software that helps your computer talk to its hardware. When it gets outdated, […]
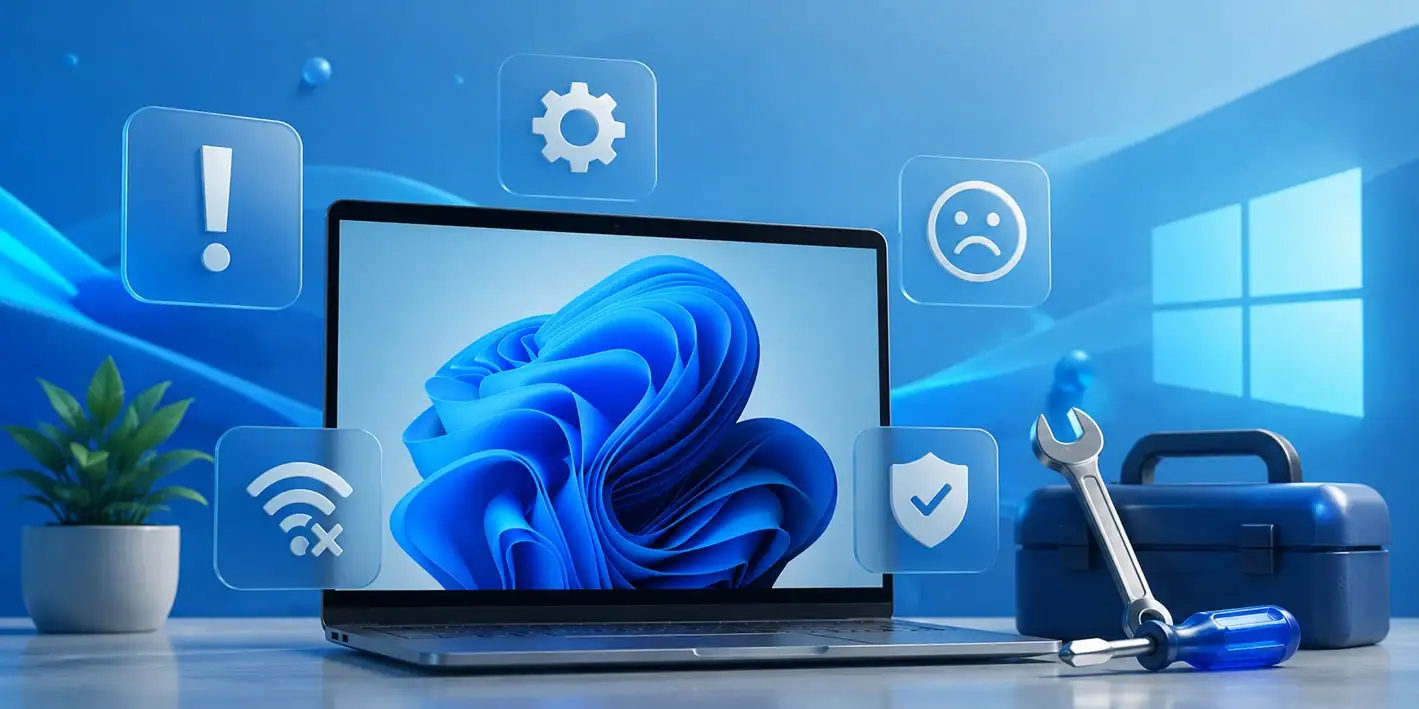
Common Windows 11 Problems and Solutions (2026 Version)
Windows 11 has become more polished over the years, but it is still not completely free from problems. Even after regular updates from Microsoft, many users continue to face issues like lagging performance, failed updates, audio troubles, random crashes, and network errors. Some problems appear after installing new features, while others develop gradually as the […]

Fortect Driver Updater Review: Features, Steps, Pros, and Cons.
A new PC usually feels quick and responsive. Applications open instantly, games run smoothly, and everything works as expected. As time passes, however, you may notice slower performance, system crashes, hardware glitches, or devices that stop working properly. While many people assume malware or low storage space is to blame, outdated drivers are often the […]

New Features Coming in Windows 11 This Year [2026]
Microsoft is always working to make Windows better. This year is no exception. The company has announced and rolled out several exciting updates for its users. These updates touch almost every part of the operating system. From the Start menu to system settings, changes are arriving fast. If you use Windows daily, you will want […]

Top 14 Duplicate Photo Finder and Remover For Windows [2026]
Introduction: Photos pile up fast. Well, yes! You take ten shots of the same moment. You download the same image twice. You back up your folder and forget you already did it. Before you know it, your storage is packed with copies. A good duplicate photo finder helps you take back that space without losing […]

