Bitlocker For Windows 11: Enable/ Disable/ Configure

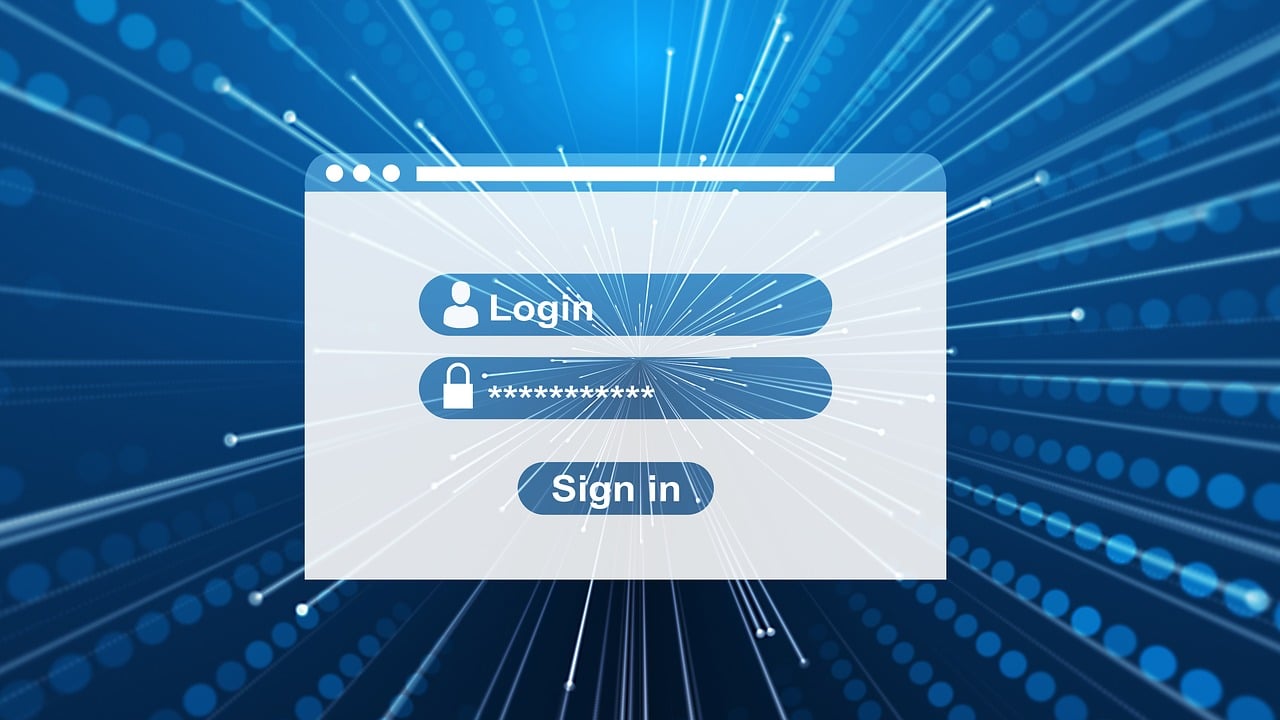
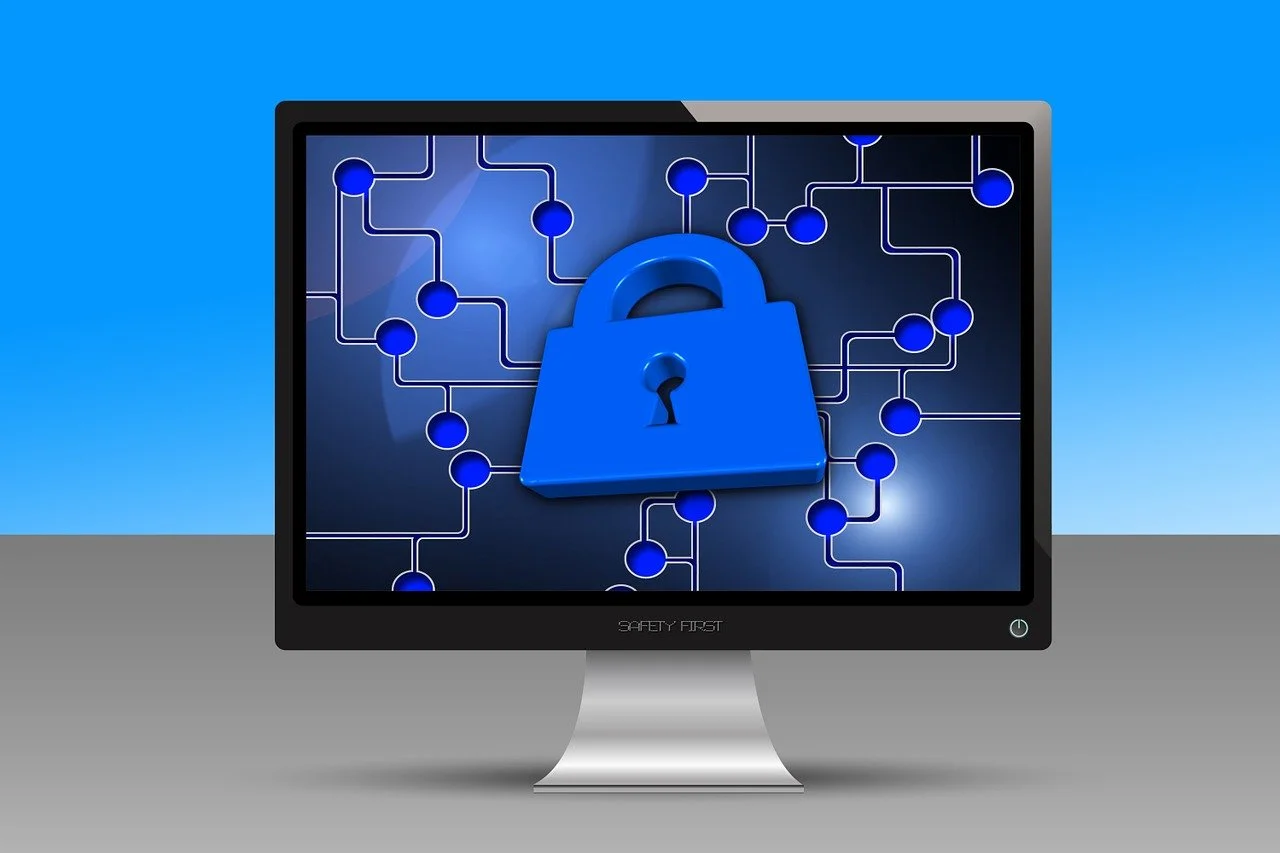
Concerned about your data’s safety? In our digital world, securing your files is essential. Bitlocker is a robust tool designed to protect your information. Built into Windows 11, this encryption feature ensures that only you can access your data.
Bitlocker encrypts your entire drive. Encryption means converting data into a code that is difficult to decipher. If someone tries to access your data without your permission, they won’t be able to read it. This provides an extra layer of security, making your computer safer.
With Bitlocker, you can stop unauthorized access to your files. Be it important work documents or personal photos, Bitlocker ensures your data remains protected. Now, let’s explore what Bitlocker is, its pros and cons, safety precautions, and the steps to enable, configure, and disable it.
Part 1: What is Bitlocker?

Before diving into how to use Bitlocker, it’s crucial to understand its purpose. Bitlocker is a security feature that encrypts your data, transforming your files into a code only you can decipher. Let’s delve deeper into Bitlocker and how it operates.
Bitlocker is a full-disk encryption feature that comes with Windows. It employs advanced encryption standards to secure your data. When Bitlocker is activated, it encrypts all the files on your drive, ensuring that only those with the correct key can access the information.
Bitlocker for Windows 11 is specifically designed to protect your data in case your device is lost or stolen. If your laptop goes missing, your data remains secure thanks to encryption. Even if someone tries to access the hard drive separately, they won’t be able to read the information without the encryption key.
Windows 11 users can use Bitlocker to enhance their data security. It’s an integral part of the operating system, so you don’t need to install any additional software. It provides a seamless way to protect your data without compromising performance.
Part 2: Advantages/Disadvantages: Bitlocker For Windows 11
Before you decide to use Bitlocker, it’s important to understand both its benefits and drawbacks. This will help you make an informed decision about whether Bitlocker is the right tool for securing your data on Windows 11.
Advantages:
- Protects Data: Bitlocker encrypts your files, making it difficult for unauthorized users to access your data.
- Integration with Windows 11: Bitlocker is built into Windows 11, providing a seamless experience without the need for additional software.
- Ease of Use: Setting up and using Bitlocker is straightforward, thanks to its user-friendly interface.
- Peace of Mind: Having your data encrypted can provide peace of mind, particularly if you store sensitive information on your computer.
Disadvantages:
- Performance Impact: Bitlocker encryption may slightly slow down your computer’s performance, especially if you’re using older hardware.
- Limited Availability: Bitlocker is not available on all editions of Windows 11, so you may need to upgrade to use it.
- Potential Data Loss: Incorrect use of Bitlocker can lead to data loss, so it’s essential to follow instructions carefully and take necessary precautions.
Understanding these pros and cons will help you decide if Bitlocker is the right choice for protecting your data on Windows 11. If the benefits outweigh the drawbacks for your specific needs, Bitlocker can be a powerful tool in your data security arsenal.
Part 3: Precautions to Take While Using Bitlocker For Windows 11
Using Bitlocker can greatly enhance your data security, but it’s essential to take certain precautions. These steps will help ensure that your experience with Bitlocker is smooth and safe. Let’s look at the precautions to take.
- Backup your data before enabling Bitlocker.
- Ensure your computer is stable during encryption.
- Use Bitlocker on supported devices only.
- Check software compatibility with Bitlocker.
- Monitor system performance.
- Avoid sudden shutdowns during encryption.
- Regularly update your Windows 11.
Part 4: How To Turn on/ Enable Bitlocker for Windows 11?
Activating Bitlocker on your Windows 11 device is a straightforward task that enhances your data security. This built-in encryption tool allows you to protect your sensitive information effortlessly. By following a few simple steps, you can enable Bitlocker and start safeguarding your files against unauthorized access.
Let’s dive into the detailed steps for enabling Bitlocker on your Windows 11 device.
Step 1: Click on the Search Bar. Type Control Panel. Press Enter to open it. In the Control Panel window, click on “System and Security“. Under the “System and Security” section, find and click on “Bitlocker Drive Encryption.”
Step 2: A list of available drives will appear. Choose the drive you wish to encrypt using Bitlocker. Then, click the “Turn on Bitlocker” button located next to the selected drive.

Step 3: Follow the on-screen instructions to create a robust password. This password will be necessary to unlock your encrypted drive. Next, select a method to save your recovery key; you can store it in a file, print it out, or save it in your Microsoft account. Ensure you keep it in a secure location.
By following these steps, you will successfully enable Bitlocker on your Windows 11 device through the Control Panel. It’s crucial to keep your recovery key in a secure place to ensure you don’t lose access to your encrypted data.
Part 5: How To Configure Bitlocker on Windows 11
After enabling Bitlocker, you might want to configure it to suit your needs. Configuring Bitlocker involves setting up encryption modes and passwords. Here’s how to configure Bitlocker on your Windows 11 device.
Step 1: Open the Control Panel and go to “System and Security.” Click on “Bitlocker Drive Encryption.” Select the drive you want to configure. Click “Turn on Bitlocker.”
Step 2: Choose your encryption mode (new or compatible mode). Set a strong password for access.

Step 3: Save your recovery key securely. Follow the prompts to complete the configuration.
Part 6: How To Disable/Turn Off Bitlocker on Windows 11?
If you ever need to turn off Bitlocker, the process is simple. Disabling Bitlocker will decrypt your data, making it accessible without a key. Let’s see how to disable Bitlocker on Windows 11.
Step 1: Open Control Panel and go to “System and Security.” Click on “Bitlocker Drive Encryption.” Select the encrypted drive.

Step 2: Click “Turn off Bitlocker.” Confirm your choice to disable Bitlocker. The decryption process will begin.
Wait for decryption to complete. Bitlocker is now disabled.
Writer’s Tips
Keep your recovery key safe: Losing it can lock you out of your data, so ensure it is stored in a secure place.
- Regularly backup your important files: This ensures you don’t lose valuable information if something goes wrong during encryption.
- Use Bitlocker with caution: Follow the instructions carefully to avoid potential data loss.
- Double-check everything before proceeding: Ensuring that you have completed each step correctly can prevent issues.
- Monitor your system’s performance: Keep an eye on how Bitlocker affects your computer’s speed and functionality.
- Stay updated with Windows updates: Regular updates can enhance Bitlocker’s performance and security.
- Consider your specific needs: Make sure Bitlocker is the right tool for your data security requirements.
- Use strong passwords: Setting a robust password for Bitlocker helps ensure the highest level of security.
We hope these tips help you use Bitlocker effectively!
Conclusion
Do you want to secure your data? Bitlocker is an excellent tool for Windows 11 users. It provides robust encryption and integrates seamlessly with the operating system. By following the proper steps and precautions, you can protect your data from unauthorized access.
Bitlocker is easy to enable, configure, and disable. With just a few clicks, you can ensure your data is safe. Always keep your recovery key and backup your data. This will give you peace of mind knowing your information is secure.
In today’s world, data security is essential. Using Bitlocker can help you achieve that. So, why wait? Start protecting your files with Bitlocker on Windows 11 today.
FAQs
What is Bitlocker?
Bitlocker is a built-in encryption feature in Windows 11 that helps protect your data by converting it into unreadable code. This process, known as encryption, ensures that only authorized users with the correct key can access the information. Bitlocker is particularly useful for safeguarding sensitive data on lost or stolen devices, as it prevents unauthorized access to the encrypted files. By integrating seamlessly with Windows 11, Bitlocker provides a robust security solution without the need for additional software.
Is Bitlocker free?
Yes, Bitlocker is free to use, but it is only available on certain editions of Windows 11, such as Windows 11 Pro and Enterprise. If you are using a different edition, you may need to upgrade your Windows version to access Bitlocker’s encryption features. Once you have the appropriate edition, you can enable Bitlocker without any additional cost, providing a powerful tool to enhance your data security.
Can I use Bitlocker on any computer?
Bitlocker is available on supported editions of Windows 11 and certain hardware configurations. To use Bitlocker, your computer must have a Trusted Platform Module (TPM) version 1.2 or higher, or you can use a USB flash drive to store the encryption key if your device lacks a TPM. Additionally, Bitlocker is not available on Windows 11 Home edition, so you may need to upgrade to Windows 11 Pro or Enterprise to access this feature.
What if I lose my recovery key?
If you lose your Bitlocker recovery key, you may lose access to your encrypted data. The recovery key is essential for unlocking your drive if you forget your Bitlocker password or if your system detects a security issue. To avoid losing access to your data, it is crucial to store your recovery key in a secure place, such as a printed copy, a saved file on a different device, or in your Microsoft account. Regularly backing up your recovery key ensures that you can always regain access to your encrypted data when needed.
Author Bio:
Dinesh Lakhwani 

Dinesh Lakhwani, the entrepreneurial brain behind “TechCommuters,” achieved big things in the tech world. He started the company to make smart and user-friendly tech solutions. Thanks to his sharp thinking, focus on quality and the motto of never giving up, TechCommuters became a top player in the industry. His commitment to excellence has propelled the company to a leading position in the industry.
Popular Post


Recent Post

Customizing Pointer Appearance: Complete Guide
The way your mouse pointer looks on your computer may seem like a small detail. But customizing pointer appearance can make using your PC more comfortable and visually appealing. Many users do not realize that they can change the pointer size, color, and style to fit their needs. Whether you want a bigger pointer for […]

How To Choose a Computer Monitor: Monitor Buying Guide
Buying a monitor looks easy. Many people think all screens are the same. That belief causes regret later. A monitor is not just a display. It is a daily tool. You read on it. You work on it. You relax with it. Small problems become big over time. Poor brightness hurts eyes. Bad size causes […]

How To Get Help With File Explorer in Windows 11 [Complete Guide]
File Explorer is one of the most important tools in Windows 11. It is used to open folders, view files, and manage stored data. Almost every action on a Windows computer depends on it in some way. When users open documents, save downloads, or organize photos, File Explorer is always involved. Because it is used […]

How To Fix A Frozen Computer: Complete Guide [Windows 11/10]
A frozen computer is one of the most common problems Windows users face. The screen stops responding. The mouse pointer does not move. Keyboard inputs do nothing. You may hear the fan running loudly. Sometimes the system looks alive, but nothing works. This situation often happens when you are busy or working on something important. […]

How to Upgrade Computer RAM: Complete Guide
Upgrading RAM is one of the simplest ways to improve a computer. It helps the system feel faster and smoother. Apps open quicker. Browsers handle more tabs. Games and tools run with less delay. Many users search for how to upgrade computer RAM because it gives real results without high cost. You do not need […]

How To Clean Your Computer Keyboard: Complete Guide
A computer keyboard is touched more than almost any other device you own. It is used during work, study, gaming, and casual browsing. Fingers carry natural oils, sweat, and dirt. Small food crumbs fall between keys without notice. Dust settles each day slowly. Over time, this creates a hidden layer of grime. Many users do […]
Computer Mouse Buying Guide for Beginners and Advanced Users
Buying a mouse looks easy at first. Many people think all mouse work the same way. Well, that idea often leads to regret later. A mouse affects comfort, speed, and daily work. It matters for office tasks, gaming, design, and study. The right choice reduces strain and improves control. The wrong one feels annoying every […]

How To Overclock a Computer: A Complete Guide
Overclocking is the process of making your computer run faster than its factory settings. It mainly affects the processor, graphics card, and sometimes memory. Many people choose this method to improve performance without buying new hardware. It is popular among gamers, video editors, and users who run heavy software. When done properly, overclocking can give […]
How To Find Password Saved on This Computer: Complete Guide
Many people forget their login details at some point. It happens often. We create many accounts every year. Each one needs a username and a password. Over time, it becomes hard to remember all of them. That is why computers offer ways to store login details. These saved details help users sign in faster. They […]
How To Open/Access Computer Management & Advanced Tips
Every Windows computer has many hidden tools. Most users never see them. They only use basic settings. They change wallpapers. They install apps. They adjust sound and display. That is enough for daily work. But problems still happen. The system slows down. Storage fills up. Errors appear without warning. At this stage, normal settings do […]

