How to Install and Use PuTTY for Mac

Last updated on October 6th, 2025 at 1:19 pm
Introduction:
In the realm of remote server management and secure network communication, PuTTY has earned a reputation as a reliable and versatile tool. Originally designed for Windows, PuTTY has expanded its reach to include other operating systems, including macOS, to cater to the needs of a wider user base. Hence, if you’re a Mac user seeking a seamless remote access solution, you’ve landed in the right place.
This comprehensive guide aims to assist you in installing and effectively utilizing PuTTY for Mac. Whether you’re an experienced system administrator, a networking enthusiast, or someone requiring secure connections to remote servers, this step-by-step tutorial will equip you with the knowledge and tools necessary to make the most of PuTTY’s capabilities on macOS.
What is PuTTY?

PuTTY is an open-source application that utilizes network protocols such as Telnet and rlogin on both Windows and UNIX platforms, complemented by an Xterm terminal emulator. With the support of these protocols, PuTTY facilitates remote sessions on computers over a network. Known for its popularity in text-based communication, PuTTY is particularly renowned for its utility in connecting Microsoft operating system-based computers to Linux servers.
PuTTY is not available as a native application for macOS, but you can install it by using MacPorts. It was initially developed for Windows, and while there are third-party solutions that attempt to bring PuTTY functionality to macOS, they may not provide the exact same experience.
How to Install PuTTY for Mac?
If you’re looking to install PuTTY on macOS, macports.org provides a reliable method to accomplish this task without any hassle. While Homebrew is another option, it doesn’t include the graphical user interface (GUI) component of PuTTY.

To install PuTTY for Mac using MacPorts, you can follow the steps:
- Open the Terminal application on your Mac. You can find it in the Applications>Utilities folder of your device.
- In the Terminal, enter the following command and press Enter:
sudo port install putty

This command will initiate the download and installation process for three programs: putty, puttygen, and puttytel. These will be installed in the /opt/local/bin directory.
- Once the installation is complete, you should be able to run PuTTY from the command line by simply typing:
putty
The /opt/local/bin directory should be in your system’s PATH configuration, allowing you to access PuTTY effortlessly.
- If you prefer a shortcut to access PuTTY more conveniently, you can create a symbolic link or a Mac alias. For instance, to add an icon to your Desktop, enter the following command:
ln -s /opt/local/bin/putty ~/Desktop/PuTTY
This command will create a symbolic link named PuTTY on your Desktop so that you can access it easily without digging deep into folders.
With these steps, you’ll have PuTTY macOS ready to facilitate remote server management and enhance the networking experience on your device.
How To Use PuTTY on macOS?
By now, we believe you have successfully installed PuTTY for Mac. So, here comes the next step. There are two ways to run PuTTY on a Mac. You can either use the shortcut link placed on the Desktop or use the Terminal app to launch PuTTY.
To open PuTTY using the Terminal app, type “PuTTY” and press Enter.
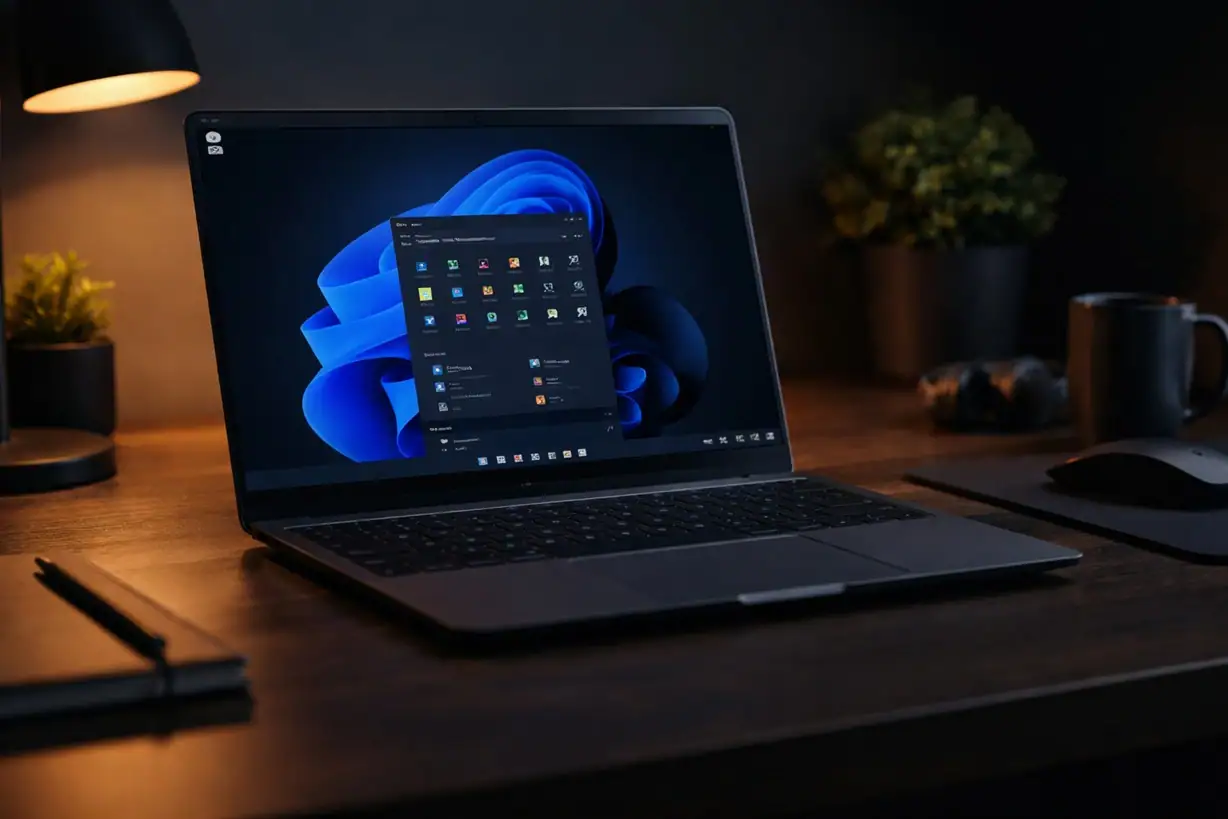
Once the app launches on your device, you will see the following window on the screen:

As you can see in the snapshot, PuTTY offers you four different types of connections that you can choose including RAW, Telnet, rlogin, SSH, and Serial. For performing basic operations, you can pick SSH as a default choice.
To get started, enter a hostname or IP address in the textbox. Select a connection type to set up a remote connection. Hit on the “Open” button to connect to the chosen server.
And that’s it! You now have PuTTY for Mac installed on your device. You can use this tool to connect remotely to computers, access different ports, and so on.
Is it Safe to Use PuTTY on Mac?
PuTTY is generally considered safe to use on macOS, as it is a widely used and respected terminal emulator and SSH client. However, make sure to download PuTTY from official and trusted sources, such as the official PuTTY website or reliable package managers like MacPorts. We would recommend you avoid downloading PuTTY from untrusted or third-party websites to minimize the risk of downloading compromised or modified versions.
In addition to this, regularly check for PuTTY updates and install them to benefit from bug fixes and security improvements.
Conclusion
PuTTY is a versatile tool for remote server access and management, and MacPorts makes it available for macOS. You can download and install PuTTY on your Mac in just a few easy steps, then use it to connect to remote servers and run commands easily. Be sure to adhere to security best practices when using PuTTY macOS, such as installing the tool from reputable sources, keeping your system and the program up to date, and using secure connections.
You can increase your productivity and effectiveness as a system administrator, network engineer, or developer by installing PuTTY on your Mac.
Frequently Asked Questions
1. Can I use PuTTY on a Mac?
Yes, you can use PuTTY on a Mac, but it’s not built in like on Windows. You’ll need to download a version made for macOS, such as the one available through Homebrew or third-party apps like PuTTY for Mac. Once installed, it works just like the Windows version for SSH and Telnet connections.
2. Is PuTTY free to use?
PuTTY is completely free and open-source. You don’t need to pay anything to download or use it. It’s trusted by developers and system admins around the world for secure remote access, and it’s regularly updated by the community.
3. What is PuTTY used for?
PuTTY is mainly used to connect to other computers remotely using protocols like SSH and Telnet. This is helpful for managing servers, transferring files, or running commands on a remote machine. It’s a simple but powerful tool for anyone working with networks or web hosting.
Author Bio:
Dinesh Lakhwani 

Dinesh Lakhwani, the entrepreneurial brain behind “TechCommuters,” achieved big things in the tech world. He started the company to make smart and user-friendly tech solutions. Thanks to his sharp thinking, focus on quality and the motto of never giving up, TechCommuters became a top player in the industry. His commitment to excellence has propelled the company to a leading position in the industry.
Popular Post


Recent Post
How To Switch To A Dark Background Theme In Windows [2026]
Most people spend many hours each day in front of a computer screen. Office work, online classes, editing, browsing, and streaming all require long screen time. A bright white background may look clean at first. However, over time, it can feel sharp and tiring. The strong contrast between white backgrounds and black text may cause […]

How to Switch From Local To Microsoft Account On Windows
Many users begin with a local account when they set up a new Windows computer. A local account works only on that single device. It stores settings, files, and preferences locally. It does not connect to online Microsoft services. For basic offline use, it works well. However, as digital needs grow, many users want better […]

How to Switch Windows 10 to a Local Account: Complete Guide
Windows 10 allows users to sign in with either a Microsoft account or a local account. When you set up a new computer, the system often suggests using a Microsoft account. This account connects your device to Microsoft services such as Outlook, OneDrive, and the Microsoft Store. It also syncs settings, themes, and passwords across […]

How To Change Default Apps For File Types In Windows
Windows is designed to make using your computer easy. One way it does this is by assigning default apps to different file types. This means when you open a file, Windows automatically opens it with a specific program. For example, photos may open with Photos, music with Groove Music, and PDFs with Edge. These default […]

How To Adjust The Mouse Pointer Speed: Complete Guide
Using a computer every day means you use the mouse a lot. The mouse pointer moves on the screen and helps you click, scroll, and select items. Many people never think about the speed of the mouse pointer. They have used the default setting for years. This can cause small problems over time. A slow […]

How to Change Mouse Scrolling Settings In Windows
A mouse is one of the most used computer tools. People use it every day. They scroll through emails. They scroll through documents. They scroll through websites and images. The movement becomes automatic. Most users do not notice it. That is why problems often go unnoticed. Scrolling problems show up slowly. At first, it feels […]

Keyboard Light Settings: Keyboard Lighting Control [Complete Guide]
Keyboards are no longer simple typing tools. Well, yes! Over time, they have evolved to include features that improve comfort, visibility, and overall experience. One of the most useful features today is keyboard lighting. It helps users work comfortably in low-light conditions. It also reduces strain when typing for long hours. Many users first notice […]

Customizing Pointer Appearance: Complete Guide
The way your mouse pointer looks on your computer may seem like a small detail. But customizing pointer appearance can make using your PC more comfortable and visually appealing. Many users do not realize that they can change the pointer size, color, and style to fit their needs. Whether you want a bigger pointer for […]

How To Choose a Computer Monitor: Monitor Buying Guide
Buying a monitor looks easy. Many people think all screens are the same. That belief causes regret later. A monitor is not just a display. It is a daily tool. You read on it. You work on it. You relax with it. Small problems become big over time. Poor brightness hurts eyes. Bad size causes […]

How To Get Help With File Explorer in Windows 11 [Complete Guide]
File Explorer is one of the most important tools in Windows 11. It is used to open folders, view files, and manage stored data. Almost every action on a Windows computer depends on it in some way. When users open documents, save downloads, or organize photos, File Explorer is always involved. Because it is used […]

