How to Create Photo Books with Google Photos?
Last updated on August 1st, 2024 at 5:04 pm
Introduction
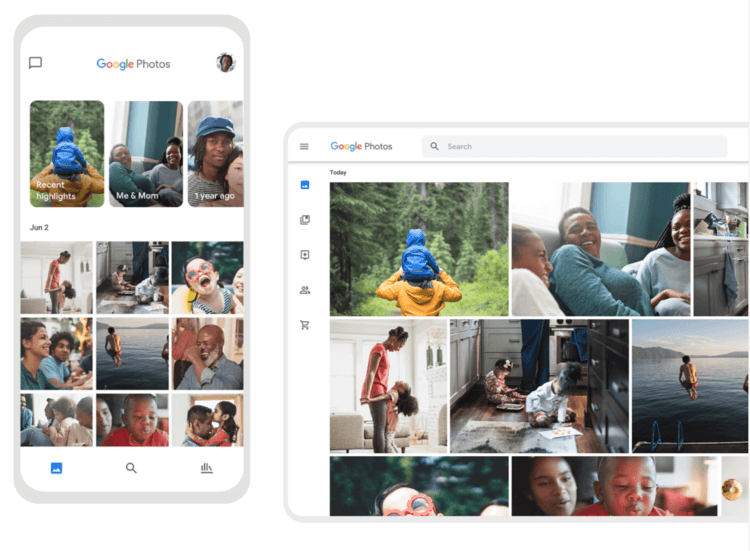
Google Photos is one of the most widely utilized apps for different types of global users, like Android, web, and iOS users. The application is useful for accessing, viewing, and managing the photo library in the device all in one space. Additionally, users can back up the full photo library on multiple connected devices using this one account.
Certainly, the Google Photos for Android app and the site-based platform are simple to operate typically, especially for proper photo organization. All available images are already categorized in the platform via the algorithm, which you can adjust as needed. But how to develop an appealing photo book?
That is possible through the Google Photos platforms, using specific steps. Here are the main things to focus on for this process.
How to Prepare Photo Books on Google Photos?
You can take different steps to prepare full photo books using the compressed photos uploaded into Google Photos. For these, carry on with the following steps after backing up the image files and proceed with all sequential steps carefully.
Solution 1: Make Photo Books through The Mobile-Based App
One of the easiest methods you can take to prepare customized photo books with the images on Google Photo is to do so through the mobile-based app. The procedure here is similar under Google Photos for Android and iOS devices, with short menu-based changes.
How to proceed?
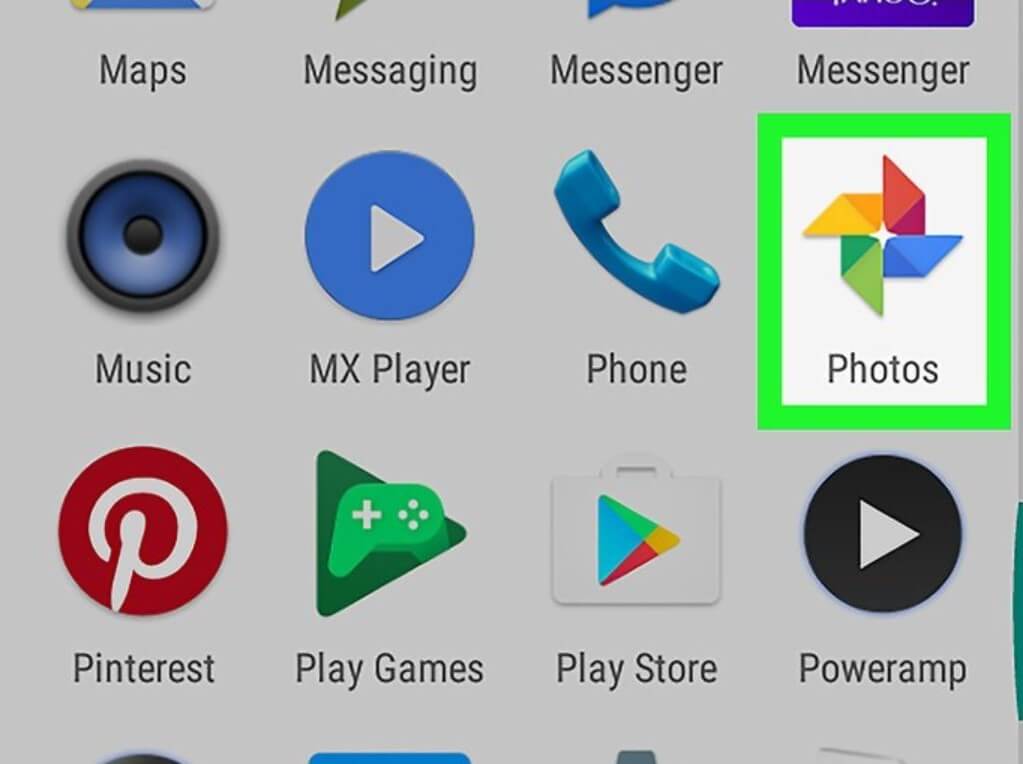
Step 1: Open your Android/iOS smartphone or tablet device and access the Google Photos application.
Step 2: Sign into your available Google Account.
Step 3: Then, prepare the photo book in the app through specific steps depending on your location.
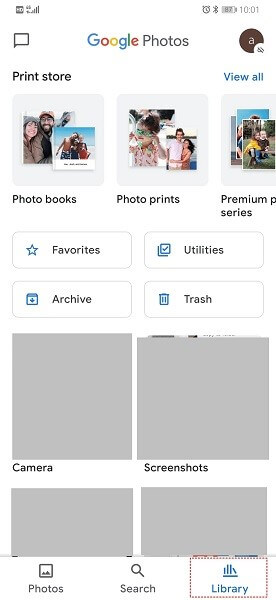
- US-based users have to click on the Print Store icon and click on Photo Books. Then, press the Make a Photo Book option.
- Google account users outside the US get the Print Store icon on their app interface. Next, click on Make a Photo Book.
Step 4: In the next section, click on different photos from the list with the minimum capacity set at 20. If you want to add more images to the photo book, the photos will appear in a collaged layout in the photo book after the count crosses 140 options.
Step 5: Click on the Done icon to save the photo book automatically.
Step 6: Users can also pay to get photo books through this section.
- For Android users, the button to tap on for this is the Cart option.
- iPhone or iPad users have to click on the Checkout choice.
Solution 2: Prepare the Photo Book from the Album on Google Photos App
It is possible to directly compose a fully organized photo book from the album of pre-selected images in the device library. The steps are the same for iOS-based and Android users through Google Photos.
How to proceed?
Step 1: Access the Google Photo application on your smartphone or tablet.
Step 2: Sign into your Google Account using the necessary information you enter or auto-sync.
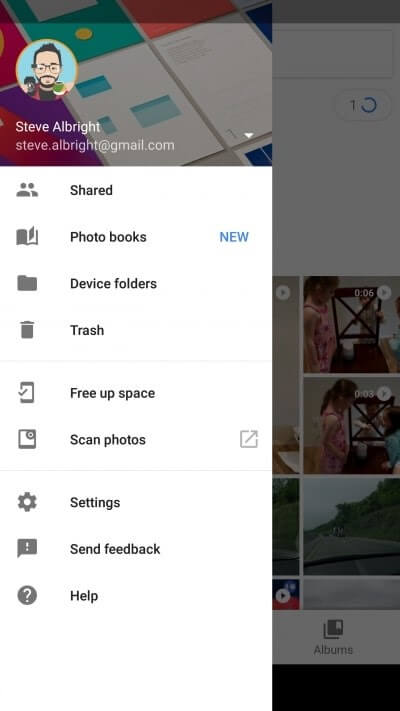
Step 3: Tap on the Library icon at the lower right side of the screen.
Step 4: Choose the photo album you will turn into the photo book and click on the Order Photos option from the top.
Step 5: Finally, choose the Photo Book option under this menu. You will get the final created final here as soon as possible.
Solution 3: Develop a Photo Book through the Web-Based Site
Preparing a Photo Book is similar to the Google Photos web-based version regarding the sequence of steps. However, the interface’s structure is suited for desktop-based access, with some variations from the mobile-based app.
How to proceed?
Step 1: Access your preferred web browser on your computer and go to the photos.google.com website.
Step 2: Here, sign into the account you have already registered with your credentials using the email and password.
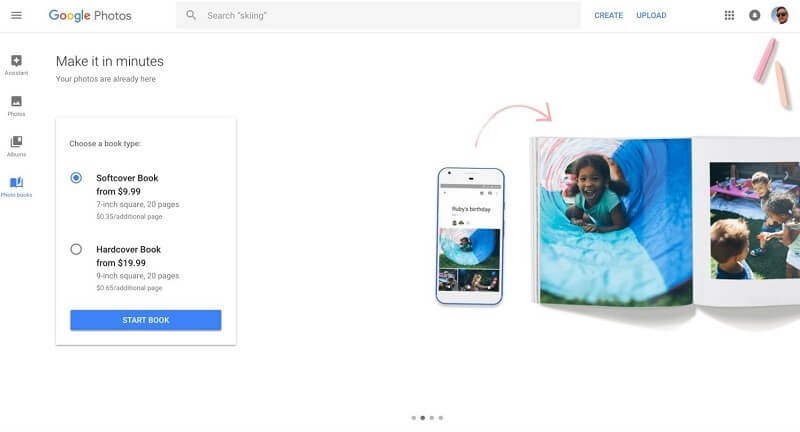
Step 3: After entering your account dashboard, click on the Print Store icon at the left of the screen. Global users must tap on the “Make a Photo Book” option, while US-based users will see the Photobooks category first when opening the Print Store page.
Step 4: Choose 20 or more photos to make into a photo book. If you have over 140 image files, some of these images will be added to a collage format in the photo book.
Step 5: Finally, press the Done button for the platform to prepare the photo book automatically.
Step 6: To complete the final photo book, tap on the Checkout key to purchase the product. If you want to see the past orders and drafts of your purchases, tap on the Print Store option.
Solution 4: Develop a Photo Book on the Web-based Google Photos website
Web-based users who open the Google Photos for Android or iOS platform can still prepare photo books through the online platform. Use the steps to prepare this and edit it within 90 days to avoid permanent wiping.
How to proceed?
Step 1: Access your preferred browser and open the link for Google Photos: photos.google.com.
Step 2: Sign into your account through the online page for Google Photos and open Albums.
Step 3: Under Albums, choose the collection you want to create into a Photo Book.
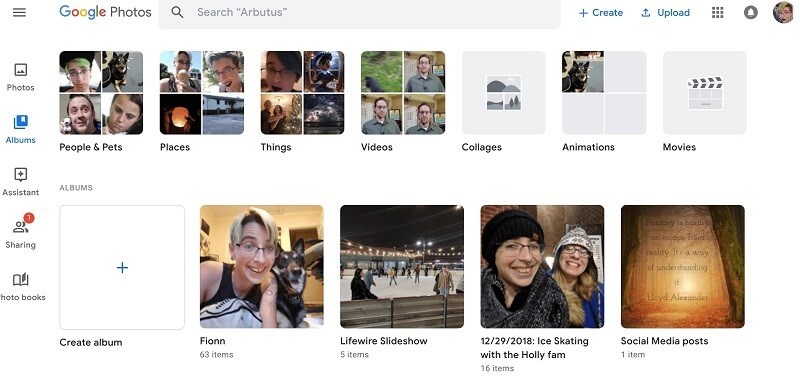
Step 4: Tap the Print Store icon and then select the Photo Book option.
Conclusion
To sum up, Google Photos includes many features that simplify managing, viewing, and even editing media files properly. With the steps listed in this post, you can prepare well-structured and visually appealing photo books within some time on the platform. Make sure to proceed with each step with straightforward steps.
Author Bio:
Dinesh Lakhwani 

Dinesh Lakhwani, the entrepreneurial brain behind “TechCommuters,” achieved big things in the tech world. He started the company to make smart and user-friendly tech solutions. Thanks to his sharp thinking, focus on quality and the motto of never giving up, TechCommuters became a top player in the industry. His commitment to excellence has propelled the company to a leading position in the industry.
Popular Post


Recent Post

How to Switch Windows 10 to a Local Account: Complete Guide
Windows 10 allows users to sign in with either a Microsoft account or a local account. When you set up a new computer, the system often suggests using a Microsoft account. This account connects your device to Microsoft services such as Outlook, OneDrive, and the Microsoft Store. It also syncs settings, themes, and passwords across […]

How To Change Default Apps For File Types In Windows
Windows is designed to make using your computer easy. One way it does this is by assigning default apps to different file types. This means when you open a file, Windows automatically opens it with a specific program. For example, photos may open with Photos, music with Groove Music, and PDFs with Edge. These default […]

How To Adjust The Mouse Pointer Speed: Complete Guide
Using a computer every day means you use the mouse a lot. The mouse pointer moves on the screen and helps you click, scroll, and select items. Many people never think about the speed of the mouse pointer. They have used the default setting for years. This can cause small problems over time. A slow […]

How to Change Mouse Scrolling Settings In Windows
A mouse is one of the most used computer tools. People use it every day. They scroll through emails. They scroll through documents. They scroll through websites and images. The movement becomes automatic. Most users do not notice it. That is why problems often go unnoticed. Scrolling problems show up slowly. At first, it feels […]

Keyboard Light Settings: Keyboard Lighting Control [Complete Guide]
Keyboards are no longer simple typing tools. Well, yes! Over time, they have evolved to include features that improve comfort, visibility, and overall experience. One of the most useful features today is keyboard lighting. It helps users work comfortably in low-light conditions. It also reduces strain when typing for long hours. Many users first notice […]

Customizing Pointer Appearance: Complete Guide
The way your mouse pointer looks on your computer may seem like a small detail. But customizing pointer appearance can make using your PC more comfortable and visually appealing. Many users do not realize that they can change the pointer size, color, and style to fit their needs. Whether you want a bigger pointer for […]

How To Choose a Computer Monitor: Monitor Buying Guide
Buying a monitor looks easy. Many people think all screens are the same. That belief causes regret later. A monitor is not just a display. It is a daily tool. You read on it. You work on it. You relax with it. Small problems become big over time. Poor brightness hurts eyes. Bad size causes […]

How To Get Help With File Explorer in Windows 11 [Complete Guide]
File Explorer is one of the most important tools in Windows 11. It is used to open folders, view files, and manage stored data. Almost every action on a Windows computer depends on it in some way. When users open documents, save downloads, or organize photos, File Explorer is always involved. Because it is used […]

How To Fix A Frozen Computer: Complete Guide [Windows 11/10]
A frozen computer is one of the most common problems Windows users face. The screen stops responding. The mouse pointer does not move. Keyboard inputs do nothing. You may hear the fan running loudly. Sometimes the system looks alive, but nothing works. This situation often happens when you are busy or working on something important. […]

How to Upgrade Computer RAM: Complete Guide
Upgrading RAM is one of the simplest ways to improve a computer. It helps the system feel faster and smoother. Apps open quicker. Browsers handle more tabs. Games and tools run with less delay. Many users search for how to upgrade computer RAM because it gives real results without high cost. You do not need […]

