How to Upgrade to macOS Big Sur
Learn how to download and install the latest version of the Mac operating system macOS 11 Big Sur on your system.
A lot has been discussed over the Internet about the latest macOS Big Sur update. Why is it named macOS Big Sur? Well, the latest OS version is named after the coastal region of Big Sur in the Central Coast of California. It is promised with a better performance and more power. It is more beautiful too!
With this update, you will find the biggest Safari update ever, new features for Messages and Maps, improved privacy features, and more. If that was not enough, added features to design, control, central notification center, and Safari make it one of the best macOS updates till date.
How to Upgrade to macOS Big Sur?
1. Check Compatibility
The first step you should follow before you download macOS latest update is to check the compatibility. You can download macOS Big Sur if you own any of these Mac models. macOS Big Sur has greater compatibility with these computers:
- MacBook introduced in 2015 or later
- Mac Mini introduced in 2014 or later
- iMac introduced in 2014 or later
- iMac Pro
- MacBook Pro introduced in late 2013 or later
- MacBook Air introduced in 2013 or later
- Mac Pro introduced in 2013 or later
macOS Big Sur update would require 35.5GB of available storage if you are upgrading from macOS Sierra or later. macOS Big Sur requires up to 44.5GB of available storage if you are upgrading from an earlier release. If you are upgrading from OS X Mountain Lion, then you need to upgrade to OS X El Capitan first, then upgrade to macOS Big Sur.
Now that you would require a significant amount of available storage, it is better to free up storage space in advance using best Mac cleaner software like CleanMyMac X. This smart Mac cleaning solution helps you deep scan your system storage to find & clean all junk effectively and free up valuable disk space required for the latest upgrade.
2. Create a Backup
If you are upgrading your device, it is always advised to create a backup of existing software, files, and settings. To backup your data using Time Machine, follow these steps. Once you have created the backup, you can easily restore your Mac from Time Machine backup following these steps. Alternatively, you can copy your disk or take back up on an external drive before you upgrade to the latest macOS version.
3. Ensure Reliable Internet Connection
Now that you are ready to download & install the latest macOS update, you need to ensure a reliable Internet connection. As downloading and installing takes time, a stable network will help you get things done fast without error. You should plug into AC power if you are using a Mac notebook computer.
4. Download macOS Big Sur
If you have Mojave or Catalina installed on your Mac, then the update will come via Software Update. You may even see a notification that an update is available for your Mac. To upgrade to macOS Big Sur from Mojave or Catalina, follow these steps. Select Apple menu > System Preferences > Software Update. Alternatively, you can click on this App Store link to download macOS Big Sur.
Update from High Sierra or older
Follow these steps to update from High Sierra or an older version of Mac:
- Launch the App Store on your Mac and search for macOS.
- Click on the Get or Download button.
- When prompted fill out your Apple ID.
- The installer will start to download.
5. Begin Installation
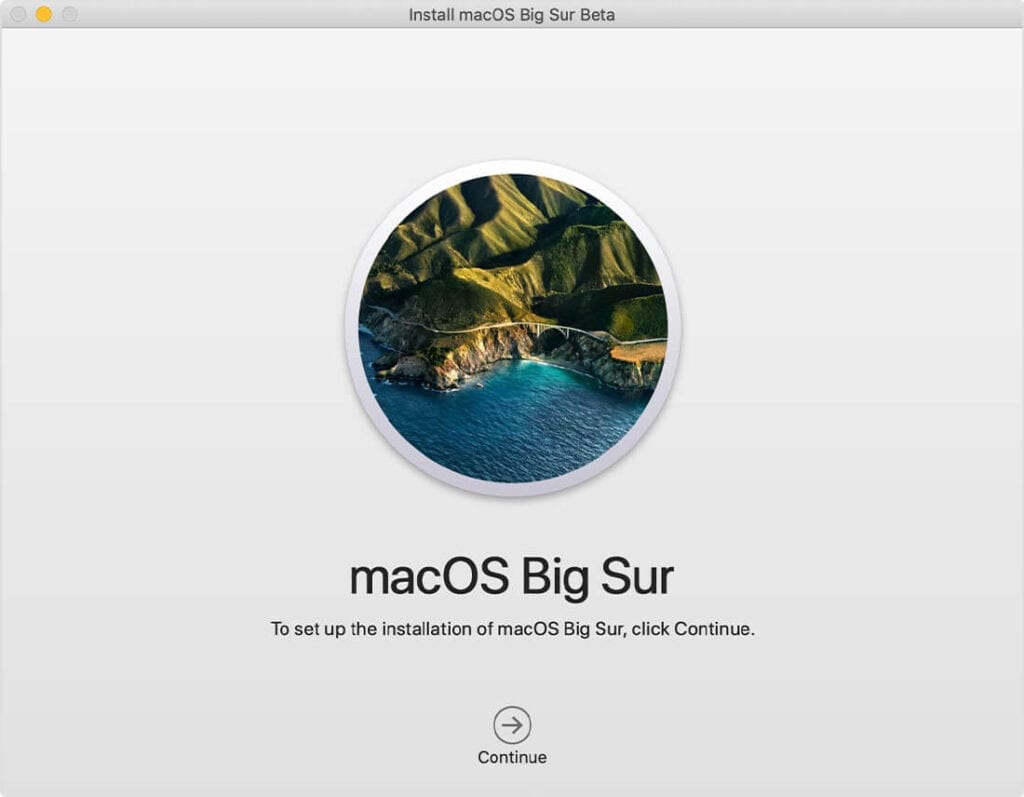
After downloading, the installer opens automatically. To begin installation, simply click Continue and follow the onscreen instructions. As upgrade takes several hours, it is recommended to install the update in the evening hours so that it completes overnight. Close all tasks before you Continue with the installation process as you will not be able to use your system during upgrade.
Note: You may need to enter the administrator name and password if the installer asks for permission to install a helper tool. Click Add Helper.
6. Allow Installation to Complete
Don’t put your Mac to sleep or close its lid to allow installation to complete. During the upgrade process, it might restart, show a blank screen multiple times, or show a progress bar as it installs both macOS and related updates. Keep your system connected to charging.
7. Stay up to date
After upgrading to macOS Big Sur, you will get a notification when updates to macOS Big Sur are available to install. Head to Apple menu > System Preferences > Software Update to install these updates.
Conclusion
Upgrading to macOS Big Sur is more convenient in comparison to previous version updates. Follow the steps mentioned above to upgrade to the latest macOS Big Sur and share your experience in the comments below.
Author Bio:
Dinesh Lakhwani 

Dinesh Lakhwani, the entrepreneurial brain behind “TechCommuters,” achieved big things in the tech world. He started the company to make smart and user-friendly tech solutions. Thanks to his sharp thinking, focus on quality and the motto of never giving up, TechCommuters became a top player in the industry. His commitment to excellence has propelled the company to a leading position in the industry.
Popular Post


Recent Post

What is Microsoft Autopilot Everything You Need To Know
Technology has changed the way companies manage computers. Well, yes! Employees now work from offices, homes, and remote locations. Setting up devices manually for every worker takes time and effort. It can also create mistakes that slow down productivity. This is where Microsoft Autopilot becomes useful. It helps businesses prepare and deploy Windows devices with […]

Enable Automatic Device Locking Feature Windows: Complete Guide
Introduction: Your computer stores important information such as emails, documents, passwords, and personal photos. Leaving it unlocked can put that data at risk. Thankfully, Windows includes built-in features that can automatically lock your device when you are away. Setting up automatic device locking is quick and does not require any extra software. In this guide, […]

How to Update Wireless Network Driver in Windows 11 and 10
Your Wi-Fi keeps dropping. Pages load slowly. The connection feels unstable? Well, you are not alone. Most of the time, the problem is not with your internet plan. It is with your wireless network driver. A driver is a small piece of software that helps your computer talk to its hardware. When it gets outdated, […]

Common Windows 11 Problems and Solutions (2026 Version)
Windows 11 has become more polished over the years, but it is still not completely free from problems. Even after regular updates from Microsoft, many users continue to face issues like lagging performance, failed updates, audio troubles, random crashes, and network errors. Some problems appear after installing new features, while others develop gradually as the […]

Fortect Driver Updater Review: Features, Steps, Pros, and Cons.
A new PC usually feels quick and responsive. Applications open instantly, games run smoothly, and everything works as expected. As time passes, however, you may notice slower performance, system crashes, hardware glitches, or devices that stop working properly. While many people assume malware or low storage space is to blame, outdated drivers are often the […]

New Features Coming in Windows 11 This Year [2026]
Microsoft is always working to make Windows better. This year is no exception. The company has announced and rolled out several exciting updates for its users. These updates touch almost every part of the operating system. From the Start menu to system settings, changes are arriving fast. If you use Windows daily, you will want […]

Top 14 Duplicate Photo Finder and Remover For Windows [2026]
Introduction: Photos pile up fast. Well, yes! You take ten shots of the same moment. You download the same image twice. You back up your folder and forget you already did it. Before you know it, your storage is packed with copies. A good duplicate photo finder helps you take back that space without losing […]

Advanced System Settings on Windows 11: Complete Guide
Windows 11 is a powerful operating system. It comes with many features that most users never explore. One of the most useful areas is the System Properties panel. This is where you can control how your computer performs, starts up, and handles memory. Many users only change basic settings like wallpaper or display options. But […]

21 Advanced Windows Security Settings: Latest Updates
Introduction: Your computer holds a lot of important data. From personal photos to work files, everything sits on your Windows system. That is why protecting it properly matters more than ever. Windows security settings have come a long way. Microsoft keeps adding stronger layers of protection with every update. Most users never go beyond the […]

Security Upgrades of Microsoft Windows in This Decade [Complete Guide]
Introduction Microsoft has been working hard to make Windows safer every year. Cyberattacks are growing fast. Hackers are smarter now. They target millions of Windows users every single day. That is why Microsoft has added many powerful new security upgrades of Microsoft Windows since 2020. These upgrades protect your data, your identity, and your device […]

