How to Create And Format Hard Disk Partitions on Windows 11 And 10

Last updated on August 6th, 2025 at 2:41 pm
Your computer’s hard disk functions like a large storage container. You can divide it into smaller sections, known as partitions. Each partition operates independently, similar to a separate drive within your system.
Windows 11 and 10 make it easy to create and format hard disk partitions. You don’t need special software. The built-in tools work well for most users. This guide shows you simple ways to manage your disk space.
Understanding how to create and format hard disk partitions improves file organization. It allows you to separate system files from personal data, helping your computer run more efficiently and securely.
Part 1: What are Hard Disk Partitions on Windows 11 and 10?

A partition is a distinct section of your hard disk, similar to rooms in a house, each serving a specific function. Your system can have multiple partitions, each identified by a letter like C:, D:, or E:.
Windows sets up at least one partition during installation, usually the C: drive. You can create more to organize your files. Each partition varies in file system and size.
Partitions help keep your data organized. You might use one for Windows, another for programs, and a third for personal files. This setup makes backups easier and protects your data better.
Part 2: Why Create and Format Hard Disk Partitions?
Creating partitions gives you better control over your computer’s storage. Here are few reasons to create and format hard disk partitions:
- Better Storage Organization – Keep system files, personal data, and backups separate for easier access.
- Improved Performance – Allocating space properly helps Windows run faster and more efficiently.
- Enhanced Security – Isolate important files to reduce the risk of accidental deletion or corruption.
- Simplified Backup Management – Store backups on a dedicated partition for quick recovery when needed.
- Dual-Boot Setup – Install multiple operating systems on separate partitions for flexibility.
- Easier Troubleshooting – System crashes or malware infections won’t affect other partitions.
- Optimized Disk Space – Resize, merge, or format partitions as needed to make the most of your drive.
- Fresh Start for New Drives – Format new hard disks before use to ensure compatibility and reliability.
Part 3: How to Create and Format Hard Disk Partitions: 6 Methods
Creating and formatting hard disk partitions helps manage storage efficiently. Windows provides multiple methods for this, ranging from simple graphical tools to advanced command-line options. Users can choose the approach that suits their comfort level and technical expertise.
Some methods are beginner-friendly, like using Disk Management, while others offer more control, such as DiskPart or PowerShell. Third-party software can add extra flexibility, allowing resizing or merging partitions without data loss. Understanding these six methods ensures better storage organization and system performance.
Method 1: Using Disk Management Tool
Disk Management is a built-in Windows tool for partitioning. It’s available on all Windows 11 and 10 systems. Free and user-friendly, it handles basic partition tasks with ease.
Most users find Disk Management simple enough for their needs. It handles common partition jobs well. The interface is clear and straightforward.
This tool lets you create, delete, and resize partitions easily. It also formats partitions and assigns drive letters. Ideal for handling basic partition tasks.
Why use Disk Management?
- Already installed on your computer
- No cost involved
- Safe for beginners
- Handles most common tasks
- Clear visual interface
Follow this to create and format hard disk partitions:
- Right-click “This PC” on your desktop. Select “Manage” from the menu. Click “Disk Management” in the left panel. Right-click empty space on your disk. Choose “New Simple Volume”.

- Follow the wizard steps. Set partition size and drive letter. Choose file system (NTFS recommended).

- Click “Finish” to complete
Method 2: Using Command Prompt (DiskPart)
DiskPart is a powerful command-line tool. It comes with Windows and offers more control than Disk Management.
This tool can handle tasks that Disk Management cannot do. It works faster for multiple partitions. You can also script DiskPart commands for automation.
DiskPart requires careful typing. One wrong command can delete data. Only use this method if you’re comfortable with command lines.
Why use DiskPart:
- More powerful than Disk Management
- Faster for multiple operations
- Can fix some partition problems
- Works in recovery environments
- Scriptable for automation
Here’s how to create and format hard disk partitions:
- Press the Windows + R keys. Type “cmd” and press Ctrl+Shift+Enter. Type “diskpart” and press Enter. Type “list disk” to see all disks. Type “select disk X” (X is your disk number).

- Type “create partition primary size=XXXX” (size in MB). Type “active” (if needed). Type “format fs=ntfs quick”. Type “assign letter=X” (choose your letter). Type “exit” twice to close
Method 3: Using PowerShell
PowerShell blends traditional command-line functionality with modern enhancements. More advanced than Command Prompt, it’s widely used by IT professionals for efficient disk management.
PowerShell offers better error handling than DiskPart. It can work with disk objects more easily. The commands are longer but more descriptive.
This approach is ideal for users who need scripting flexibility with clear readability. PowerShell streamlines complex partition tasks and enables automation across multiple systems.
Why use PowerShell:
- Modern command interface
- Better error messages
- Object-oriented approach
- Good for scripting
- More flexible than DiskPart
Here’s how to create and format hard disk partitions:
- Right-click the Start button. Select “Windows PowerShell (Admin)”. Type “Get-Disk” to list all disks. Type “New-Partition -DiskNumber X -Size XGB -DriveLetter Y”

- Type “Format-Volume -DriveLetter Y -FileSystem NTFS -NewFileSystemLabel ‘MyPartition'”. Wait for formatting to complete. Check the new partition in File Explorer
Method 4: Using Settings App
Windows 11 and 10 include partition options in the Settings app. This method is the most user-friendly. It’s perfect for beginners who want a simple approach.
The Settings app uses clear language instead of technical terms. It guides you through each step with helpful explanations. Most users find this method less intimidating.
However, the Settings app has fewer options than other methods. It works well for basic partition creation but lacks advanced features.
Why use Settings App:
- Very user-friendly
- Clear instructions
- No technical jargon
- Safe for beginners
- Integrated with Windows
Steps to create and format hard disk partitions:
- Press Windows + I to open Settings. Click “System” then “Storage”. Click “Advanced storage settings.”

- Select “Disks & volumes”. Choose your disk and click “Create volume”. Set the size for your new partition.

- Choose the drive letter. Select file system (NTFS recommended). Enter a volume label. Click “Format” to finish
Method 5: Using Third-Party Software
Many companies make partition software with extra features. These programs often have better interfaces than Windows tools. They can handle more complex partition tasks.
Popular options include EaseUS Partition Master and AOMEI Partition Assistant. These tools offer features like partition recovery and advanced resizing. Some are free while others cost money.
Third-party tools can sometimes fix problems that Windows tools cannot. They often include wizards that make complex tasks easier. However, you need to download and install them first.
Why use third-party software:
- More features than Windows tools
- Better user interfaces
- Can fix complex problems
- Often includes wizards
- Regular updates and support
Steps to create and format hard disk partitions (general process):
- Download and install partition software like Paragon Partition Manager. Run the program as an administrator. Select your hard disk from the list. Right-click unallocated space. Choose “Create Partition” or a similar option.

- Set partition size and file system. Assign a drive letter. Click “Apply” or “Execute” to start. Wait for the operation to complete. Restart if prompted
Method 6: During Windows Installation
You can create and format hard disk partitions when installing Windows. This method works when setting up a new computer or reinstalling Windows. It’s useful for creating multiple partitions from the start.
The Windows installer includes basic partition tools. You can delete old partitions and create new ones. This is often the cleanest way to set up your disk layout.
This method only works during Windows installation. You cannot use it on a running system. It’s perfect for fresh installations or major system changes.
Why use the installation method:
- Clean slate approach
- No existing data to worry about
- Simple interface
- Creates optimal layout
- Part of the installation process
Steps to create and format hard disk partitions:
- Boot from Windows installation media. Follow the setup until you see the drive selection. Click “Drive options (advanced)”.

- Select your hard disk. Click “Delete” to remove old partitions. Click “New” to create a new partition. Set the size in MB. Click “Apply” to create the partition. Repeat for additional partitions. Select the partition for Windows installation
Part 4: Pro Tips to Create and Format Hard Disk Partitions
Smart partition management makes your computer work better and last longer. These tips help you avoid common mistakes and get the most from your partitions.
- Always backup data before making partition changes – Partition operations can cause data loss
- Leave 10-15% free space in each partition – This prevents performance problems
- Use NTFS file system for Windows partitions – It offers better security and file size limits
- Create a system recovery partition – This helps when Windows has problems
- Keep system partition separate from data – Makes backups and reinstalls easier
- Align partitions properly – Improves performance on modern SSDs
- Use descriptive labels for partitions – Makes it easier to identify their purpose
- Don’t create too many small partitions – This wastes space and complicates management
Author’s Tip
The easiest way to create and format hard disk partitions is through Disk Management for beginners. It’s built into Windows and handles most tasks safely. Start with this method before trying more advanced tools.
For users who need more control, PowerShell offers the best balance of power and safety. It provides clear feedback and can automate repetitive tasks. Always test commands on unimportant data first to avoid mistakes.
Conclusion
Learning to create and format hard disk partitions gives you better control over your computer. Windows 11 and 10 provide several methods to manage partitions. Choose the method that matches your skill level and needs.
Start with simple tools like Disk Management or the Settings app. Move to advanced methods like PowerShell or third-party software when you need more features. Always backup your data before making partition changes to avoid losing important files.
FAQs
Q: Is it safe to create and format hard disk partitions on Windows?
Yes, it’s generally safe when done correctly. Always backup your data first. Use Windows built-in tools for basic tasks. They have safety checks to prevent major problems. Avoid making changes to system partitions while Windows is running.
Q: How many partitions can I create on one hard disk?
You can create up to 4 primary partitions on a basic disk. For more partitions, you need extended partitions with logical drives. Modern GPT disks support up to 128 partitions. Most users need only 2-4 partitions for good organization.
Q: What’s the difference between quick format and full format?
Quick format only removes file system information. It’s faster but doesn’t check for bad sectors. Full format scans the entire disk for errors and marks bad sectors. Use full format for new disks or when you suspect problems.
Q: Can I resize partitions after creating them?
Yes, Windows Disk Management can resize most partitions. You can shrink partitions that have free space. Expanding partitions requires unallocated space next to them. Third-party tools offer more flexible resizing options.
Author Bio:
Dinesh Lakhwani 

Dinesh Lakhwani, the entrepreneurial brain behind “TechCommuters,” achieved big things in the tech world. He started the company to make smart and user-friendly tech solutions. Thanks to his sharp thinking, focus on quality and the motto of never giving up, TechCommuters became a top player in the industry. His commitment to excellence has propelled the company to a leading position in the industry.
Popular Post


Recent Post
Windows Sound Settings – Sound Control Panel: Complete Guide
Sound plays an important role in how we use a computer every day. It supports both work and leisure. You need it for meetings, videos, music, and alerts. When audio fails, even simple tasks become difficult. Many users feel stuck when sound issues appear. This usually happens because they are not familiar with Windows Sound […]

Run a Troubleshooter For PC Issues Windows: Complete Guide
A computer plays an important role in everyday life. People use it for work, study, communication, and entertainment. When a problem appears, it can interrupt everything. Even a small issue can waste time and create frustration. Many users feel unsure about how to fix such problems. They often think they need expert help. In reality, […]
![Adjusting Audio Output Settings Complete Guide [2026]](https://www.techcommuters.com/wp-content/uploads/2026/03/Adjusting-Audio-Output-Settings-Complete-Guide.webp)
Adjusting Audio Output Settings: Complete Guide [2026]
Sound is part of almost everything we do on a computer. It lets you watch videos, join calls, play music, and hear alerts. When the audio stops working the right way, it can interrupt both work and daily use. That is why adjusting audio output settings matters for every user. Many people get unsure when […]

Artificial Intelligence Explained: Concepts, Terminology, Benefits, and Future Trends
Artificial Intelligence, or AI, is basically computers doing things that usually need a human brain. We’re talking about stuff like learning from experience, figuring out problems, understanding language, and making decisions. It’s not magic, just a lot of data, pattern-spotting, and math behind the scenes. Now, AI doesn’t actually think or feel like we do. […]

Resolving Microphone Detection Problems: Latest Guide [2026]
Microphones are important tools in daily life. People use them for office meetings, online classes, interviews, gaming, customer support, and content creation. When a system fails to detect a microphone, communication stops at once. This situation can cause stress and confusion. Many users believe the microphone is damaged. In reality, most problems are simple and […]
How To Switch To A Dark Background Theme In Windows [2026]
Most people spend many hours each day in front of a computer screen. Office work, online classes, editing, browsing, and streaming all require long screen time. A bright white background may look clean at first. However, over time, it can feel sharp and tiring. The strong contrast between white backgrounds and black text may cause […]
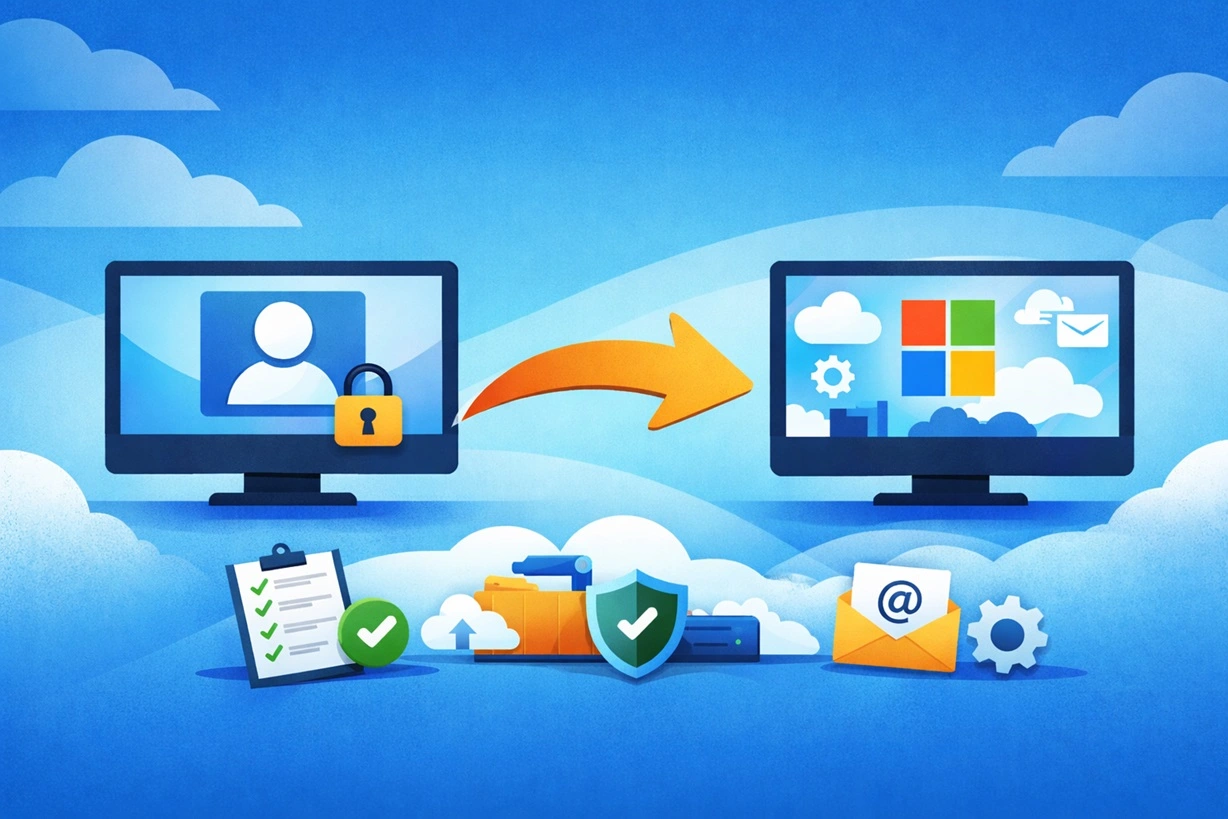
How to Switch From Local To Microsoft Account On Windows
Many users begin with a local account when they set up a new Windows computer. A local account works only on that single device. It stores settings, files, and preferences locally. It does not connect to online Microsoft services. For basic offline use, it works well. However, as digital needs grow, many users want better […]

How to Switch Windows 10 to a Local Account: Complete Guide
Windows 10 allows users to sign in with either a Microsoft account or a local account. When you set up a new computer, the system often suggests using a Microsoft account. This account connects your device to Microsoft services such as Outlook, OneDrive, and the Microsoft Store. It also syncs settings, themes, and passwords across […]

How To Change Default Apps For File Types In Windows
Windows is designed to make using your computer easy. One way it does this is by assigning default apps to different file types. This means when you open a file, Windows automatically opens it with a specific program. For example, photos may open with Photos, music with Groove Music, and PDFs with Edge. These default […]

How To Adjust The Mouse Pointer Speed: Complete Guide
Using a computer every day means you use the mouse a lot. The mouse pointer moves on the screen and helps you click, scroll, and select items. Many people never think about the speed of the mouse pointer. They have used the default setting for years. This can cause small problems over time. A slow […]

