Review FlexClip v2.7 – Is it the Best Online Video Editor?
We love to make videos and advanced editing features of the best video editor software make it easier to save those precious moments in the most beautiful way. These smart video maker & editor tools help you perform numerous tasks effortlessly.
If you’re in the search of the best video maker tool, then you should try FlexClip. This simple yet powerful video maker tool not only helps you create beautiful videos, but you can also use it for free to start your video making journey. Let’s review FlexClip to know what makes it the preferred choice of professionals and amateur alike.
Note: We’ve covered features of both free & paid version of FlexClip.
What is FlexClip?
FlexClip is a free-of-cost online video maker & editor that offer something for everyone. Using the tool you can create amazing videos, add voice-over, make slideshows, create vlogs, ads, and more. Available both as free and paid, this tool doesn’t confuse users.
Note: For the purpose of review, I am using the Business Plan.
FlexClip Benefits:
- FlexClip has free version with no hidden charges.
- Trim videos without compromising the quality.
- Add both video and photos to make great videos.
- Record voice to make video interactive.
- Easy and quick to mount video of varying complexity.
- Support popular file formats for download.
- Multilingual
FlexClip Features:
FlexClip gives the power to create, edit, convert, or compress video. Here’s what the program is designed to do:
Create –
Business
Lifestyle
Social Media
Tools –
- Trim Video
- Add Music
- Add Text
- Video Watermark
- Video Merger
- Record Voiceover
- GIF Maker
- Screen Recorder
- Convert Video

- Media Library
- Split Video
- Zoom Video
- Rotate Video
- Photo to Video
- Video Resolution
- Aspect Ratio
Most importantly this video recorder offers a royalty-free, rich content library.
Learn –
- Video Editing
- Video Recording
- Video Marketing
- Video Conversion
- Social Media
FlexClip Free vs. Paid
Without comparing the difference between the free and paid version this review will be incomplete. Like all video editors, you unlock more features with a subscription.
Before we get into details let us know the similarities.
- Both free and paid version offers the same range of video templates
- Same tools and special effects controls
- Cloud-based editing
- Downloadable Windows desktop app for offline editing
Both versions work great, however, the paid plan offers a few things more like:
Video Output Quality
The free version of FlexClip can only export 480p SD videos while paid version supports high-definition video, allowing downloading of up to 1080p full-HD videos.
Project Count
Free FlexClip video editor can only hold up to 12 projects while paid version offers up to 1000 projects per user.
What makes FlexiClip the best video editor?
- Stock Content Availability
With tons of stock videos, photos, music, and more FlexClip, is one of the best online editing programs. However, if you are using the free version, you can use only one stock video per project. However, the paid plan allows unlimited usage of available content.
- Video Length
The paid version allows creating videos for up to 30 minutes while the trial had a video cap of up to one minute.
- Watermark
Both free and paid versions are free of a FlexClip watermark and paid version offers a customizable watermark feature.
PROS
- Easy User Interface
- Thousands of templates are divided into categories to choose from
- Royalty Free Stock Videos & Music
- Web interface to access from any device
- Powerful editing tools
CONS
- No stock videos option in free version
- The free version is limited
How to use FlexClip Video Editor?
Using this online video editor is simple. Once you have downloaded you can either use the tutorial or can follow the steps below:
- Visit https://www.flexclip.com
- On the welcome screen, to create a video you will get two options –
Create by Templates
Start from Scratch
Pick any as per your choice.
If you choose to Create by Templates, you get a choice to select or search for a video template.

However, if you want to start fresh, you can select Start from Scratch. Here, again you will two modes to select from Storyboard Mode and Timeline Mode.
Storyboard Mode – helps build storylines and sort footage for quick edits
Timeline Mode – gives user complete control over the timeline. Using this mode, you can edit the minutest detail in the best possible and easiest way.
3. Once that is done, you will see the selected project.
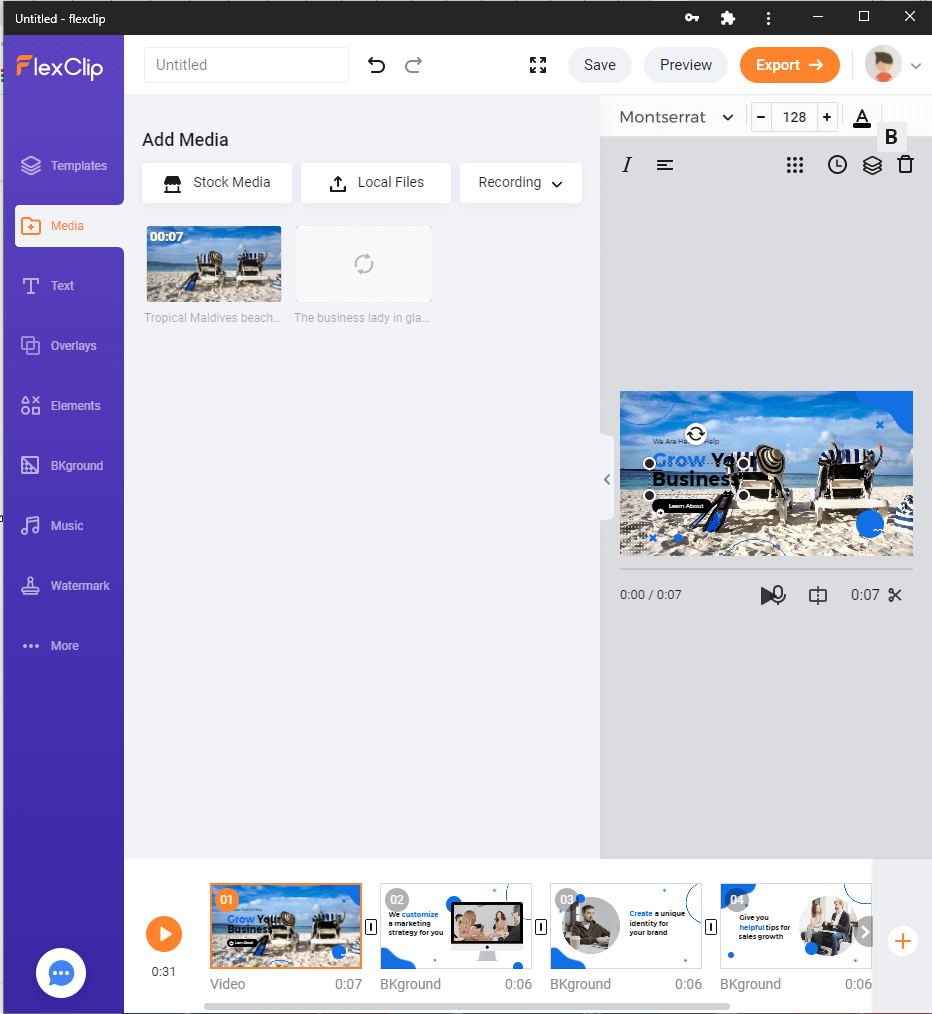
4. Next, from the left pane click the Media option. You will find different options to add media –
Stock Media – gives you a vast library of Stock media from where you can search for videos and photos.
Local Files – pick the media saved on the PC
Recording (record screen & record webcam)
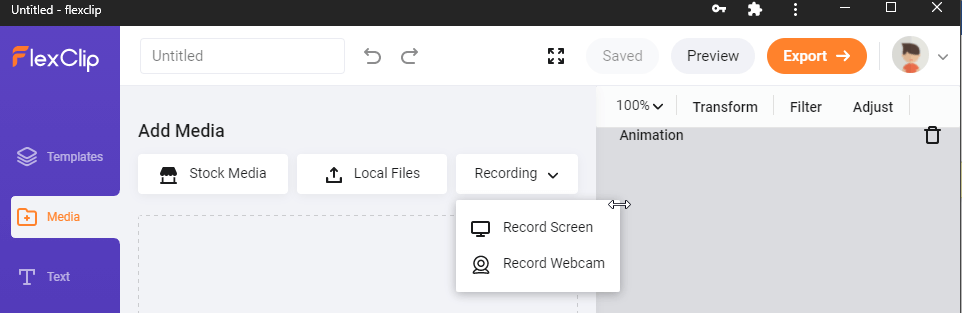
In addition to this, you can drag and drop new files also
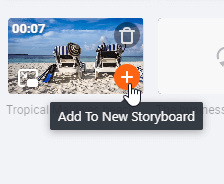
5. To add Stock Media, click the option Stock Media, search for the media you are looking for and click the + icon to add them to media.
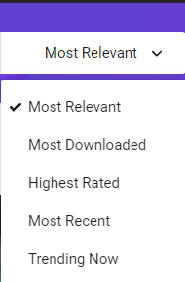
Clicking the down arrow next to the search bar gives options like Most Relevant, Most Downloaded, Highest Rated, Most Recent, and Trending Now.
After adding the media if you want you can add selected media to Storyboard. To do so, select the added media and click the + icon.
You can also drag the file directly to the canvas.
Tip – To make videos interactive, FlexClip allows creating PiPs.
PiP mode – Once the media is added to Storyboard, you can add different effects, set opacity, crop picture, fit video, and do a lot more. Storyboard allows adding unlimited pictures for PiPs.
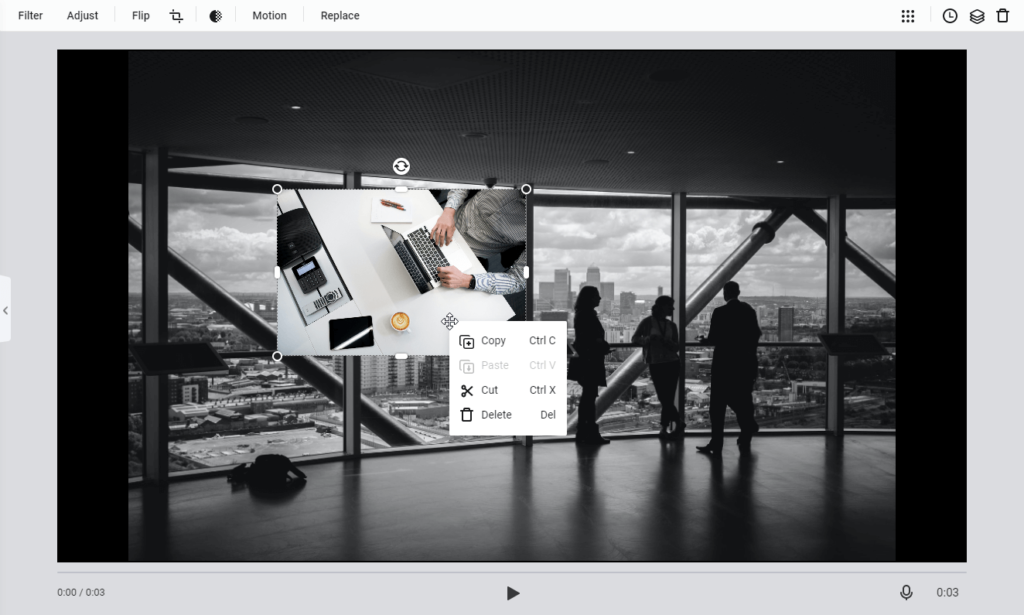
Video PiP
Here the difference is that every storyboard can only add one video to create PiP. You can drag and drop the video, adjust to fit, crop video, adjust opacity, and more.
Adjust Pip – After adding the PiP if you want to adjust time and image PiP user the time icon on the top right corner.
Crop PiP – Don’t like the way PiP appears use Crop tool to change PiPs shape. Also, you can decide on the part you want to show.

Using these steps, you can use Create By Templates. But say if at a later stage you want to add a new storyboard then? Simply click the + icon present at the end of the current Storyboard. You will again get three options to choose from:

Add Local Media: Upload local videos or photos from PC.
Add Stock Media: Search millions of photos and videos from the stock media library.
Add Background: Create a storyboard with black background (default).
6. After making all the changes you are ready to manage Storyboard. To add a voiceover to the video press and hold the microphone ![]() button.
button.
To preview click the play ![]() button. In addition, you can drag to rearrange the storyboard list.
button. In addition, you can drag to rearrange the storyboard list.
7. Editing Video
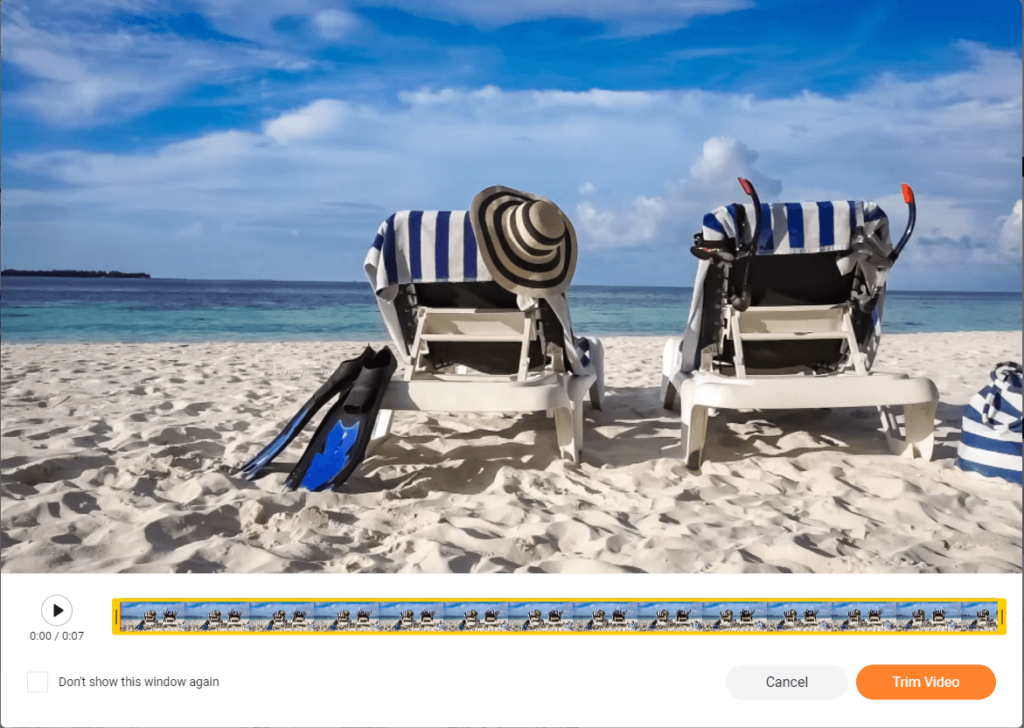
If you don’t want to use the complete stock or uploaded video, you can use the video trimmer to cut short the video. Click the ![]() button > adjust the yellow trimming slider, preview the changes and that’s it.
button > adjust the yellow trimming slider, preview the changes and that’s it.
Split – Use this function ![]() to divide video into two clips.
to divide video into two clips.
Filter – Make your video look stunning by adding filters.
Adjust – Use this option to adjust brightness, contrast, exposure, temperature, tint and so on.
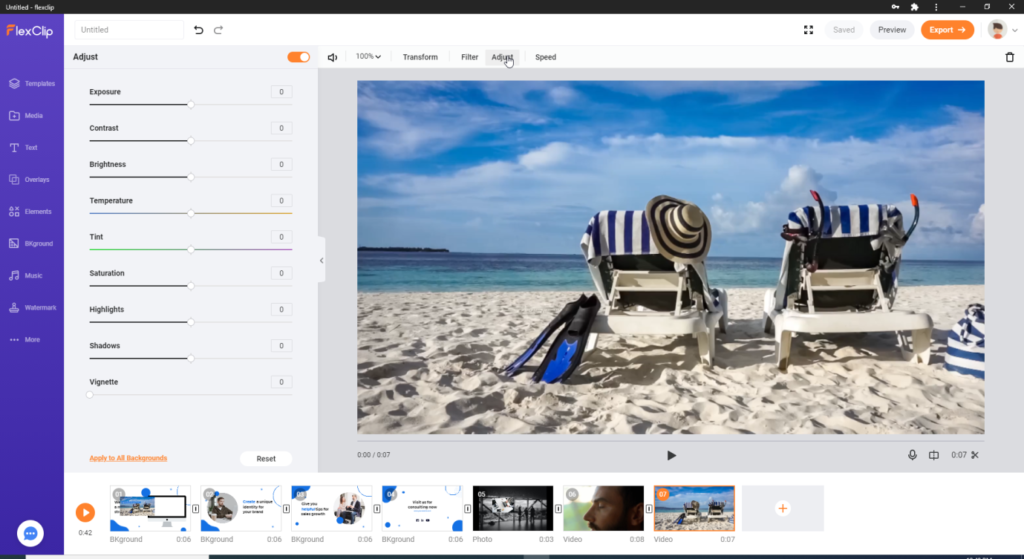
Speed – alter the speed of the video as per the requirement.
In addition to these options you can zoom, transform and delete the video.
8. Edit Photo
Like editing video you can edit added pictures, add animation and do a lot more.
9. Add & Edit Text
Now that things are almost done if you think something is missing try adding and editing text.
To do so, click the ![]() button from the left pane and get to see a pre-built text animation:
button from the left pane and get to see a pre-built text animation:
Basic text and Dynamic Text.
Edit Texts
To add your own text double-click the text box, change its size by dragging corners, and move the video place to anywhere. To customize it further, click the text box and make the changes.
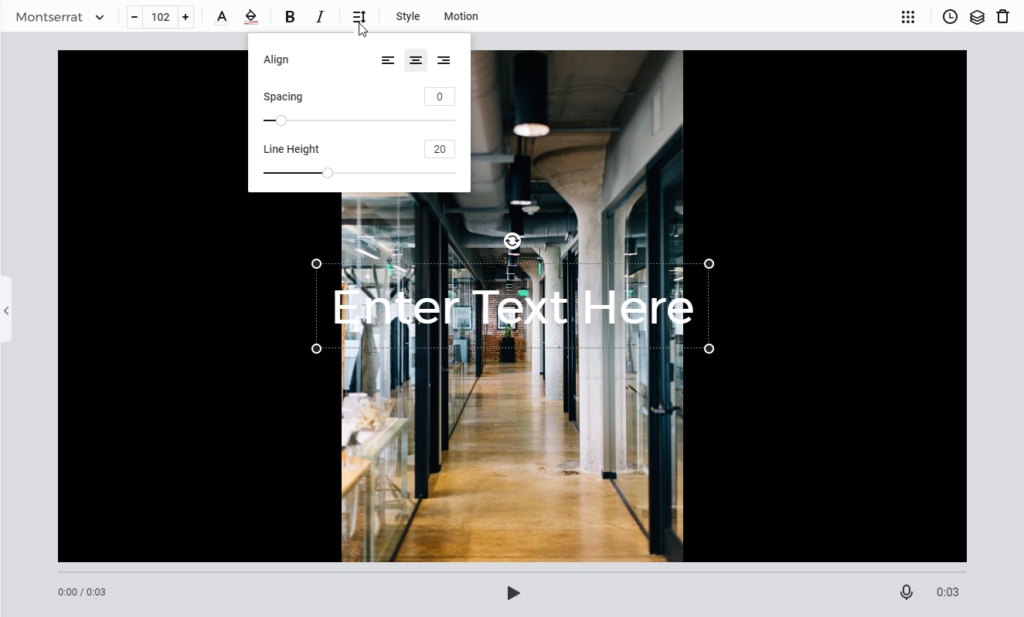
Text Style
FlexClip, alongside offering great features, also allows creating your own text. Select Style > if need be make adjustments and get the unique test.
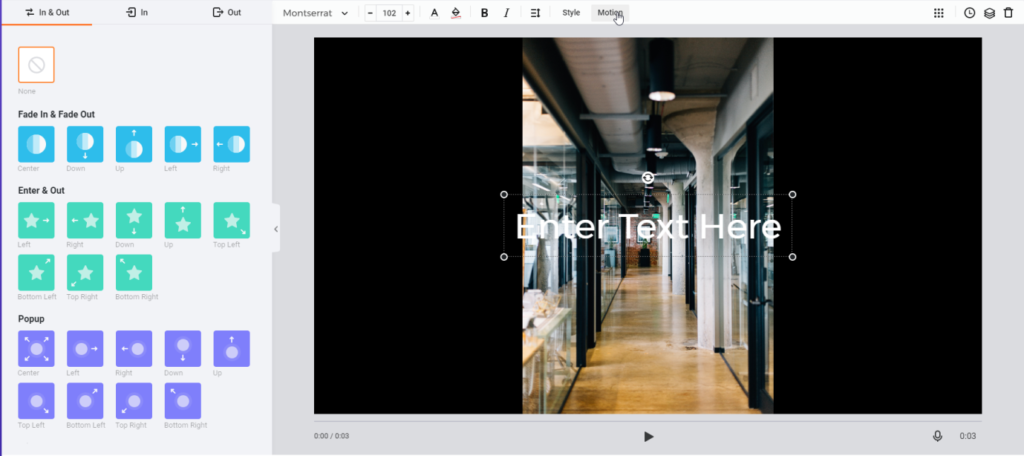
Want more? Use the Motion button to add text and create an effect that you want to.
10.. Add and edit overlay/logo – To make your videos mesmerizing, select and add a suitable logo. To add an overlay, click the Overlay button, use pre-designed templates and change the color if need be.
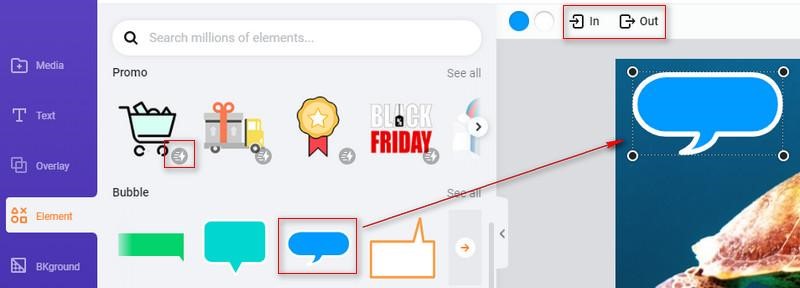
11. Add & edit element – Search from millions of elements to add them to video.
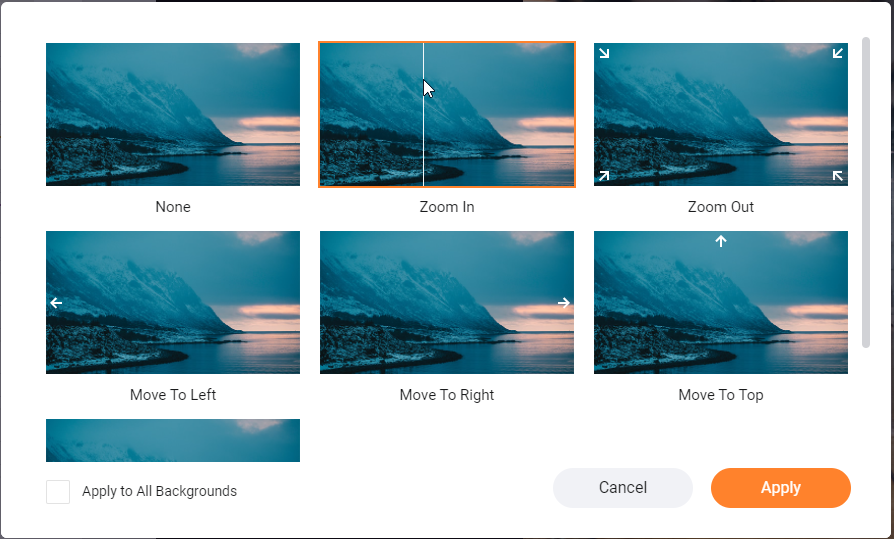
12 Rotate the video, flip & Opacity & Layer, add a background, transition effect, add or music edits. Fade in Fade out.
FlexClip Review – Verdict
Like any other video editor, FlexClip has its own strength and weakness. But this doesn’t mean it isn’t an effective tool. FlexClip offers a variety of templates, editing options, allows adding text, elements, modify images, videos, and a lot more.
All in all, FlexClip is the complete package tool, and it delivers good results. After trying the tool myself I did this review. We hope you will also give the tool a try and see what all can be created using this best online video editor.
Author Bio:
Dinesh Lakhwani 

Dinesh Lakhwani, the entrepreneurial brain behind “TechCommuters,” achieved big things in the tech world. He started the company to make smart and user-friendly tech solutions. Thanks to his sharp thinking, focus on quality and the motto of never giving up, TechCommuters became a top player in the industry. His commitment to excellence has propelled the company to a leading position in the industry.
Popular Post


Recent Post

What is Microsoft Autopilot Everything You Need To Know
Technology has changed the way companies manage computers. Well, yes! Employees now work from offices, homes, and remote locations. Setting up devices manually for every worker takes time and effort. It can also create mistakes that slow down productivity. This is where Microsoft Autopilot becomes useful. It helps businesses prepare and deploy Windows devices with […]

Enable Automatic Device Locking Feature Windows: Complete Guide
Introduction: Your computer stores important information such as emails, documents, passwords, and personal photos. Leaving it unlocked can put that data at risk. Thankfully, Windows includes built-in features that can automatically lock your device when you are away. Setting up automatic device locking is quick and does not require any extra software. In this guide, […]

How to Update Wireless Network Driver in Windows 11 and 10
Your Wi-Fi keeps dropping. Pages load slowly. The connection feels unstable? Well, you are not alone. Most of the time, the problem is not with your internet plan. It is with your wireless network driver. A driver is a small piece of software that helps your computer talk to its hardware. When it gets outdated, […]

Common Windows 11 Problems and Solutions (2026 Version)
Windows 11 has become more polished over the years, but it is still not completely free from problems. Even after regular updates from Microsoft, many users continue to face issues like lagging performance, failed updates, audio troubles, random crashes, and network errors. Some problems appear after installing new features, while others develop gradually as the […]

Fortect Driver Updater Review: Features, Steps, Pros, and Cons.
A new PC usually feels quick and responsive. Applications open instantly, games run smoothly, and everything works as expected. As time passes, however, you may notice slower performance, system crashes, hardware glitches, or devices that stop working properly. While many people assume malware or low storage space is to blame, outdated drivers are often the […]

New Features Coming in Windows 11 This Year [2026]
Microsoft is always working to make Windows better. This year is no exception. The company has announced and rolled out several exciting updates for its users. These updates touch almost every part of the operating system. From the Start menu to system settings, changes are arriving fast. If you use Windows daily, you will want […]

Top 14 Duplicate Photo Finder and Remover For Windows [2026]
Introduction: Photos pile up fast. Well, yes! You take ten shots of the same moment. You download the same image twice. You back up your folder and forget you already did it. Before you know it, your storage is packed with copies. A good duplicate photo finder helps you take back that space without losing […]

Advanced System Settings on Windows 11: Complete Guide
Windows 11 is a powerful operating system. It comes with many features that most users never explore. One of the most useful areas is the System Properties panel. This is where you can control how your computer performs, starts up, and handles memory. Many users only change basic settings like wallpaper or display options. But […]

21 Advanced Windows Security Settings: Latest Updates
Introduction: Your computer holds a lot of important data. From personal photos to work files, everything sits on your Windows system. That is why protecting it properly matters more than ever. Windows security settings have come a long way. Microsoft keeps adding stronger layers of protection with every update. Most users never go beyond the […]
Security Upgrades of Microsoft Windows in This Decade [Complete Guide]
Introduction Microsoft has been working hard to make Windows safer every year. Cyberattacks are growing fast. Hackers are smarter now. They target millions of Windows users every single day. That is why Microsoft has added many powerful new security upgrades of Microsoft Windows since 2020. These upgrades protect your data, your identity, and your device […]

