How to Clear Cache and Expand Storage Space on iPhone & iPad
Last updated on January 25th, 2025 at 4:37 am
Can’t download the latest iOS or iPadOS update on your device? Do you always get a Full Storage message whenever you try to install a new app or click a picture on your device? Then, ladies and gentlemen, it is a clear indication that you have to clear cache and free up storage space on your iPad and iPhone.
iPhones and iPads have the least maintenance required OS compared to Mac and Windows. But, you still have to pay a little attention to optimize the speed and performance of your iPhones and iPads by clearing up the cache.
This post will share how to clear cache and increase storage on your iPhone and iPad in depth. So, if your iPhone or iPad has been clogging a lot, you gotta follow these instructions.
How to Clear Cache on iPhone and iPad?
Depending upon which iOS and iPadOS version your device is running on, you might have different cache cleaning options available. However, the basic ways to increase your iPhone or iPad storage space are:
Clearing the Cache in Web Browsers
Based on your web browser’s preference, you have to follow different instructions to clear cookies and web history from your iPhone and iPad web browsers. Considering that the majority of people use Safari or Google Chrome to browse on the web, we would like to show you how to clear the cache on Safari and Google Chrome step-by-step.
How to Clear the Cache in Safari
- Open Settings on your iPhone and iPad.
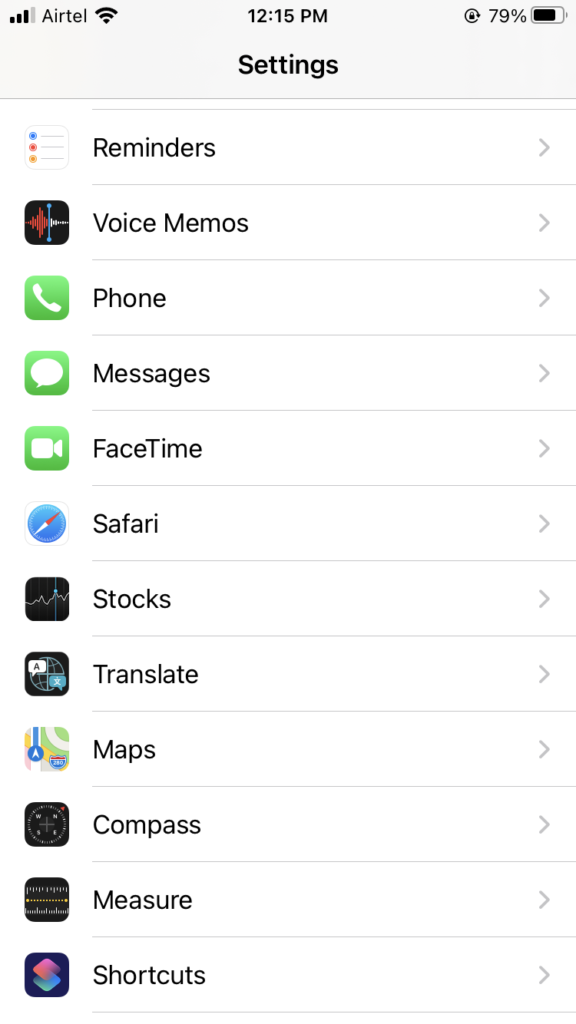
- Scroll down to the Safari option.

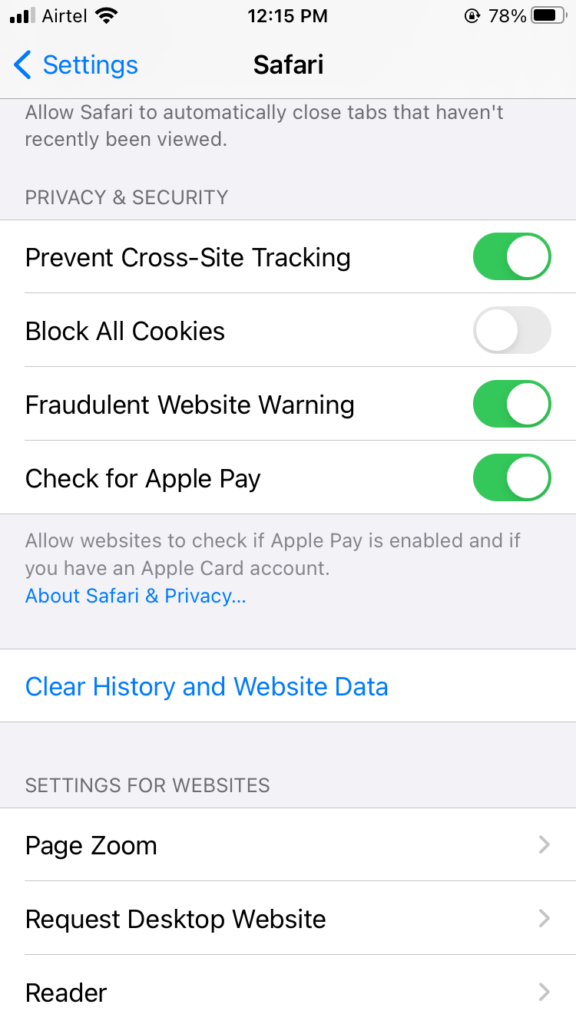
- Tap open it and then tap on the ‘Clear History and Website Data’ button.
- Confirm your actions! Now, all your Safari data and login history are cleared.
How to Clear the Cache in Google Chrome
- Open the Google Chrome app on your iPhone or iPad.
- Tap on the three dots located in the corner.

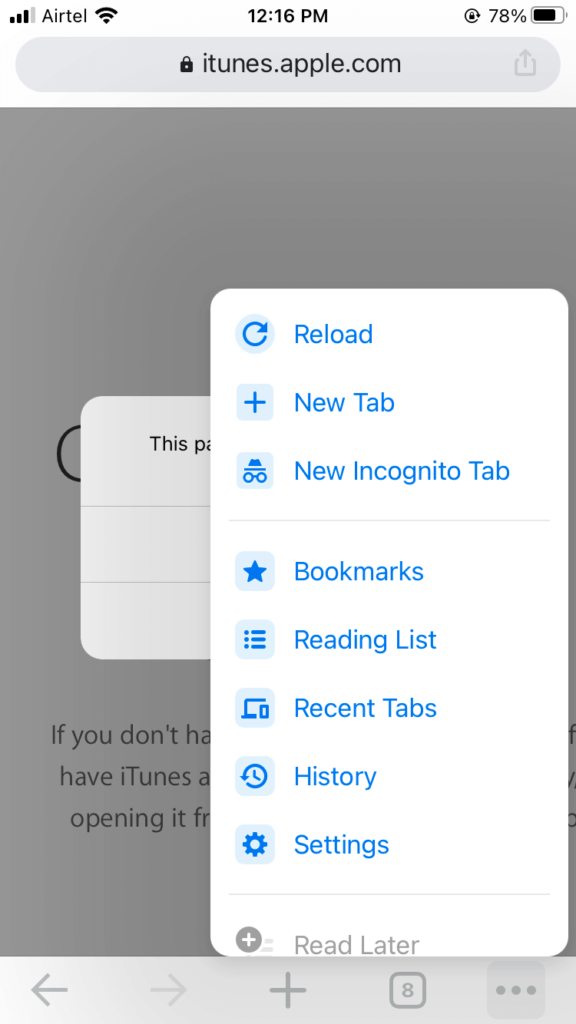
- Navigate to the ‘History’ button, tap over it.
- Then tap on the red ‘Clear Browsing Data’ section.
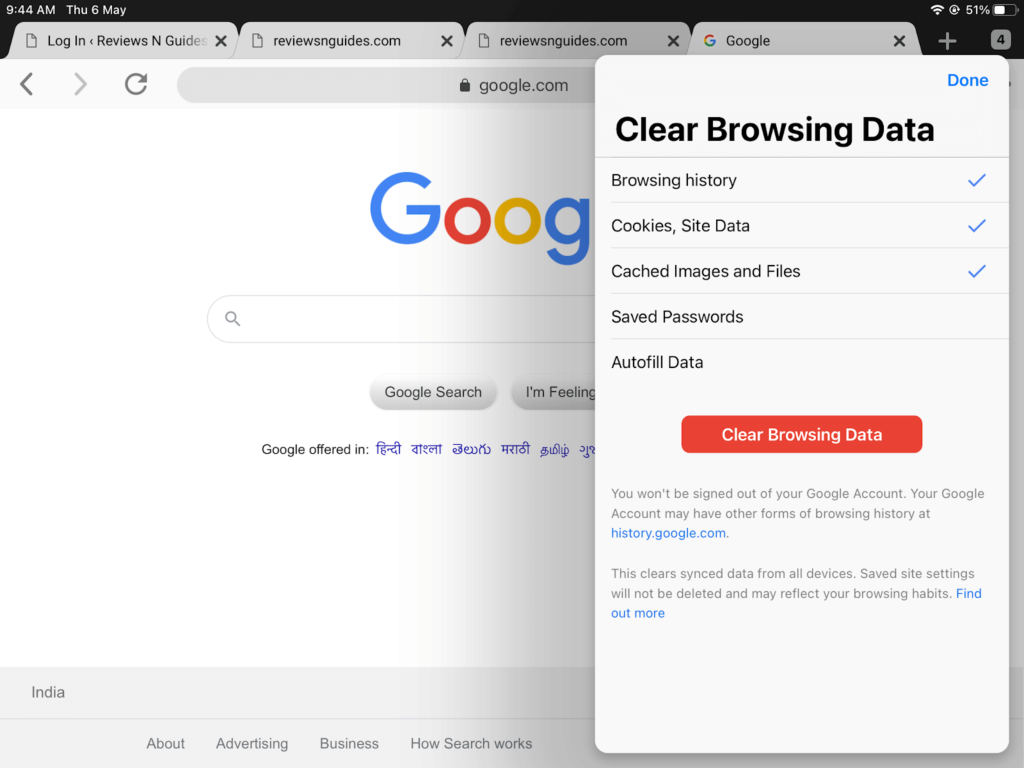
- Chrome will allow you to delete browsing history, saved passwords, cookies, site data, and more on the next screen. You can delete all browsing data or can untick a particular option if you don’t want to remove all data.
- Once again, tap on the ‘Clear Browsing Data,’ and you are done.
Clearing the Cache in Third-party Apps
On your iPhone and iPad, you must have plenty of apps installed from the App Store. All these apps consume a certain space on your device’s storage. The process to clear the cache on all third-party apps is different that we can’t cover in one post. But, we can share the right method to free up space on your device by tweaking with third-party apps.
Find out the Most Space Consuming Apps
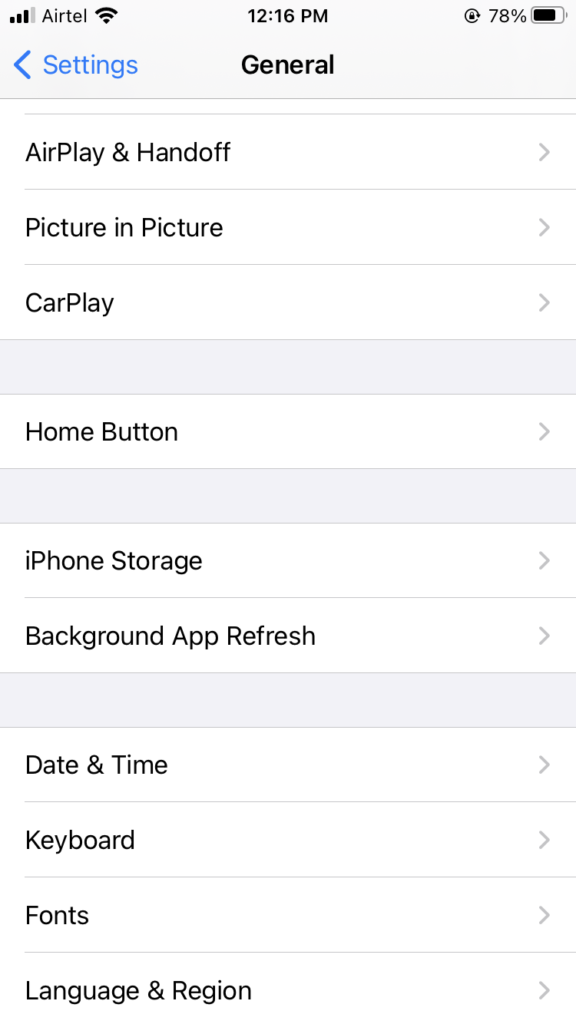
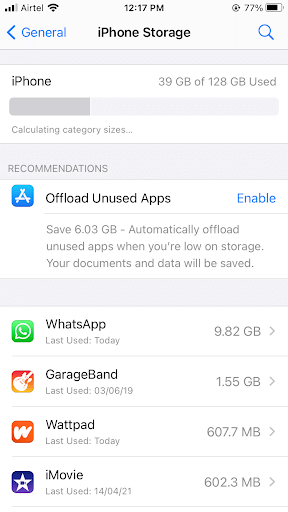
There’s no benefit of deleting random apps from your Home Screen unless you know how much space it will free up. To do so, go to Settings > General > iPhone or iPad storage.
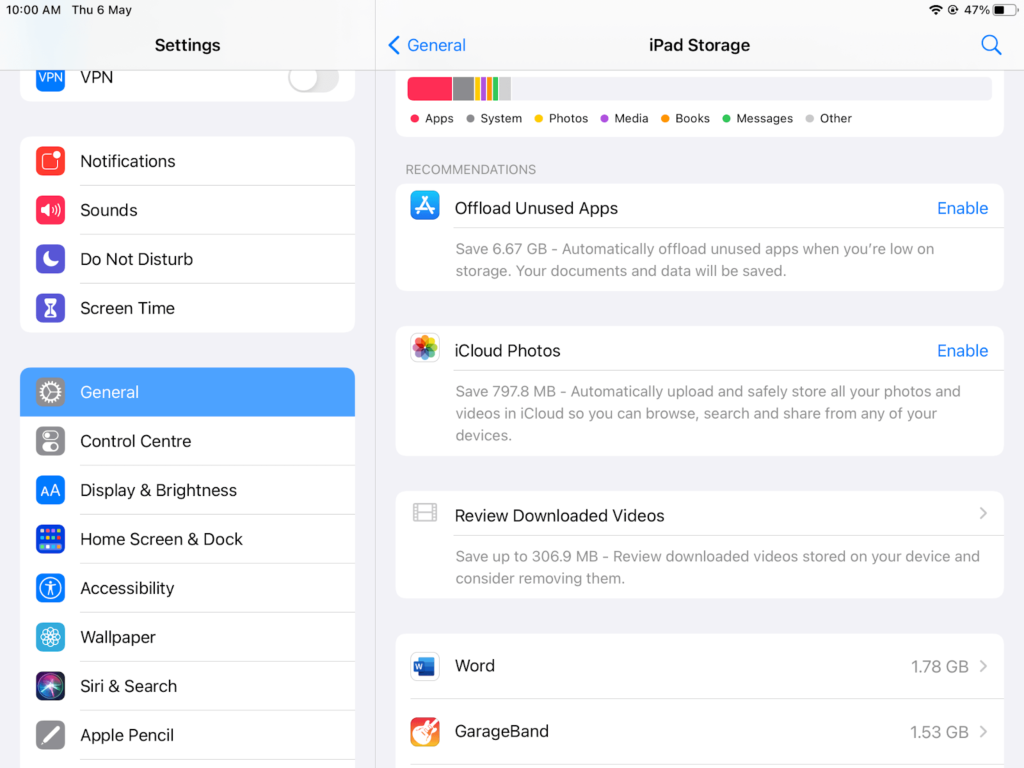
Now, you have a bar showing your total device’s storage space and how much space is taken by each app. You can pick the app that you use least with the higher space-consuming numbers.
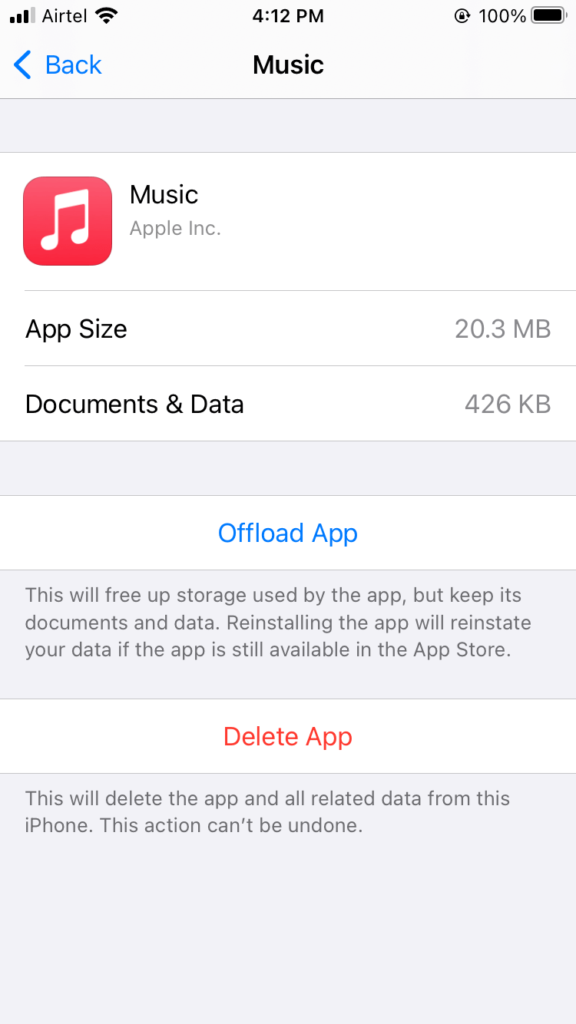
Delete the App or Offload the App
Once you open an app from the Storage screen, you have two options — Delete App or Offload App.
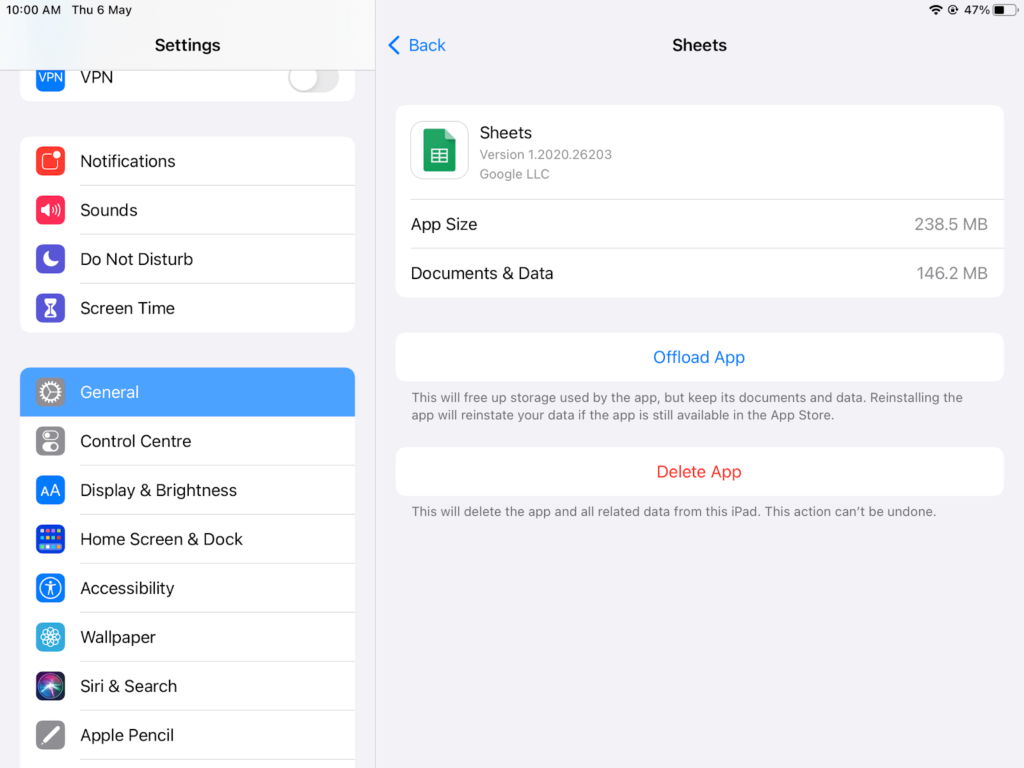
By tapping over the Delete App button, the selected app will be permanently deleted from your device. However, if you have purchased the app, it will be available to re-download at no cost from the App Store. You can also delete from the Home Screen by tapping over the app icon, and once it starts to wiggle, tap on a small X that appears on each icon.
Suppose you want to temporarily disable an app without deleting its settings, tap on the Offload option. When you offload an app, it stays on your Home Screen, but you have to re-download it. Importantly, Apple lets you automatically Offload apps that you don’t often use. Go to Settings > General > iPhone or iPad Storage > Offload Unused Apps and tap Enable.
Clearing the Cache in Photos and Videos
Your photos and videos are often the main culprits behind the full storage space. Therefore, you can clear the cache by deleting or moving your photos and videos. To do so:
- Navigate to Settings > General > Device Storage.
- Under the Photos tab, you can see how much storage it’s using. If your photos are taking over 1GB of space, you should either move your content to cloud storage or delete unwanted files.
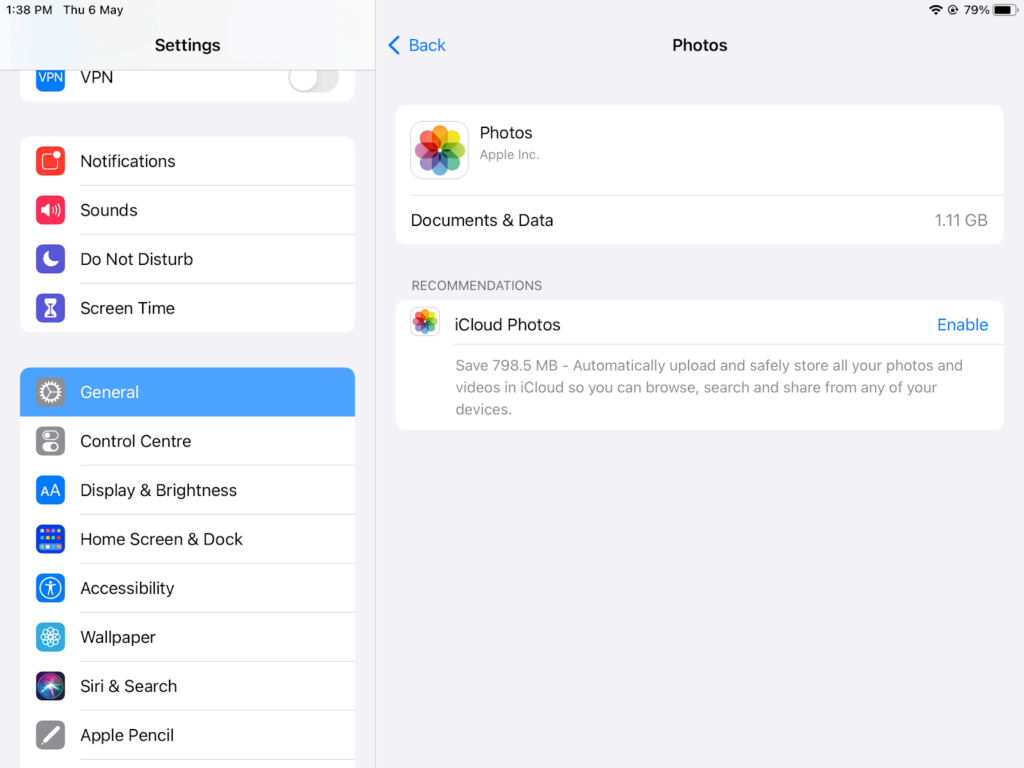
- To shift photos and videos to the cloud, you can simply Enable iCloud storage and backup all your content on the cloud. You can also download third-party cloud apps like Google Photos to create photos backup.
- Once your backup is complete, go to your iPhone or iPad Photos and select photos that you want to delete from the device.
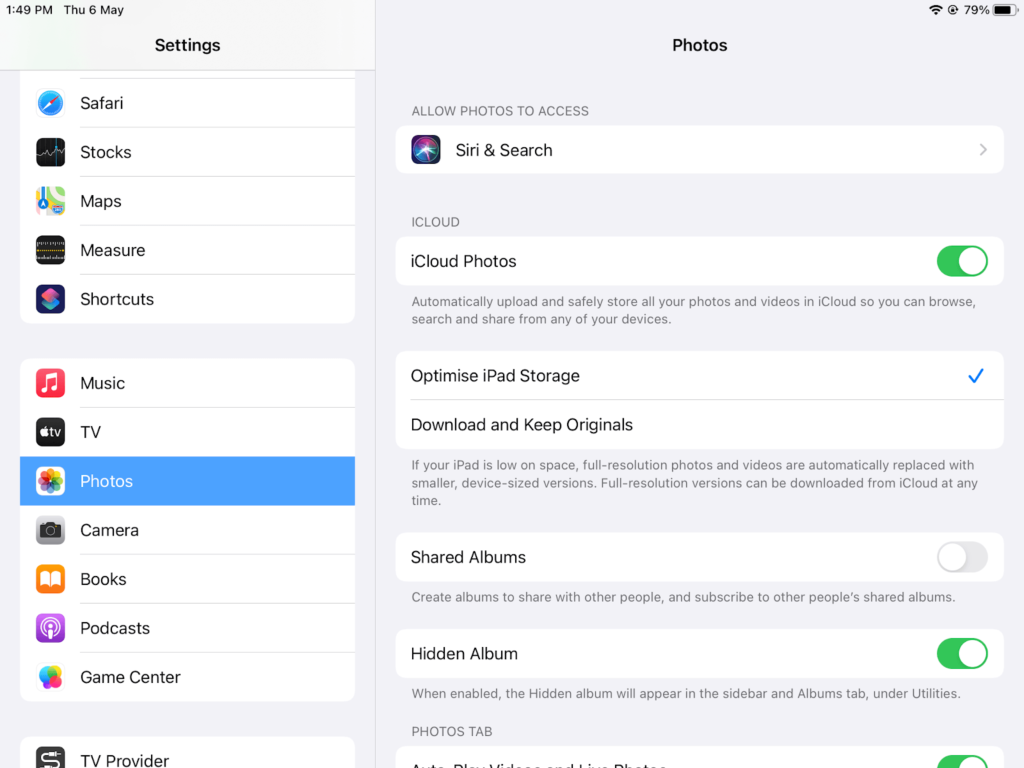
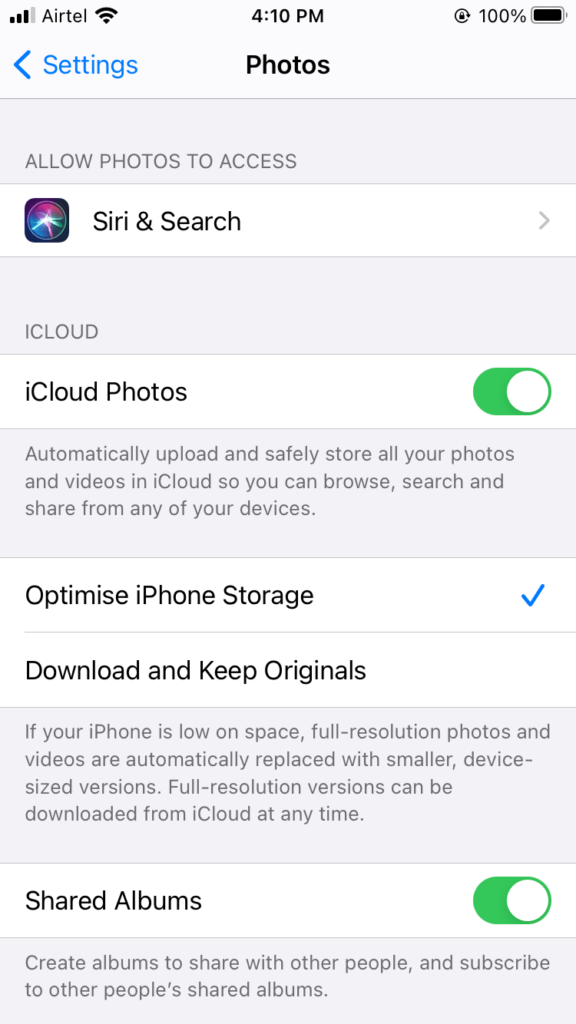
If you also have enabled the Photo Stream option, turn it off. It is a seamless method where photos between your iPhone and iPad automatically share when your device is connected to WiFi. It is a handy feature but also creates a duplicate copy of your photos that’s going to take up space on all your Apple devices. So, go to Settings > Photos > Upload to My Photo Stream and turn it off.
Apple also lets you keep low-resolution photos on your device and automatically stores full-resolution ones to iCloud. Just navigate to Settings > Photos > Optimise iPhone or iPad Storage and check the mark next to it.
Clearing the Cache in Music Library
Next to the photos, audio and videos take up a lot of space. You have three options to remove the music cache from your iPhone and iPad:
Settings
- Go to Settings > General > Device Storage > Music.
- You can see a summary of all the songs and albums available on your device here.
- You can delete a track or album by swiping the left or use the Edit button to delete multiple files in one go.
Music Library
- Open the Music Library app.
- Tap on the Library and then on Download Music.

- Now, you can see all the tracks and albums downloaded on your device.
- You can play each track and delete the unwanted ones from the ‘Delete from Library’ option.
Live Stream
Instead of downloading music tracks on your device, you can live stream music from the apps like Spotify. You can play music online and save loads of space on your iPhone or iPad.
Clearing the Cache in Message App
If you send or receive text messages a lot, it can clog your device’s space. So, check out how much space your messages are occupying and delete the unimportant ones.
You can also go to Settings > Messages > Message History and select to keep messages for 30 days or one year.

Also, check how much space your third-party messaging apps like WhatsApp or Skype consume. To delete third-party messages, you have to go to the app and delete the messages. For example, to delete WhatsApp messages:
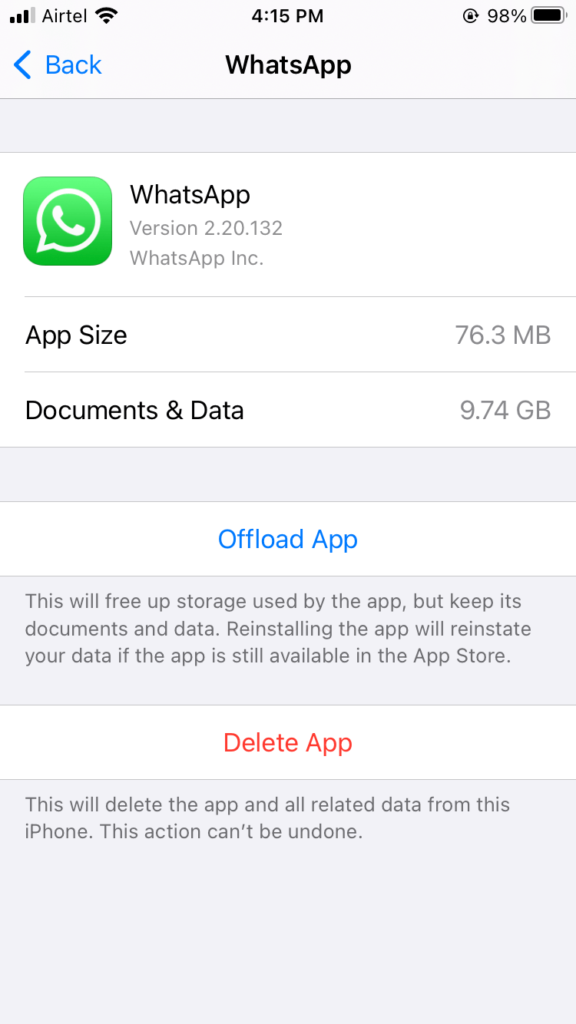
- Open the app and go to Settings.
- Next, open the chat from which you want to delete messages.
- Tap and hold the messages.
- Select one or multiple messages and tap Delete > Delete for everyone.
Clear the Cache Using Third-party Apps
Yep, if you don’t want to manually clear cache from your iPhone and iPad to free up space, you can use third-party cleaning tools. Similar to CleanMyMac, for iOS and iPadOS, many cache cleaning tools are available, like CCleaner, PhoneCleaner, iRemover, and more.
The benefit of using third-party cache cleaning tools is that they can automatically find the duplicate photos, files, and hefty apps on your device and delete them. To save your time, you can get iOS and iPadOS cleaning apps.
Wrap Up
That’s it! Now you know how to clear the cache on your iPhone and iPad using different methods. You can try all or any one of the methods as per your desire and create a space on your Apple device.
Apple gadgets are great, but they come with prefixed space. So, you have to be smart and try to manage all your content in a way that your gadget’s performance won’t get affected.
The TC team has researched a lot to create this guide and would highly appreciate your feedback in the comments. So, clear your device cache and do share your experience with us.
Author Bio:
Dinesh Lakhwani 

Dinesh Lakhwani, the entrepreneurial brain behind “TechCommuters,” achieved big things in the tech world. He started the company to make smart and user-friendly tech solutions. Thanks to his sharp thinking, focus on quality and the motto of never giving up, TechCommuters became a top player in the industry. His commitment to excellence has propelled the company to a leading position in the industry.
Popular Post


Recent Post

How to Switch Windows 10 to a Local Account: Complete Guide
Windows 10 allows users to sign in with either a Microsoft account or a local account. When you set up a new computer, the system often suggests using a Microsoft account. This account connects your device to Microsoft services such as Outlook, OneDrive, and the Microsoft Store. It also syncs settings, themes, and passwords across […]

How To Change Default Apps For File Types In Windows
Windows is designed to make using your computer easy. One way it does this is by assigning default apps to different file types. This means when you open a file, Windows automatically opens it with a specific program. For example, photos may open with Photos, music with Groove Music, and PDFs with Edge. These default […]

How To Adjust The Mouse Pointer Speed: Complete Guide
Using a computer every day means you use the mouse a lot. The mouse pointer moves on the screen and helps you click, scroll, and select items. Many people never think about the speed of the mouse pointer. They have used the default setting for years. This can cause small problems over time. A slow […]

How to Change Mouse Scrolling Settings In Windows
A mouse is one of the most used computer tools. People use it every day. They scroll through emails. They scroll through documents. They scroll through websites and images. The movement becomes automatic. Most users do not notice it. That is why problems often go unnoticed. Scrolling problems show up slowly. At first, it feels […]

Keyboard Light Settings: Keyboard Lighting Control [Complete Guide]
Keyboards are no longer simple typing tools. Well, yes! Over time, they have evolved to include features that improve comfort, visibility, and overall experience. One of the most useful features today is keyboard lighting. It helps users work comfortably in low-light conditions. It also reduces strain when typing for long hours. Many users first notice […]

Customizing Pointer Appearance: Complete Guide
The way your mouse pointer looks on your computer may seem like a small detail. But customizing pointer appearance can make using your PC more comfortable and visually appealing. Many users do not realize that they can change the pointer size, color, and style to fit their needs. Whether you want a bigger pointer for […]

How To Choose a Computer Monitor: Monitor Buying Guide
Buying a monitor looks easy. Many people think all screens are the same. That belief causes regret later. A monitor is not just a display. It is a daily tool. You read on it. You work on it. You relax with it. Small problems become big over time. Poor brightness hurts eyes. Bad size causes […]

How To Get Help With File Explorer in Windows 11 [Complete Guide]
File Explorer is one of the most important tools in Windows 11. It is used to open folders, view files, and manage stored data. Almost every action on a Windows computer depends on it in some way. When users open documents, save downloads, or organize photos, File Explorer is always involved. Because it is used […]

How To Fix A Frozen Computer: Complete Guide [Windows 11/10]
A frozen computer is one of the most common problems Windows users face. The screen stops responding. The mouse pointer does not move. Keyboard inputs do nothing. You may hear the fan running loudly. Sometimes the system looks alive, but nothing works. This situation often happens when you are busy or working on something important. […]

How to Upgrade Computer RAM: Complete Guide
Upgrading RAM is one of the simplest ways to improve a computer. It helps the system feel faster and smoother. Apps open quicker. Browsers handle more tabs. Games and tools run with less delay. Many users search for how to upgrade computer RAM because it gives real results without high cost. You do not need […]

