How to Import Photos from iPhone to Windows 10

Last updated on March 24th, 2024 at 10:40 am
If your iPhone’s memory is full or you wish to create a backup of your cherished photos, you should import all your iPhone photos to your PC.
There are several quick solutions to import photos from iPhone to Windows 10. In this post, the TC team went ahead and drafted a complete guide on how to import photos from iPhone to Windows 10. Here are all the simple ways to import your iPhone photos to Windows 10 in minutes.
How to Import Photos from iPhone to Windows 10 in 5 Ways
To import photos from iPhone to Windows 10, you have multiple options via a USB cable or wirelessly. For your ease, we are sharing the five prominent ways to transfer iPhone photos to Windows 10, including:
1. How to Import Photos from iPhone to Windows 10 Using the Windows Photos App
The Windows Photos app or Microsoft Photos comes pre-installed on your PC. So, to import photos from iPhone to Windows 10 using the Windows Photos app, you gotta first install the latest version of iTunes on your PC. To do so:
- Open iTunes on your computer.
- Click Help.
- Next, click on the Check for Updates option.
- Just follow the on-screen instructions to install the latest version of iTunes software.
Once you have updated iTunes on your PC, you are ready to bulk transfer photos from your iPhone to your computer. Follow these steps:
- Using a USB cable, connect your iPhone to your computer.
- From the Start Menu, click open the Photos app. You can type Photos in the search bar to launch the program.
- On the Photos window, click on the Import button located in the upper right corner.
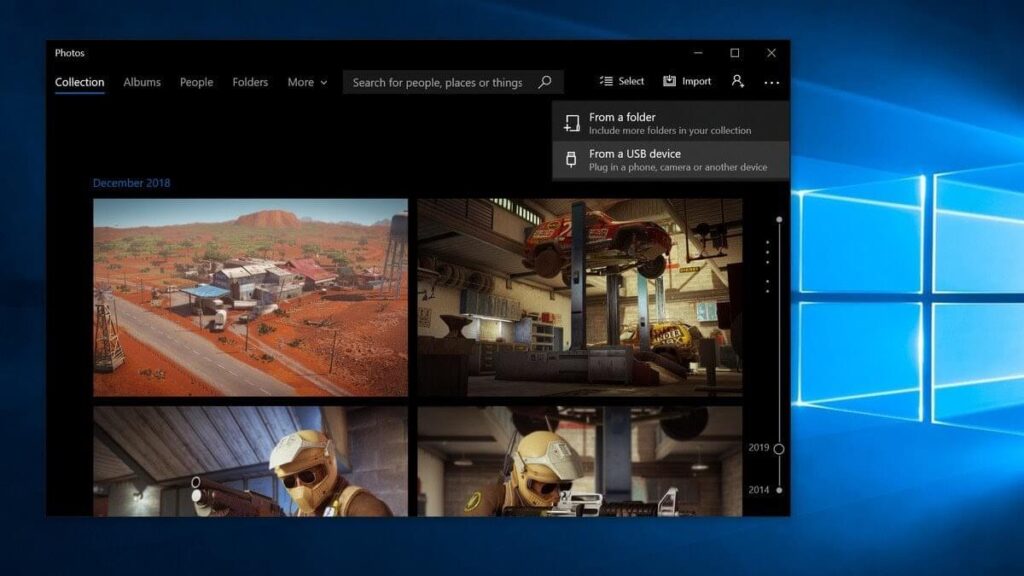
- Now, select all the photos that you want to import to your PC, click on the Import to ignite the process.
- Once the process is completed, you can easily access your iPhone photos through the Windows Photos app.
2. How to Import Photos from iPhone to Windows 10 Using File Explorer
If you want to import photos from iPhone to Windows 10 without any software, you can use File Explorer. This importing process works as:
- Connect your iPhone with your PC using a suitable USB cable.
- Next, open Windows Explorer on your PC. You can also use the Windows + E keys shortcut to launch it.
- Click on the Arrow (>) located next to This PC in the menu.
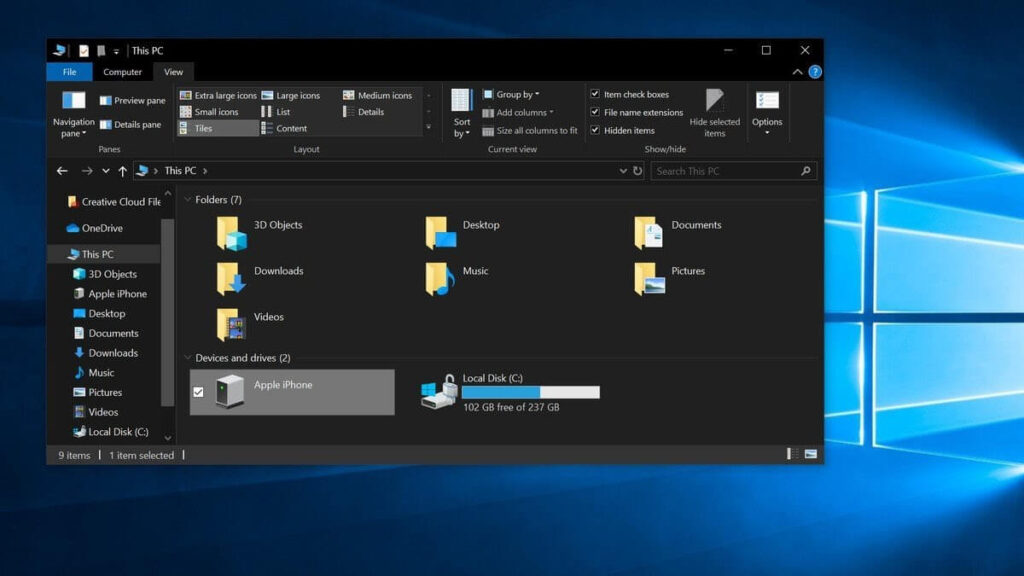
- Click on your iPhone’s Name in This PC submenu.
- Double-click on the Internal Storage and then on DCIM.
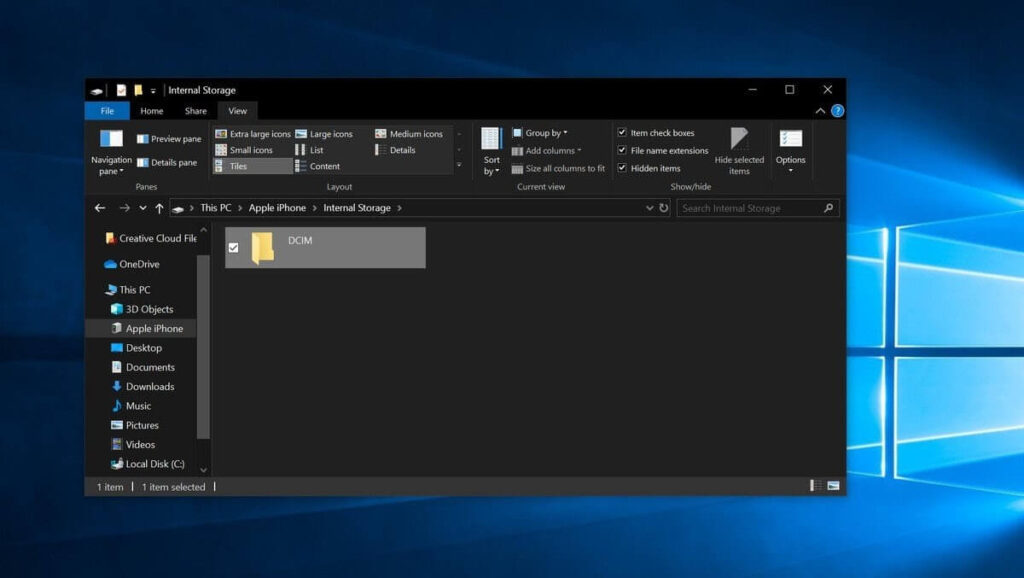
- Click open a Folder that contains all the photos.
- Select a picture. You can also hold the Ctrl key to click multiple pictures simultaneously. Or, use Ctrl + A keys to select all the photos together.

- On the top of the Window, click on the Copy To and select a location to save photos from the Choose Location dropdown menu.
- Select a destination to save the photos and click Copy. Don’t unplug your iPhone until the process completes.
3. How to Import Photos from iPhone to Windows 10 Using iCloud Photos
If you want to import photos from iPhone to Windows 10 without a USB cable, you can use the iCloud Photos app. This process is something like this:
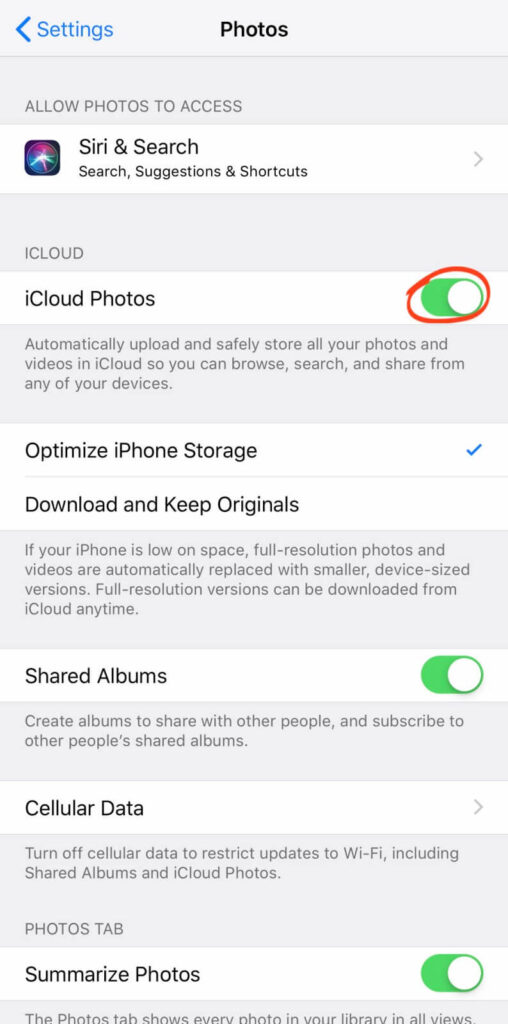
- Foremost, ensure that the iCloud Photo Library is enabled on your iPhone. For that, go to Settings > Photos > select iCloud Photos.
- Now, whenever you click a picture on your iPhone, it will automatically upload to iCloud while you are connected to WiFi.
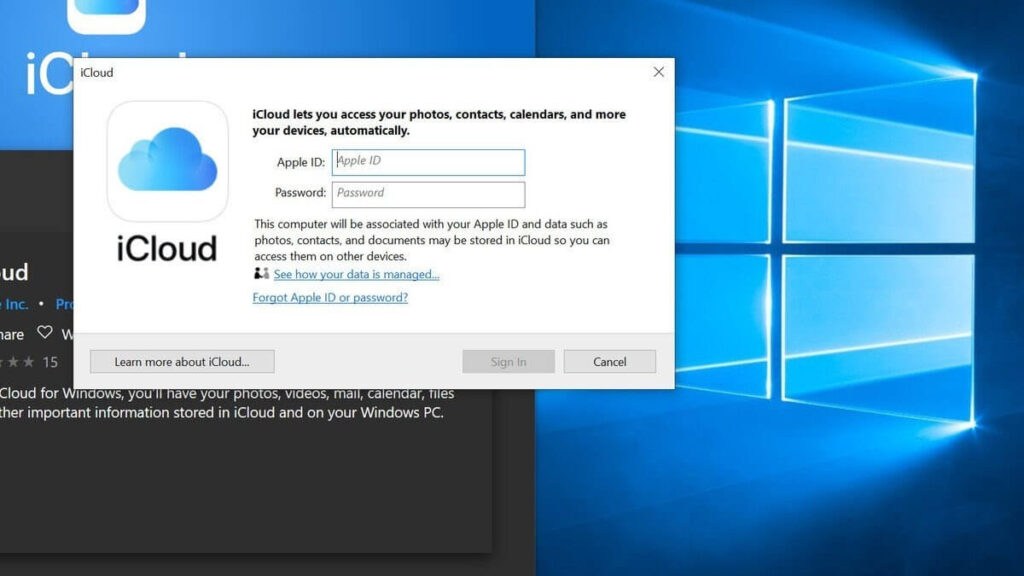
- Next, you have to download the iCloud for Windows app on your PC. It is a free app that you can download from Microsoft App Store or Apple website.
- Once the iCloud for Windows app is installed, sign in using your Apple ID.
- Ensure to put a checkmark next to Photos and then tap on the Options button.
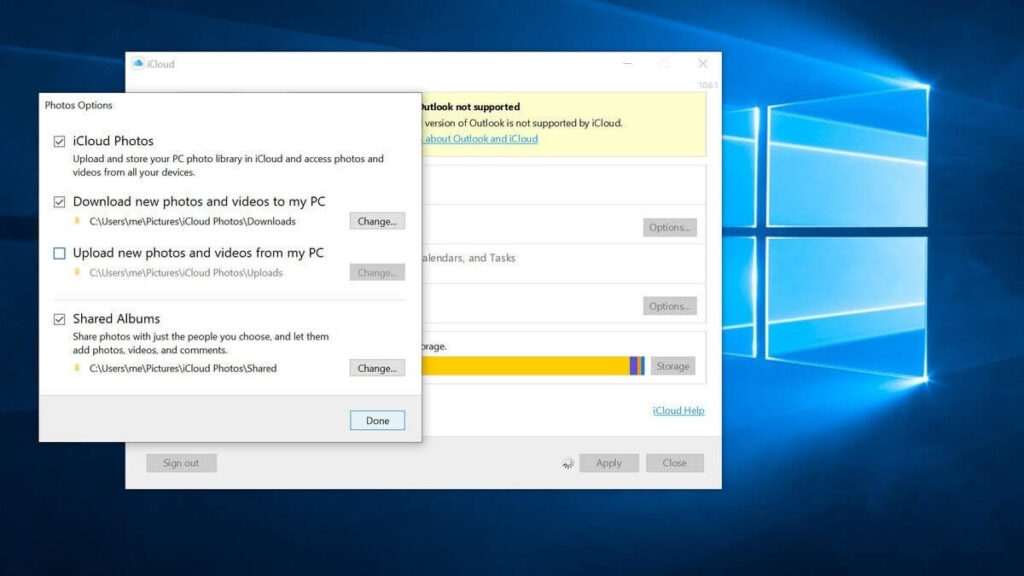
- Click on the iCloud Photo Library and Download new photos and videos to my PC options. Further, you can also check the Upload new photos and videos from my PC option to automatically upload photos and videos from your PC to your iCloud account.

- Click Done and Apply.
Now, whenever you are connected to WiFi, all your iPhone photos will automatically download to your PC. To retrieve downloaded photos, you have to use File Explorer (a process already disclosed above).
4. How to Import Photos from iPhone to Windows 10 Using iCloud.com
For iCloud users, there’s also an option to import photos from iPhone to Windows 10 via iCloud.com. For that:
- On your iPhone, go to Settings > Photos > iCloud Photos and activate it.
- On your computer, open a web browser and go to iCloud.com.
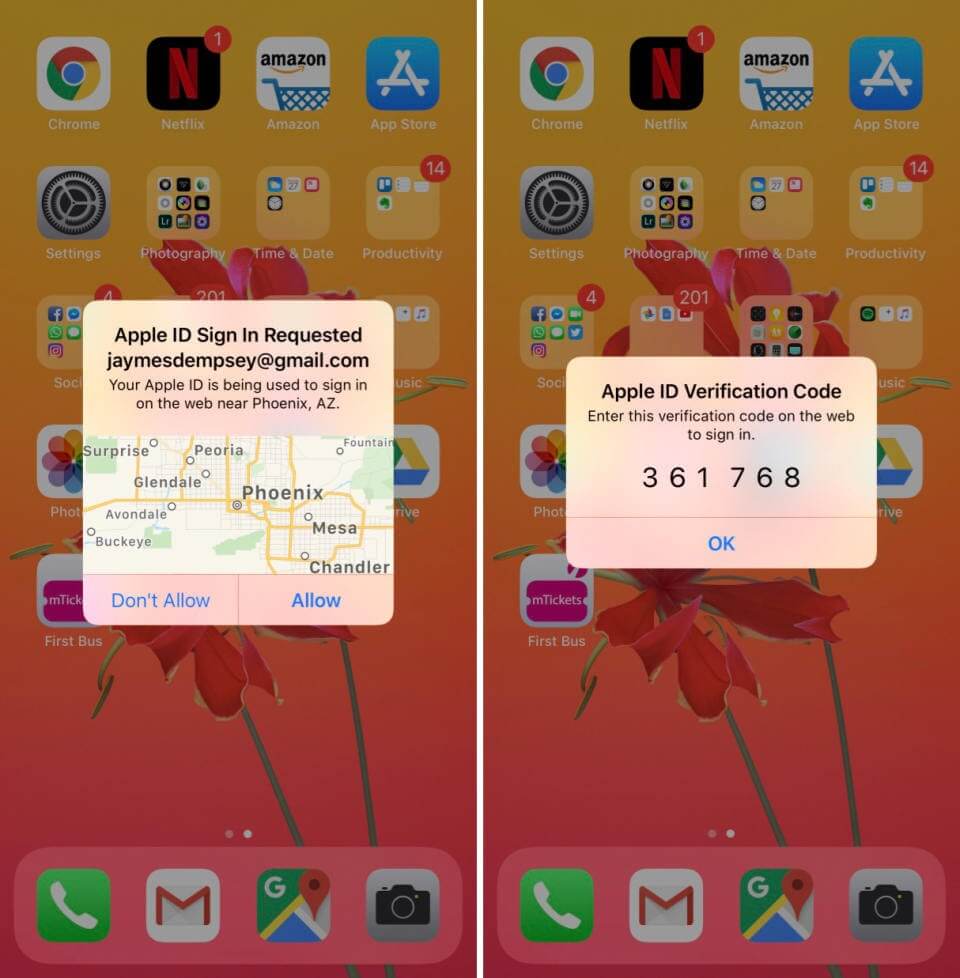
- Sign in using your Apple ID and password. If you use two-factor authentication on your iPhone, you have to enter a six digits code on your PC.
- From iCloud.com, click on the Photos.
- Now, you can access your iPhone photos library on your PC.
- From the left-hand sidebar, click on Media Type to access your iPhone photos.

- Select photos that you wish to download to your PC and then, click on the Download icon at the top of the screen.

- Your downloaded photos will appear in the Downloads folder. From here, you can move photos to the Photos folder.
5. How to Import Photos from iPhone to Windows 10 Using Third-party Tools
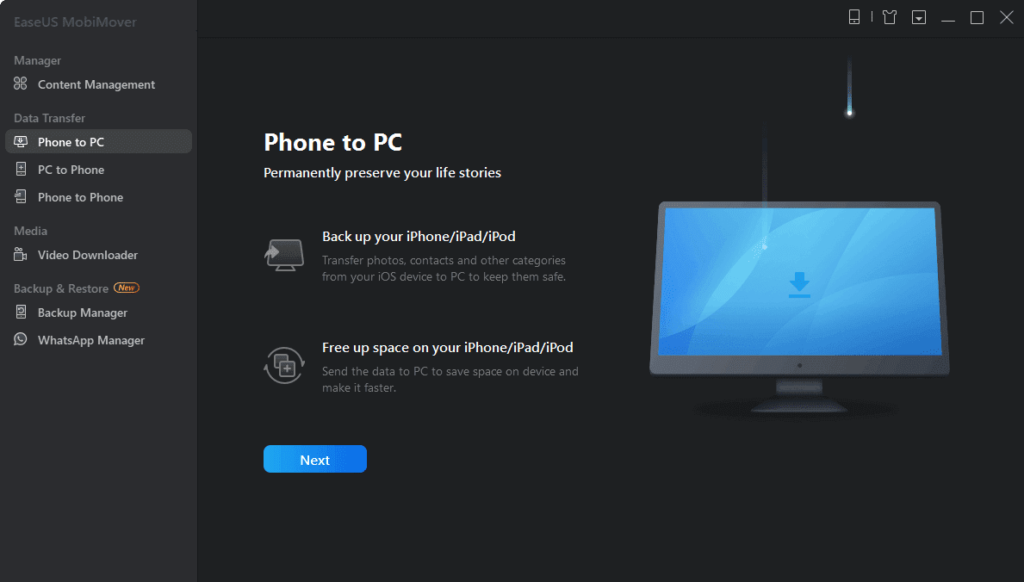
You can also use various third-party tools to import photos from iPhone to Windows 10. Every tool follows different directions to import pictures that you should check before using it. However, we can give you an overview by using EaseUS MobiMover:
- Connect your iPhone to PC, run EaseUS MobiMover on your PC, select the ‘Phone to PC,’, and then click on the Next button.
- Select the ‘Pictures’ only as the tool transfers all types of media files, including books, contacts, audio files, etc.
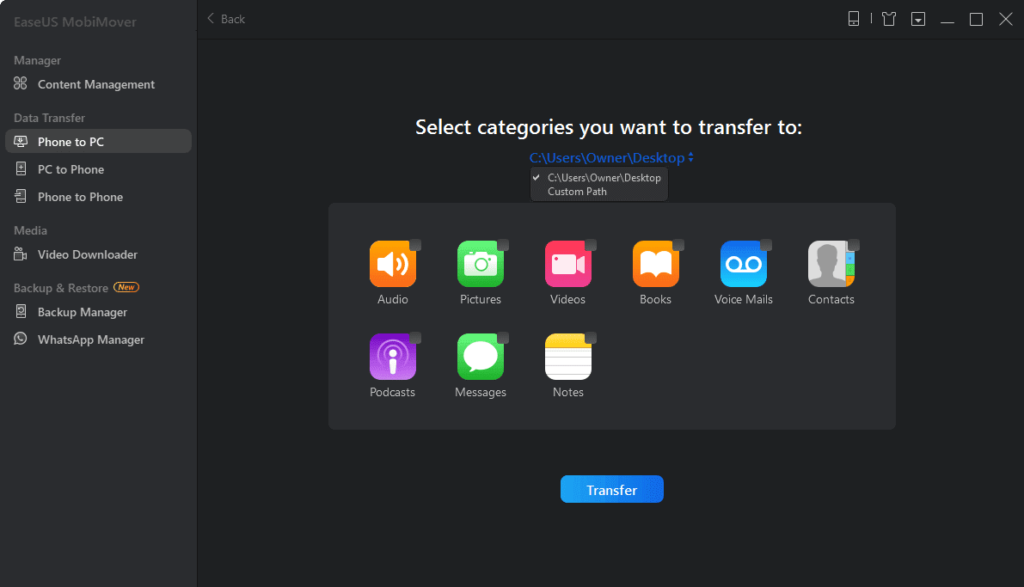
- Next, click on the Transfer button, and photos will start transferring from your iPhone to PC.

- Based on the file size, your photo transfer process will complete within a few minutes.
Can’t Import Photos from iPhone to Windows 10
Despite following simple steps, if you can’t import photos from iPhone to Windows 10, you should try these solutions:
iTunes Apple Mobile Device USB Driver Not Installed
If you find the down arrow next to Apple Mobile Device USB driver name, it means that it isn’t successfully installed. And, this is the reason behind photos not importing between iPhone and PC. To fix this problem, you can manually update the driver or can download automatic driver updating tools like AVG on your PC. The tool will ensure that all your Windows 10 drivers always stay up to date.
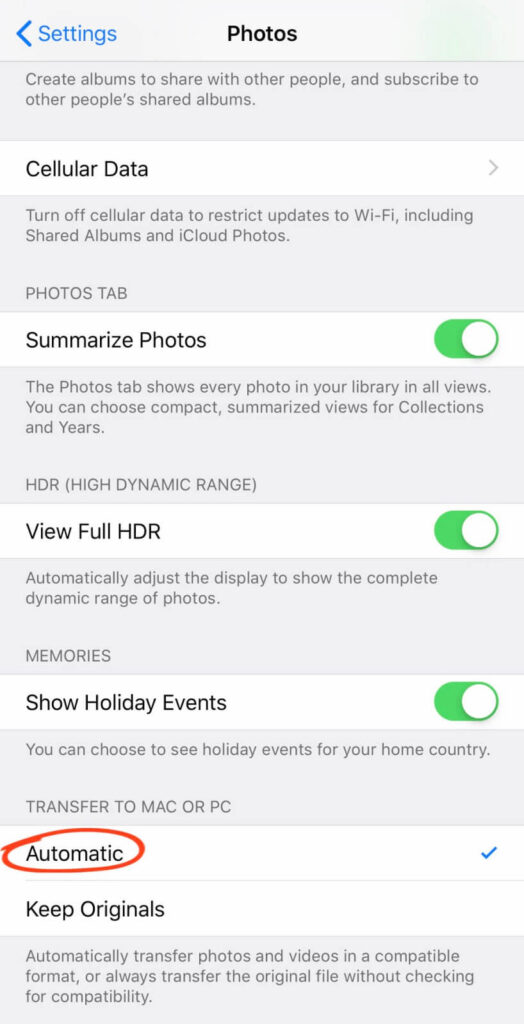
Photos Are in HEIFs Format
iPhones support a new image format called HEIFs. If your photos end with .HEIC, you can’t access them via File Explorer on your PC. Therefore, make sure that your iPhone automatically converts HEIF photos to JPEGs before importing them to your PC. To do so, open iPhone Settings > Photos > check Automatic under Transfer To Mac Or PC.
Unlock iPhone
If you have never synced your iPhone and computer before, make sure that your iPhone is unlocked before transferring photos. Enter your iOS password to unlock your iPhone for a smooth transfer.
Outdated OS
From your iOS to your Windows 10 OS, everything needs to be updated to the latest version to smoothly import photos from iPhone to Windows 10. If you are using iTunes or any other third-party tools to import photos, also update them. Go to your system settings to check whether a new update is available for your device or not.
Check a USB Cable
Ensure that your USB cable is working properly. If there’s any crack or dust present on your USB cable, it might cause problems while connecting the iPhone to Windows 10. Additionally, if you are using a third-party cable, it can cause connection problems too. Therefore, if your original iPhone USB cable isn’t working properly, use the iCloud method to import photos from iPhone to Windows 10.
Let’s Import Photos!
So, folks, after knowing how to import photos from iPhone to Windows 10 in five different ways, you are ready to import your iPhone photos. You just need to follow all the instructions to the dot, and you can seamlessly import photos.
However, if you get stuck somewhere while transferring photos, you can refer to troubleshoots we have already shared, or you can comment below. So, let’s import your iPhone photos to your PC now and keep on sharing and liking our posts.
Author Bio:
Dinesh Lakhwani 

Dinesh Lakhwani, the entrepreneurial brain behind “TechCommuters,” achieved big things in the tech world. He started the company to make smart and user-friendly tech solutions. Thanks to his sharp thinking, focus on quality and the motto of never giving up, TechCommuters became a top player in the industry. His commitment to excellence has propelled the company to a leading position in the industry.
Popular Post


Recent Post

Top 5 Borderless Payments Apps In 2024
Discover the leading top borderless payment apps reshaping global transactions in 2024. Explore seamless cross-border transfers and innovative features through these apps.

Movavi Video Splitter Online: A Comprehensive Review
Explore Movavi online Video Splitter for free with our detailed review. Learn how to easily split and customize your videos. Discover its features and usability for all your editing needs.

How to Stop PS5 from Turning on With TV [2024]
The PlayStation 5 (PS5) is a powerful gaming console that offers an immersive gaming experience. However, one common issue that many users face is the console turning on automatically when they turn on their TV. This can be frustrating, especially if you’re not planning to use your PS5 at that moment. Here, we will explore […]
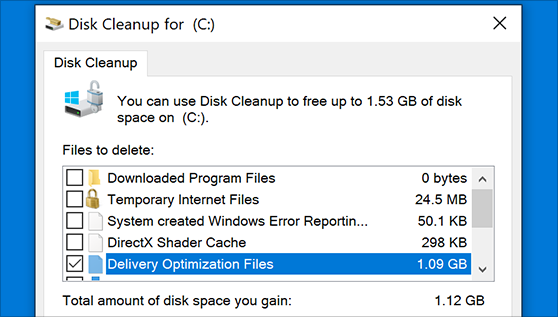
How to Clear the Delivery Optimization Cache in Windows
Delivery Optimization in Windows is a feature that helps users save bandwidth and improve download speeds by downloading updates and apps from other Windows devices on the same network or even from the internet. While this feature is beneficial, it can accumulate a significant amount of cache over time, impacting system performance. Here, we will […]

How to Add Multiple Monitors To Your Windows 10/11 Laptop [2024]
Multitasking and productivity are key factors for many individuals. Adding multiple monitors to your Windows 10 or Windows 11 laptop can greatly enhance your workflow, improving your overall efficiency. If you are wondering how to connect 2 or more monitors to your Windows 10 laptop, you are in the right place. Here, we will discuss different […]

How to Get Help in Windows 11: Complete Guide
Learn the best ways to get help in Windows 11 PC. Using these ways you can find help to solve issues in Windows 11.

How to Check SSD or HDD in Laptop [Windows 11/10]
Solid State Drives (SSD) and Hard Disk Drives (HDD) are the two main hard drive types that rule the laptop storage industry. Although they both store data, they are very different in terms of durability, speed, and performance. Knowing whether the SSD or HDD in your laptop is important since it may help you better […]

How to Stop Your Phone from Turning Off By Itself
Having your phone unexpectedly turned off can be frustrating and inconvenient, especially when it happens frequently. Whether you’re in the middle of an important call, playing a game, or simply browsing the internet, an unexpected shutdown can disrupt your productivity and disrupt your day. Here, we will explore some effective methods to help you if […]

Reboot and Select Proper Boot Device Windows 11: 7 Ways to Fix
Are you facing the “reboot and select proper boot device” on your Windows 11 PC? if yes, then find the best ways to fix this error.

Top 10 LiveLeak Alternatives In 2024
Since LiveLeak’s shutdown, many users have been searching for alternatives to the platform. There are plenty of LiveLeak alternatives in 2024. Therefore, if you are looking for a LiveLeak alternative, you are in the right place. Here, we will discuss some of the best LiveLeak alternatives in 2024. LiveLeak and its Evolution LiveLeak, established in 2006, […]

